How Many Studs Do I Need? Wall Framing Formula and Chart
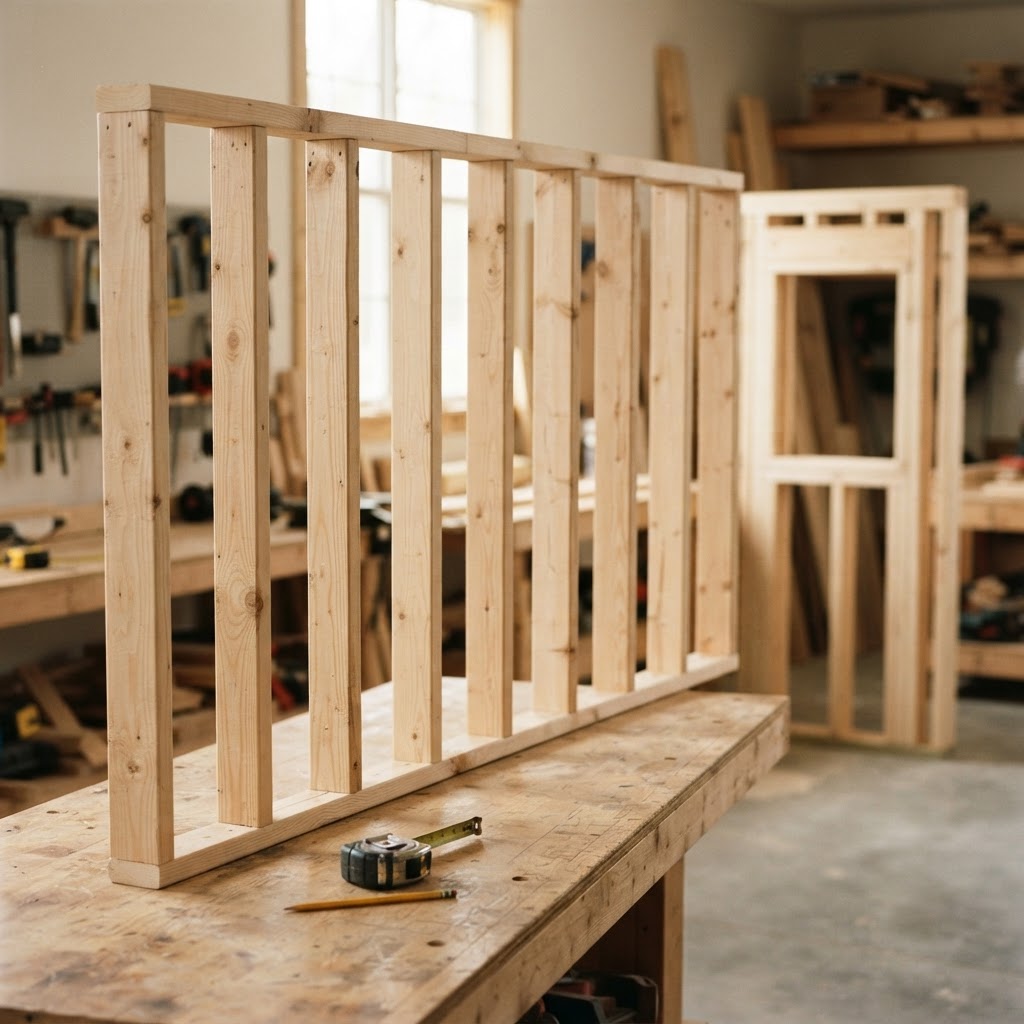
Quick answer: For an uninterrupted straight wall, a preliminary stud count is wall length in inches divided by the specified on-center spacing, rounded up, plus one end stud. A 20-foot wall at 16 inches on center therefore starts at 16 studs. Openings, corners, intersections and the actual end layout can change the final takeoff.
This formula estimates material quantity; it does not select a safe stud size or spacing. Use the approved framing plan and locally applicable code. Wall height, loading, species, grade, sheathing and wind or seismic requirements all matter.
Hero graphic: AI-generated framing illustration, not an engineered plan or connection detail.
Key takeaways
- Calculate with the spacing required by the plan, not whichever option buys fewer boards.
- Count a plain-wall baseline first, then reconcile openings and special details without double counting.
- Keep full-height studs, short members, plates, headers and blocking on separate takeoff lines.
The basic stud-count formula
Preliminary count = round up (wall length in feet × 12 ÷ spacing in inches) + 1.
The conversion from feet to inches keeps the units consistent. Rounding up allows for a final partial bay, and the added member accounts for the other end. This is a purchasing estimate for a simple wall, not a plate-marking diagram: the exact centerline offsets, joined-wall arrangement and sheathing layout must be checked on the plan.
“On center” describes the distance between stud centerlines, not the clear gap between faces. Confusing those measurements changes both the count and the panel-fastening layout.
Wall stud count chart
| Wall length | At 16 inches on center | At 24 inches on center |
|---|---|---|
| 8 feet | 7 studs | 5 studs |
| 10 feet | 9 studs | 6 studs |
| 12 feet | 10 studs | 7 studs |
| 16 feet | 13 studs | 9 studs |
| 20 feet | 16 studs | 11 studs |
| 24 feet | 19 studs | 13 studs |
Every value is arithmetic from the formula above, not a structural recommendation. The PNNL advanced-framing guide discusses traditional 16-inch spacing and designed 24-inch layouts, including the need to check local requirements. Do not change an existing design simply by choosing a different column.
Worked example: a plain 20-foot wall
- Convert the example wall length: 20 × 12 = 240 inches.
- Divide by the specified example spacing: 240 ÷ 16 = 15 intervals.
- Add the end member: 15 + 1 = 16 starting studs.
- Compare that baseline with the actual wall elevation, end conditions and intersections.
- Add separate material lines for plates, blocking and other specified members.
If this same example specifies one bottom plate and two top plates, the continuous plate length is 20 × 3 = 60 linear feet before joints, overlaps and cutting losses. That does not mean every wall should use that plate arrangement. It demonstrates why plate stock belongs on its own takeoff line.
The nominal stud length is a separate decision from the wall’s finished height. Precut studs, full-length stock, plate thicknesses and finish assemblies affect the required cut length. Confirm the detail before purchasing a bundle based only on the phrase “eight-foot wall.”
How doors and windows change the count
Do not simply subtract the opening width divided by stud spacing and call the job finished. An opening can remove ordinary full-height studs while introducing king studs, jack or trimmer studs, cripples, a sill and a specified header. Some positions overlap the ordinary layout and should not be counted twice.
Mark the actual opening on the elevation and reconcile each member. Count full-height pieces separately from short members that may come from offcuts. Header size, bearing and support details must come from the plan or qualified design guidance, not a generic stud calculator.
Read the header-sizing checklist for the information needed before ordering header material. Our wall-framing overview explains the member names used in a typical takeoff.
Corners, intersections and backing are not one fixed allowance
Different approved corner and partition-intersection details use different arrangements. Adding the same number of studs to every corner can overbuy material or miss required backing. Cabinet mounting, grab bars and other planned attachments may also require specified blocking or supports.
PNNL treats reduced-stud corners, opening details and wall intersections as coordinated design decisions. They are not isolated tricks for deleting pieces. Trace the detail actually shown and document any unresolved conditions before the material order is finalized.
Build an order list that separates the jobs
| Line item | Record before ordering | Common omission |
|---|---|---|
| Full-height studs | Size, species group, grade, moisture condition, cut length and count | Assuming every opening needs a completely separate duplicate king stud |
| Short members | Cripple, jack, sill and backing lengths from the plan | Buying full stock for every short piece without a cut plan |
| Plates | Size, treatment where required, runs and joint details | Ignoring laps, joints and the specified plate arrangement |
| Headers and engineered members | Exact design specification and lengths | Substituting a same-size product without approval |
| Blocking and extras | Location-specific requirements and a stated cutting allowance | Using a generic percentage to hide an incomplete takeoff |
An allowance should reflect your cut plan, stock lengths and material-selection needs. There is no universal waste percentage that fits every wall. Keep the base quantity and the allowance visible so a supplier or carpenter can review them separately.
Use a calculator, then check the drawing
The framing estimator is a useful starting point for organizing wall quantities. Compare its assumptions with the actual plan and add any details it does not represent. Use the cut-list optimizer for suitable repeated short pieces while preserving required lengths, grades and safe minimum handling sizes.
Once the order is organized, see the 2x4 weight chart for illustrative handling estimates. Ask the supplier for an actual shipment weight before making vehicle-load decisions.
Before sending a lumber request
- Confirm the plan revision and spacing used for each wall.
- Separate member size, species group and structural grade.
- Specify lengths and whether precut studs are acceptable.
- List treatment requirements only where the design requires them.
- Identify openings and unresolved details for review.
- Include the delivery location, unloading constraints and needed date.
Submit a sourcing request with the reviewed list. Requests require human review for specification fit, service area and current availability; they are not engineering approval or confirmation of stock.
Sources and calculation scope
- PNNL Building America Solution Center: coordinated advanced framing and local-code considerations.
- American Wood Council: wall stud background.
The chart and worked quantities are transparent geometric examples. Neither source approves a particular project’s framing based on this article.
Frequently Asked Questions
Lumberama Materials Team
Reference library
Contributor to Lumberama’s reference library. Read our editorial standards and source methodology.
Framing and structure resources
Where readers of this article usually go next.
Related Articles
How to Straighten Warped Wood: Repair or Replace?
Some warped boards can become useful shorter parts or be milled flat; others should be replaced. Identify the distortion and remaining usable thickness before trying to force the wood straight.

Can You Burn Pressure-Treated Wood? Safe Disposal Guide
Old deck boards and fence offcuts are not firewood. Use this sorting and disposal checklist to keep treated lumber out of fireplaces, fire pits, mulch and compost.

Fastening Dense Tropical Hardwoods Without Splitting or Staining
Ipe, cumaru and massaranduba punish the wrong fastener. Pre-drilling geometry, stainless grades, hidden clips and the tannin reaction that ruins a new deck.