Article
Flooring
Subfloor Repair Guide: Types, Signs of Damage, Cost & How to Fix
Lumberama Editorial Team, Flooring & Structural Repair Specialists Aug 5, 2026 9 min read
Subfloor Types
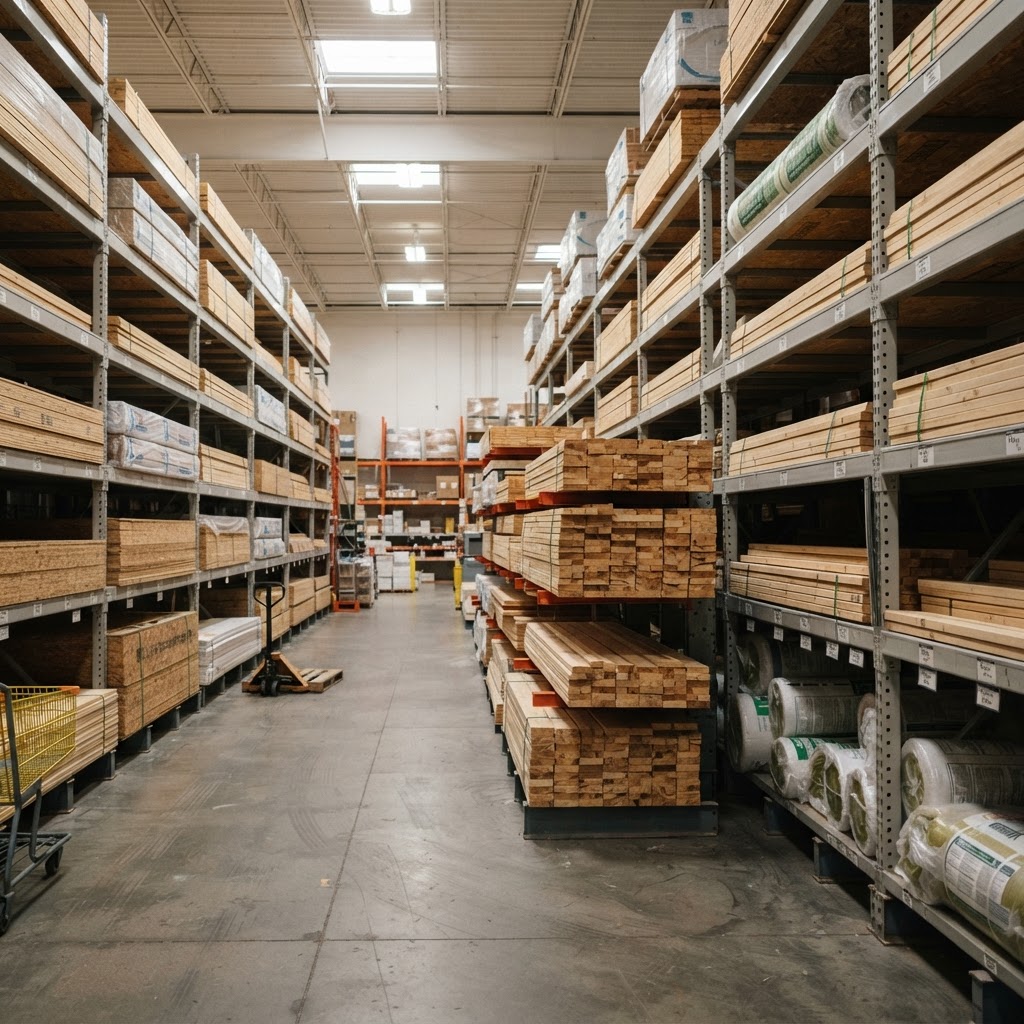
Plywood: Most common and recommended subfloor material. Thickness: 3/4 inch (23/32) standard for residential. CDX grade most common for subfloors. Cross-laminated layers resist warping. Better moisture resistance than OSB. Cost: $1.00-$1.50/sq ft.
OSB (Oriented Strand Board): Engineered wood strands bonded with resin. Thickness: 3/4 inch (23/32) standard. More affordable than plywood. Swells more when wet (edges especially). Used in many new construction homes. Cost: $0.60-$1.00/sq ft.
Tongue and groove plywood (T&G): Edges interlock for stronger joints. Reduces need for blocking between joists. Premium option. AdvanTech is the top brand (moisture-resistant). Cost: $1.25-$2.00/sq ft.
Concrete slab: Not a traditional subfloor but serves as base. Common in basements and slab-on-grade homes. Requires moisture barrier and sometimes sleepers for wood flooring.
Signs of Subfloor Damage
Visual signs: Soft or spongy spots when walking. Squeaky floors (loose subfloor). Uneven or dipping floor surface. Visible water stains on ceiling below. Mold or musty smell. Cupping or buckling of finish floor. Cracked or crumbling tiles.
Common causes: Water leaks (plumbing, roof, or appliances). Bathroom or kitchen moisture over time. Flooding or standing water. Poor ventilation in crawl space. Old age and deterioration. Termite or pest damage.
Testing for damage: Walk the floor and feel for soft spots. Push screwdriver into suspected areas (should resist). Check from below (crawl space or basement). Look for discoloration and staining. Moisture meter reading above 19% indicates problem.
Cost
Materials per sq ft: CDX plywood (3/4 inch): $1.00-$1.50. OSB (3/4 inch): $0.60-$1.00. AdvanTech T&G: $1.25-$2.00. Construction adhesive: $5-$10/tube. Screws: $10-$20/box.
Professional repair: Small repair (under 30 sq ft): $200-$600. Medium repair (30-100 sq ft): $500-$1,500. Large repair (full room): $1,000-$3,000+. Full bathroom subfloor: $500-$1,500. Full kitchen subfloor: $1,000-$2,500.
What affects cost: Accessibility (first floor vs upper floor). Need to remove finish flooring. Joist damage requiring sister joists. Plumbing rerouting. Mold remediation ($500-$3,000 additional).
DIY savings: Materials only: $0.60-$2.00/sq ft. Save 50-70% vs professional. Requires: circular saw, drill, pry bar, safety equipment.
DIY Repair Steps
Tools needed: Circular saw. Drill/driver. Pry bar. Tape measure. Square. Chalk line. Safety glasses and dust mask.
Step 1 - Remove finish flooring: Carefully remove carpet, tile, hardwood, or vinyl. Save if reusable. Expose subfloor surface.
Step 2 - Locate damage: Mark damaged area. Cut line should fall on center of nearest joists. Use stud finder or measure from below.
Step 3 - Cut out damaged section: Set circular saw depth to subfloor thickness (3/4 inch). Cut along chalk lines (on joist centers). Remove damaged section with pry bar. Remove all nails and screws from joists.
Step 4 - Inspect joists: Check joists for rot or damage. Sister (double up) any damaged joists with matching lumber. Add blocking between joists at cut edges if not on a joist.
Step 5 - Install new subfloor: Cut new plywood or OSB to fit. Leave 1/8 inch gap at edges for expansion. Apply construction adhesive to joists. Screw every 6 inches along joists and 12 inches in field. Use 2-1/2 inch subfloor screws (not nails).
Step 6 - Finish: Ensure surface is level with surrounding subfloor. Sand any high spots. Reinstall finish flooring.
Frequently Asked Questions
Professional subfloor repair costs $200-$600 for small areas (under 30 sq ft), $500-$1,500 for medium areas, and $1,000-$3,000+ for full rooms. A full bathroom subfloor replacement costs $500-$1,500 and a full kitchen runs $1,000-$2,500. Materials alone cost $0.60-$2.00/sq ft. DIY saves 50-70% of the total cost. How do I know if my subfloor is damaged?
Walk across your floors and feel for soft or spongy spots that give under foot pressure. Other signs include squeaky floors, visible dips or unevenness, water stains on the ceiling below, musty smells, and cupping or buckling of your finish floor. Push a screwdriver into suspected areas — healthy subfloor resists penetration while rotted subfloor crumbles easily. Should I use plywood or OSB for subfloor?
Plywood is the better choice for most repairs. It handles moisture better (OSB edges swell significantly when wet), is stronger across spans, and is easier to work with. CDX plywood costs $1.00-$1.50/sq ft vs $0.60-$1.00 for OSB. For bathrooms and kitchens where moisture is a concern, plywood or AdvanTech ($1.25-$2.00/sq ft) is strongly recommended over OSB. Can I repair subfloor without removing the floor above?
For minor issues (squeaks, small soft spots), sometimes. You can screw through the finish floor into joists to fix squeaks, or reinforce from below through a crawl space or basement. For significant water damage or rot, you must remove the finish floor to properly cut out and replace the damaged subfloor section. Trying to patch over serious damage leads to bigger problems.
Lumberama Editorial Team
Flooring & Structural Repair Specialists
Contributor to Lumberama’s reference library. Read our editorial standards and source methodology.
Continue researching flooring
Where readers of this article usually go next.
Related Articles

Flooring
Carpet Installation Guide: Types, Cost & What to Know
Choose the right carpet for every room.
Lumberama Editorial Team Nov 29, 2026 7 min

Flooring
Hardwood Floor Refinishing Guide: Cost, Process & Tips
Restore your hardwood floors to like-new condition.
Lumberama Editorial Team Nov 28, 2026 7 min

Flooring
Sunroom Guide: Types, Cost & Design Ideas
Add a bright and beautiful sunroom to your home.
Lumberama Editorial Team Nov 22, 2026 8 min