Article
Flooring
Vinyl Plank Flooring Guide: Types, Cost, Installation & Pros/Cons
Lumberama Editorial Team, Flooring Specialists Sep 15, 2026 9 min read
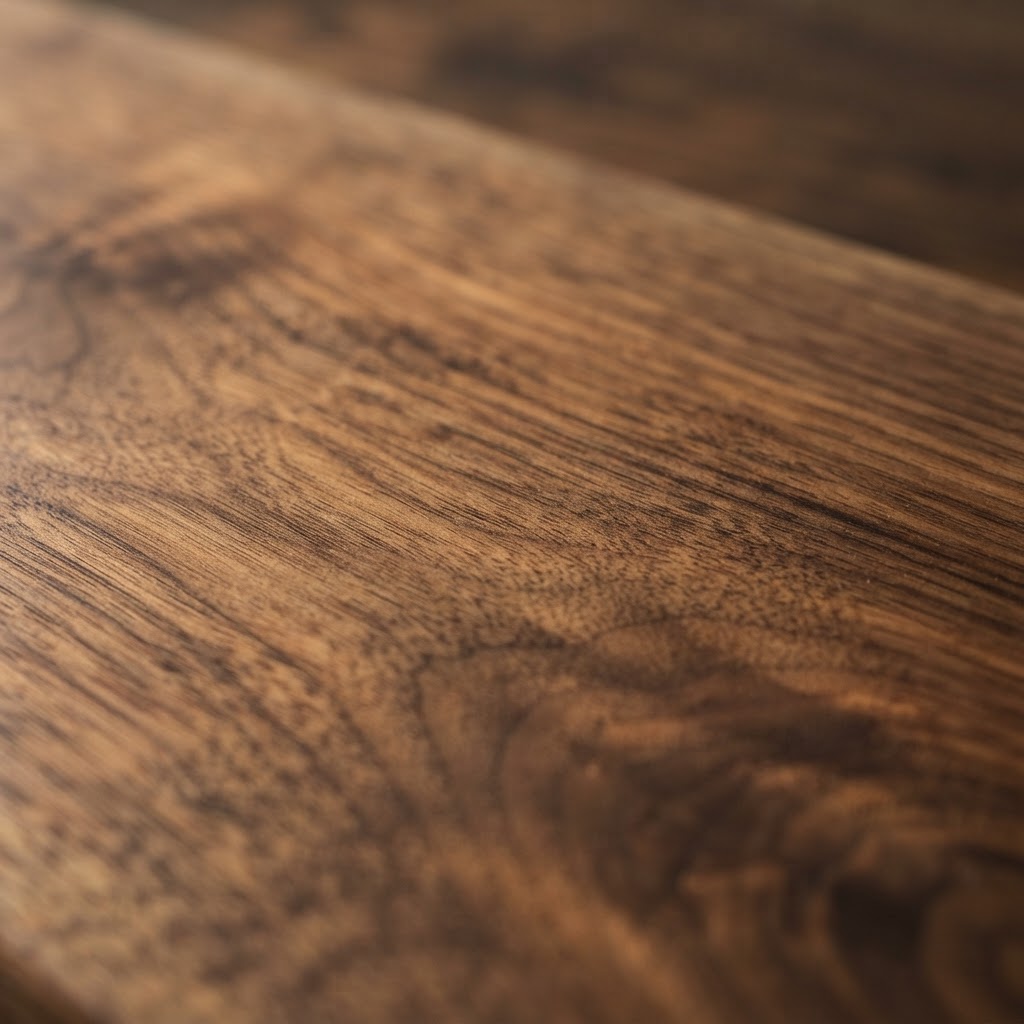
What Is Vinyl Plank Flooring
Definition: Engineered vinyl planks that mimic the look of hardwood. Also called LVP (Luxury Vinyl Plank). Waterproof, durable, and affordable alternative to hardwood. Available in click-lock (floating) and glue-down installation. Realistic wood grain textures and embossing.
Where to use: Every room including kitchens, bathrooms, basements, and laundry rooms. Not recommended: direct outdoor use or rooms with extreme heat. Ideal for: high-moisture areas where hardwood fails.
Types
SPC (Stone Polymer Composite): Rigid core made of limestone and PVC. Very stable (resists expansion/contraction). Thinner profile (typically 4-6mm). Harder underfoot (less cushion). Better for uneven subfloors (rigidity hides imperfections less). Cost: $2-$5/sq ft. Best for: commercial use, high-traffic areas, budget projects.
WPC (Wood Polymer Composite): Core made of wood dust and PVC. Softer and more comfortable underfoot. Thicker profile (typically 5-8mm). Better sound absorption. More forgiving on uneven subfloors. Cost: $3-$7/sq ft. Best for: living areas, bedrooms, comfort priority.
Glue-down LVP: Thin vinyl planks adhered directly to subfloor. Thinnest profile (2-3mm). Permanent installation. Best for: large commercial areas, very smooth subfloors. Cost: $1-$4/sq ft (+ adhesive).
Peel-and-stick: Self-adhesive backing. Budget option. Less durable than click-lock. Can lift over time. Cost: $1-$3/sq ft.
Wear Layer
What it is: Clear protective top layer measured in mils (thousandths of an inch). Determines scratch and wear resistance.
Thickness ratings: 6-12 mil: light residential (bedrooms, low-traffic). 12-20 mil: standard residential (living rooms, kitchens). 20-28 mil: heavy residential and light commercial. 28+ mil: commercial grade.
Recommendation: 20 mil minimum for main living areas. 12 mil acceptable for bedrooms and closets. Higher wear layer = longer lifespan and better scratch resistance.
Installation
Click-lock floating (most popular): Planks click together, float over subfloor. No glue or nails needed. 1/4-inch expansion gap around perimeter. Underlayment recommended (unless built into plank). Can install over most existing hard floors. DIY-friendly: 1-2 days for average room.
Subfloor preparation: Must be clean, dry, and level. Maximum deviation: 3/16 inch per 10 feet. Patch low spots with self-leveling compound. Sand down high spots. Moisture test concrete subfloors (calcium chloride or RH probe).
Tools needed: Tape measure. Utility knife or vinyl plank cutter. Rubber mallet. Spacers (1/4 inch). Pull bar. Speed square. Tapping block.
Cost
Materials per square foot: Budget (peel-and-stick, thin SPC): $1-$3. Mid-range (SPC or WPC, 20 mil): $3-$5. Premium (thick WPC, 28+ mil): $5-$8.
Installation: DIY: $0 (floating floor, no special tools). Professional: $2-$5/sq ft.
Total project cost (500 sq ft room): DIY budget: $500-$1,500. DIY mid-range: $1,500-$2,500. Professional mid-range: $2,500-$5,000.
Compared to hardwood: LVP: $3-$8/sq ft installed. Hardwood: $6-$15/sq ft installed. LVP saves 40-60% vs hardwood with similar appearance.
Frequently Asked Questions
Budget LVP costs $1-$3/sq ft. Mid-range (20 mil wear layer) costs $3-$5/sq ft. Premium WPC costs $5-$8/sq ft. Professional installation adds $2-$5/sq ft. A 500 sq ft room costs $1,500-$2,500 DIY or $2,500-$5,000 professionally. LVP saves 40-60% vs hardwood. Is vinyl plank flooring waterproof?
Yes. Both SPC and WPC vinyl plank flooring are 100% waterproof at the core. Water won't damage the planks themselves. However, water can seep through seams and sit under the floor if not properly installed with expansion gaps and moisture barriers. LVP is ideal for bathrooms, kitchens, and basements. Can I install vinyl plank flooring myself?
Yes. Click-lock LVP is one of the easiest flooring DIY projects. Planks click together and float over the subfloor — no glue, nails, or special tools needed. Most rooms take 1-2 days. The key is a level subfloor (3/16 inch deviation max per 10 feet) and proper 1/4-inch expansion gaps. How long does vinyl plank flooring last?
Quality LVP with 20+ mil wear layer lasts 15-25 years in residential settings. Budget products (6-12 mil) may last only 5-10 years. Thicker wear layers resist scratches better. SPC is harder and more dent-resistant. WPC is softer and more comfortable. Both are waterproof and very durable.
Lumberama Editorial Team
Flooring Specialists
Contributor to Lumberama’s reference library. Read our editorial standards and source methodology.
Continue researching flooring
Where readers of this article usually go next.
Related Articles
Flooring
Carpet Guide: Types, Cost & How to Choose
Find the perfect carpet for your home with this comprehensive guide.
Lumberama Editorial Team Nov 6, 2026 9 min
Flooring
Laminate Flooring Guide: Cost, Pros and Cons & Installation
Get an affordable wood look with laminate flooring.
Lumberama Editorial Team Nov 5, 2026 9 min
Flooring
Tile Flooring Guide: Types, Cost & Installation
Choose the right tile for your home with this comprehensive guide.
Lumberama Editorial Team Nov 5, 2026 10 min