Tile Installation Guide: Tools, Techniques, Materials & Costs
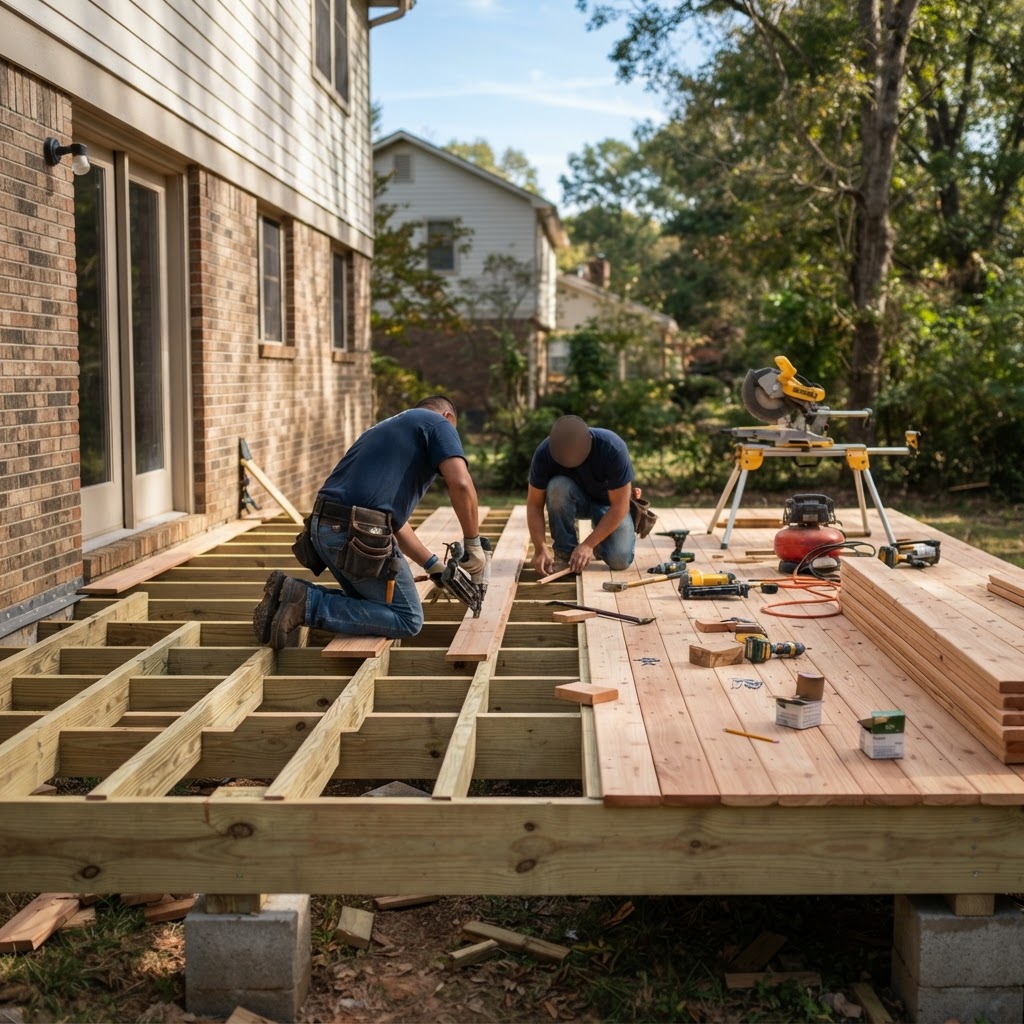
Essential Tools
Tile cutter: Manual snap cutter for straight cuts ($30-$100) or wet saw for any cut including curves and notches ($100-$300 to buy, $50-$80/day to rent). A wet saw is essential for porcelain and large-format tiles.
Trowel: Notched trowel for spreading thinset. Notch size depends on tile size: 1/4x1/4 inch for small tiles (up to 6 inches), 1/4x3/8 inch for medium tiles (6-12 inches), 1/2x1/2 inch for large tiles (12+ inches). Use a flat side to spread, notched side to comb.
Tile spacers: Plastic crosses or clips that maintain consistent grout joints. Common sizes: 1/16 inch (minimal joint), 1/8 inch (standard), 3/16 inch, 1/4 inch. Smaller joints look cleaner but are harder to grout evenly.
Other tools: Level (48-inch for floors, 24-inch for walls), rubber grout float, mixing bucket and drill with paddle mixer, sponge, knee pads, chalk line, tape measure, and pencil.
Materials
Thinset mortar: The adhesive that bonds tile to the substrate. Modified thinset (polymer-modified) for most applications. Unmodified for installations over Ditra membrane. White thinset under light-colored tiles and glass. Gray for everything else. $15-$30 per 50-lb bag (covers 60-80 sq ft).
Grout: Sanded grout for joints 1/8 inch or wider. Unsanded for joints less than 1/8 inch. Epoxy grout for ultimate stain and water resistance (harder to work with, more expensive). Pre-mixed grout is convenient but more expensive. $10-$25 per 25-lb bag.
Backer board: Cement board (Durock, Wonderboard) or foam board (Kerdi-Board, GoBoard) installed over the subfloor or wall studs before tiling. Provides a stable, moisture-resistant substrate. Required for shower walls and recommended for bathroom floors. $0.50-$1.50 per sq ft.
Floor Tile Installation
1. Prep: Clean, level substrate. Install backer board over plywood subfloors if needed. Minimum subfloor thickness: 1-1/4 inches (3/4 plywood + 1/4 or 1/2 backer board).
2. Layout: Dry-lay tiles from the center of the room outward. Adjust to avoid thin slivers at walls (less than half a tile width looks bad). Snap chalk lines for reference.
3. Spread thinset: Work in small sections (3-4 sq ft at a time). Spread with flat side, comb with notched side. All ridges should run the same direction.
4. Set tiles: Press tile into thinset with a slight twist. Use spacers. Check level frequently. Back-butter large tiles (spread a thin layer of thinset on the back of the tile in addition to the floor).
5. Cut tiles: Measure, mark, and cut border and edge tiles. Wet saw for cleanest cuts.
6. Grout: Wait 24 hours after setting tiles. Mix grout to peanut butter consistency. Press into joints with a rubber float held at 45 degrees. Wipe excess with a damp sponge diagonally across joints. Wait 24 hours before walking on grouted floor.
7. Seal: Seal grout with a penetrating sealer after 48-72 hours (not needed for epoxy grout). Reseal annually for high-moisture areas.
Costs
Tile materials: $1-$15 per sq ft (ceramic $1-$5, porcelain $3-$10, natural stone $5-$15+).
Thinset + grout + supplies: $1-$2 per sq ft.
Backer board: $0.50-$1.50 per sq ft.
Professional installation labor: $5-$15 per sq ft.
Total DIY: $3-$18 per sq ft.
Total professional: $8-$30 per sq ft.
Frequently Asked Questions
Lumberama Editorial Team
Tile Installation & Flooring Specialists
Contributor to Lumberama’s reference library. Read our editorial standards and source methodology.
Continue researching flooring
Where readers of this article usually go next.
Related Articles
Garage Floor Coating Guide: Epoxy, Polyurea & Cost
Transform your garage floor with this comprehensive epoxy, polyurea, and cost guide.
Tile Backsplash Guide: Materials, Patterns & Installation
Design and install a beautiful kitchen backsplash with this materials, patterns, and installation guide.
Sprinkler System Guide: Installation, Zones & Maintenance
Design and maintain a lawn irrigation system with this installation, zones, and maintenance guide.