Laminate Flooring Installation Guide: Tools, Layout & Tips
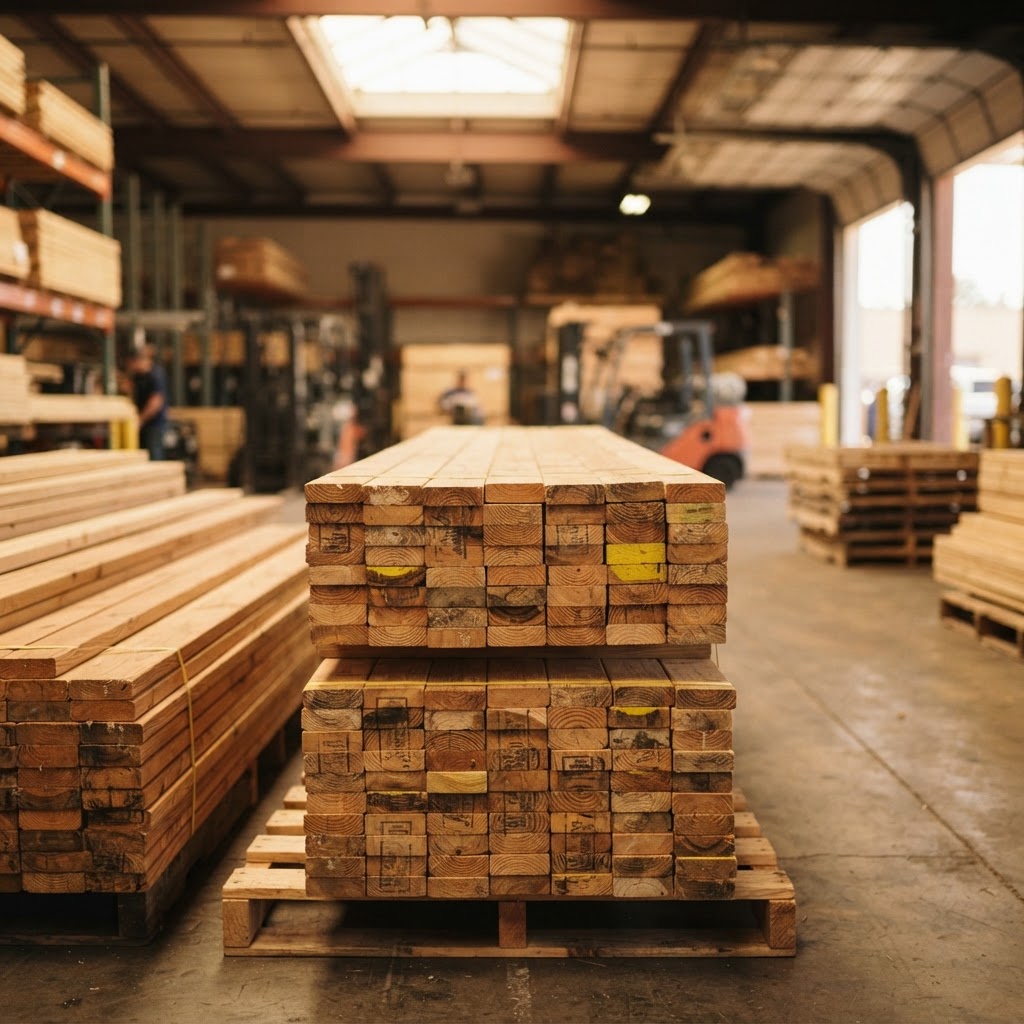
Why Laminate Flooring
Laminate flooring is one of the most popular DIY flooring options. It looks like hardwood (or stone or tile) at a fraction of the cost. Benefits: affordable ($1-$5/sq ft vs. $6-$12/sq ft for hardwood), easy to install (click-lock floating system — no glue, no nails), durable (scratch-resistant, dent-resistant, fade-resistant), and low maintenance (sweep and damp mop). Modern laminate is virtually indistinguishable from real wood in appearance. It is ideal for: living rooms, bedrooms, hallways, offices, and basements (with proper underlayment).
Choosing Laminate
AC rating (durability): AC1-AC2: light residential (closets, bedrooms with low traffic). AC3: general residential (living rooms, dining rooms). AC4: heavy residential and light commercial (kitchens, entryways). AC5: heavy commercial. For most homes: AC3 or AC4.
Thickness: 6mm: budget (thinner, louder, less realistic). 8mm: standard (good balance of quality and cost). 10-12mm: premium (quieter, more realistic feel underfoot, better click-lock engagement). For best results: 8mm or thicker.
Water resistance: Standard laminate: not waterproof (the fiberboard core swells with water exposure). Water-resistant laminate: treated core that resists minor spills (15-30 minutes). Waterproof laminate (or waterproof vinyl plank): fully waterproof core. For kitchens, bathrooms, and basements: use waterproof options only.
Tools Needed
Tape measure, pencil, speed square. Spacers (1/4 inch — usually included). Pull bar (for tightening end pieces). Tapping block (for tapping planks together without damaging the click-lock). Miter saw or circular saw (for crosscuts). Jigsaw (for irregular cuts around door frames and obstacles). Utility knife (for scoring underlayment). Rubber mallet. Pry bar (for the last row). Most laminate kits include spacers, a pull bar, and a tapping block ($10-$20).
Preparation
Acclimate the flooring: bring the boxes into the room 48 hours before installation (the planks need to adjust to the room’s temperature and humidity). Remove baseboards (reinstall after flooring). Remove the existing flooring if needed (laminate can go over most hard, flat surfaces). The subfloor must be: clean, dry, flat (within 3/16 inch per 10 feet — use self-leveling compound for low spots), and free of debris. Install underlayment (foam underlayment: $0.15-$0.50/sq ft — some laminate comes with underlayment pre-attached). Underlayment provides: cushion, sound dampening, moisture protection, and smoothing minor subfloor imperfections.
Installation
Start along the longest wall. Determine the direction (planks typically run parallel to the longest wall or toward the main light source). Calculate the width of the last row: if it will be less than 2 inches, rip the first row narrower to balance. Place 1/4-inch spacers along the starting wall (the expansion gap is essential — laminate expands and contracts with humidity). Lay the first row with the tongue side facing the wall. Click the second row into the first (angle and press down). Stagger end joints by at least 6 inches (preferably 12+ inches) between rows. Use the tapping block and rubber mallet to tighten joints. Cut the last plank of each row to fit (leaving the 1/4-inch gap). For the last row: rip planks to width, use the pull bar to tighten. Undercut door frames with an oscillating multi-tool or jamb saw so the laminate slides underneath. Reinstall baseboards (they cover the expansion gap). Install transition strips at doorways and where the laminate meets other flooring types.
Costs
Budget laminate (6-7mm): $1-$2/sq ft.
Mid-range laminate (8-10mm): $2-$4/sq ft.
Premium laminate (10-12mm): $3-$5/sq ft.
Underlayment: $0.15-$0.50/sq ft.
Installation tools kit: $10-$20.
Professional installation: $2-$5/sq ft (labor).
Typical room (200 sq ft, mid-range): $400-$800 DIY, $800-$1,800 professional.
Frequently Asked Questions
Lumberama Editorial Team
Flooring Installation & Materials Specialists
Contributor to Lumberama’s reference library. Read our editorial standards and source methodology.
Continue researching flooring
Where readers of this article usually go next.
Related Articles
Tile Installation Guide: Types, Cost & DIY Tips
Install beautiful tile floors and walls with this comprehensive tiling guide.
Tile Installation Guide: Types, Cost & Tips
Install beautiful tile floors and walls with this comprehensive DIY and professional guide.
Carpet Guide: Types, Fibers & Cost
Choose the right carpet for every room with this comprehensive carpet buying guide.