Tile Flooring Buying Guide: Porcelain, Ceramic, and Natural Stone (2026)
Tile flooring offers unmatched durability and water resistance for bathrooms, kitchens, entries, and outdoor spaces. The variety of materials, sizes, and styles is enormous, from classic subway patterns to large-format wood-look porcelain. This guide helps you navigate tile types, ratings, installation considerations, and total project costs.
Key Takeaways
- Tile flooring offers unmatched durability and water resistance for bathrooms, kitchens, entries, and outdoor spaces.
- The variety of materials, sizes, and styles is enormous, from classic subway patterns to large-format wood-look porcelain.
- This guide helps you navigate tile types, ratings, installation considerations, and total project costs.
- PEI (Porcelain Enamel Institute) rating determines floor suitability — PEI 3 minimum for residential floors, PEI 4-5 for high-traffic and commercial.
- Choose porcelain for wet areas, outdoor applications, and heavy traffic.
Types Overview
Ceramic tile is kiln-fired clay with a glazed surface — affordable and suitable for walls and light-traffic floors. Porcelain tile is fired at higher temperatures for a denser, harder body — rated for heavy traffic and outdoor use. Large-format tiles (12x24, 24x24, and larger) create a modern, seamless look with fewer grout lines. Wood-look porcelain planks provide the appearance of hardwood with tile durability. Natural stone (marble, travertine, slate) offers unique beauty but requires more maintenance. Mosaic tiles on mesh backing simplify installation of small, intricate patterns.
Selection Criteria
PEI (Porcelain Enamel Institute) rating determines floor suitability — PEI 3 minimum for residential floors, PEI 4-5 for high-traffic and commercial. Choose porcelain for wet areas, outdoor applications, and heavy traffic. Slip resistance matters for bathrooms and entries — look for DCOF (Dynamic Coefficient of Friction) of 0.42 or higher. Larger tiles require a flatter subfloor. Rectified tiles allow thinner grout joints for a modern look. Budget for 10-15% waste for standard layouts, 15-20% for diagonal patterns.
Installation Guide
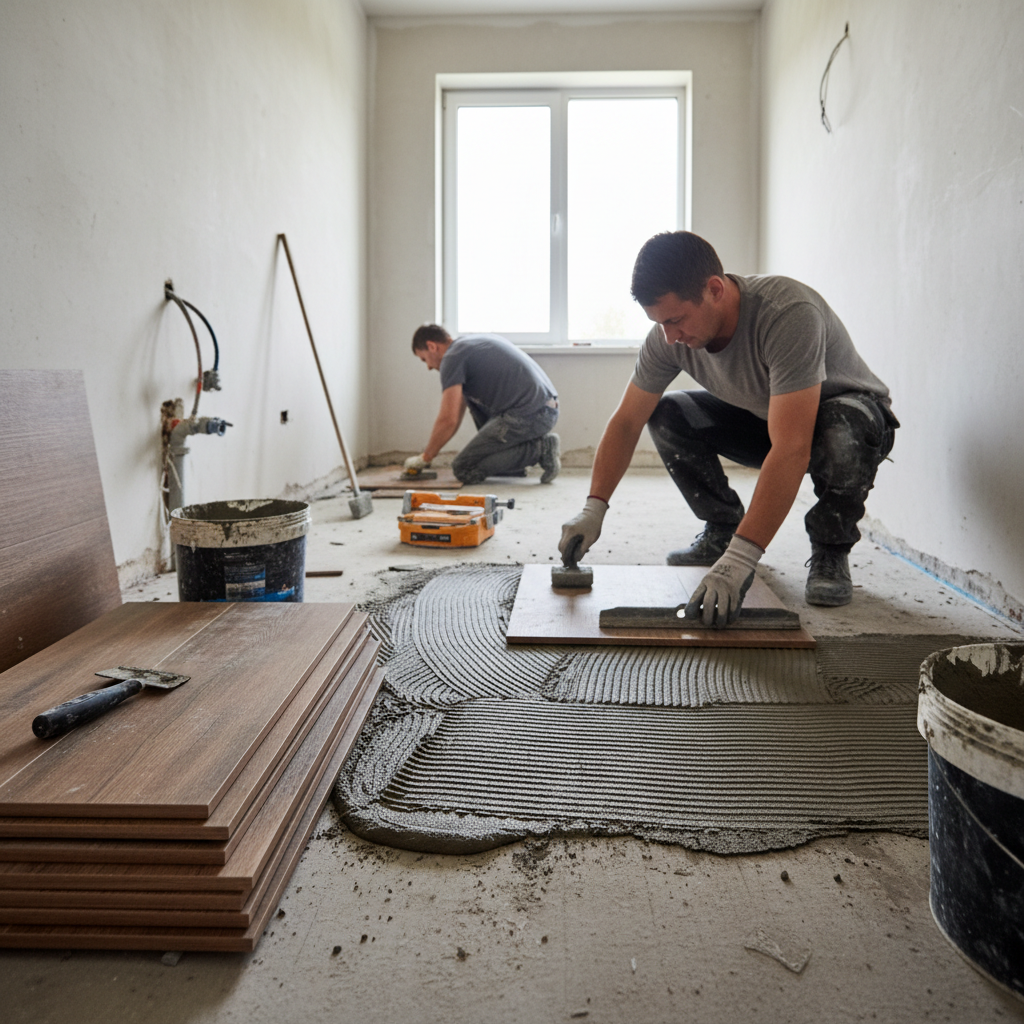
Prepare a solid, flat substrate — concrete or cement backer board over plywood. Use the correct mortar type: large-format tiles require large-and-heavy-tile mortar (LHT). Apply mortar with the proper notched trowel size — 1/2x1/2 inch for 12x12 tiles, 1/2x3/4 inch for larger tiles. Back-butter large tiles in addition to troweling the substrate. Use a leveling system (clips and wedges) for lippage-free results. Grout after 24-hour mortar cure. Seal grout and natural stone after installation.
Code Requirements
Floor tiles in wet areas must have minimum 0.42 DCOF slip resistance. Shower floors require minimum 0.42 DCOF with additional ADA requirements in commercial settings. Tile substrates must limit deflection to L/360 per TCNA Handbook recommendations. Cement backer board is required over wood-framed floors — do not tile directly over plywood. Waterproofing membrane is required in shower installations. Expansion joints are required every 20-25 feet and at all changes in plane.
Cost Breakdown
Ceramic floor tile: $1.00-$4.00 per square foot. Porcelain floor tile: $3.00-$8.00. Large-format porcelain (24x24+): $4.00-$10.00. Wood-look porcelain plank: $3.00-$8.00. Natural stone: $5.00-$25.00+. Mosaic: $8.00-$20.00. Mortar: $15-$25 per 50 lb bag. Grout: $12-$20 per 25 lb bag. Professional installation: $5.00-$15.00 per square foot. Average bathroom floor (50 sq ft): $500-$1,500 installed.
DIY vs Professional
Basic ceramic tile on floors is an achievable DIY project with proper preparation and patience. Large-format tiles require significant skill to achieve flat, lippage-free results. Shower tile installation with waterproofing is best left to professionals due to the critical waterproofing details. Invest in a quality tile leveling system for the best DIY results. Natural stone requires professional experience for cutting and finishing.
Common Mistakes to Avoid
Insufficient mortar coverage under tiles — target 95% coverage for wet areas and 80% for dry areas. Hollow spots under tiles crack under foot traffic. Not using a leveling system with large tiles results in visible lippage. Grouting too soon before mortar has cured causes weak grout joints. Using unsanded grout in joints wider than 1/8 inch causes cracking. Tiling over a deflecting subfloor causes cracked tiles and grout. Not waterproofing shower installations properly leads to hidden water damage.
Frequently Asked Questions
Related Guides
Flooring Buying Guide (Hardwood)
Complete hardwood flooring guide covering solid vs engineered, wood species, finishes, and installat
Read guideFlooring Buying Guide (Laminate vs Vinyl)
Laminate vs luxury vinyl plank (LVP) flooring comparison. Compare waterproof ratings, durability, in
Read guide