Subfloor Materials Guide: Plywood, OSB, and Specialty Options (2026)
The subfloor is the structural platform beneath your finished flooring, and its quality directly affects floor feel, squeaks, and the performance of every flooring material installed on top. Choosing the right subfloor material and installing it properly creates a solid, quiet foundation for your floors. This guide compares subfloor options and covers installation techniques.
Key Takeaways
- The subfloor is the structural platform beneath your finished flooring, and its quality directly affects floor feel, squeaks, and the performance of every flooring material installed on top.
- Choosing the right subfloor material and installing it properly creates a solid, quiet foundation for your floors.
- This guide compares subfloor options and covers installation techniques.
- For most new construction, tongue-and-groove plywood or AdvanTech OSB are the top choices.
- Plywood recovers better from moisture exposure, while AdvanTech resists moisture penetration in the first place.
Types Overview
Tongue-and-groove CDX plywood (23/32 inch) is the traditional premium subfloor choice — dimensionally stable with good moisture recovery. Standard OSB (23/32 inch) is the most widely used subfloor panel due to lower cost. AdvanTech OSB subflooring is an engineered high-performance panel with superior moisture resistance, stiffness, and a 500-day weather exposure guarantee. DRIcore is a subfloor panel system for basements with a built-in moisture barrier and air gap. Cement backer board is a subfloor underlayment for tile installations over wood framing. Gypcrete or lightweight concrete is poured over subfloor for sound control in multi-story buildings.
Selection Criteria
For most new construction, tongue-and-groove plywood or AdvanTech OSB are the top choices. Plywood recovers better from moisture exposure, while AdvanTech resists moisture penetration in the first place. Standard OSB saves money but requires more protection from weather during construction. Always use tongue-and-groove panels to prevent edge deflection between joists. DRIcore is ideal for finishing basements where slab moisture is a concern. Match subfloor thickness to joist spacing per span tables.
Installation Guide
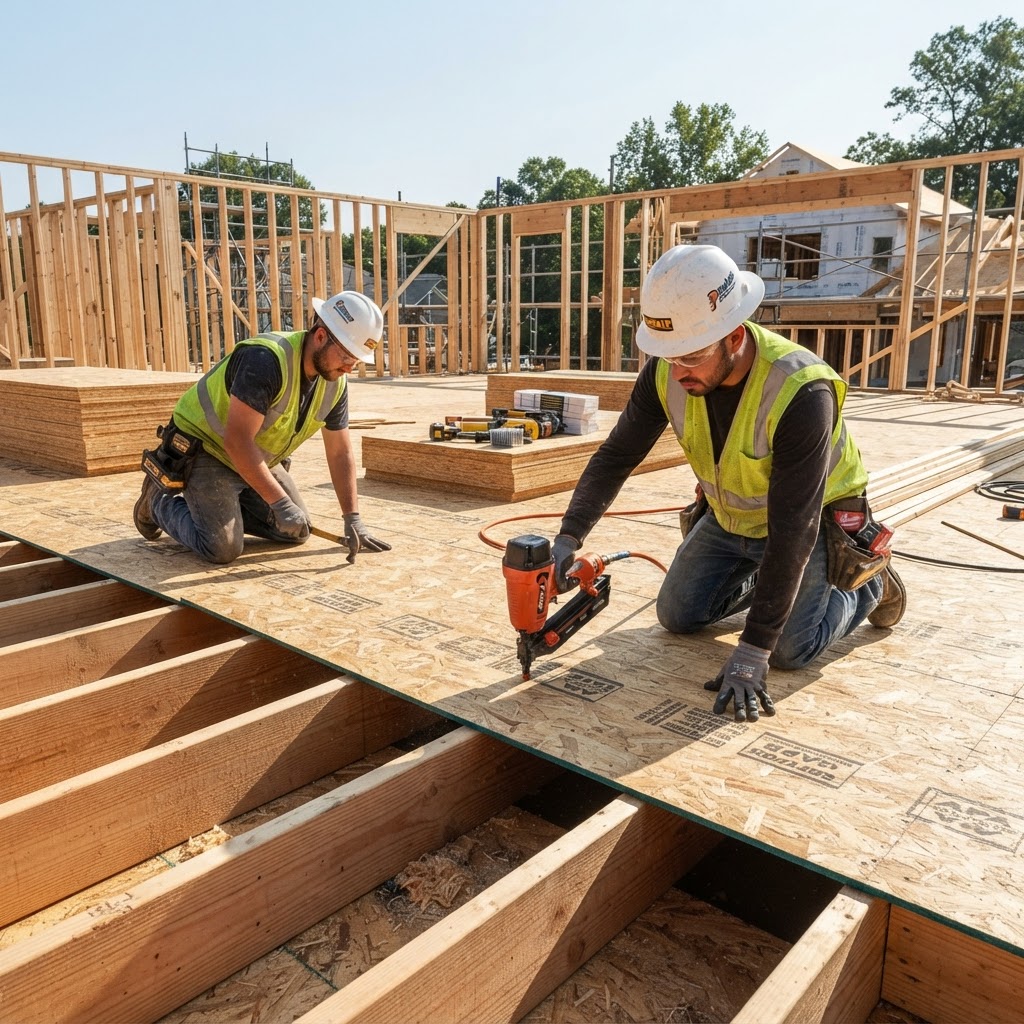
Apply a continuous bead of construction adhesive on each joist before setting panels. Start in a corner with the groove edge facing the wall. Stagger end joints by at least one joist bay. Leave 1/8-inch gap between panel ends (tongue-and-groove side gap is built in). Fasten with ring-shank nails or screws at 6 inches on center at edges and 12 inches in the field. Glue and screw provides the quietest floor. Walk the floor after installation and refasten any squeaky areas immediately before covering.
Code Requirements
IRC Table R503.2.1.1 specifies minimum subfloor thickness based on joist spacing — 23/32 inch for joists at 19.2 or 24 inches on center. Panels must bear a grade stamp (APA or equivalent). Edge support (tongue-and-groove or blocking) is required for panels less than 3/4 inch thick. Subfloor must limit deflection to L/360 under live load for most finish floor materials. Tile installations require L/360 minimum and typically require additional underlayment.
Cost Breakdown
Standard OSB T&G 23/32 inch (4x8): $28-$40 per sheet. CDX plywood T&G 23/32 inch (4x8): $45-$65. AdvanTech T&G 23/32 inch (4x8): $38-$52. DRIcore basement panels (2x2): $4-$6 each ($3.50-$5.00 per sq ft). Construction adhesive: $4-$7 per tube. Ring-shank nails (5 lb): $15-$25. Subfloor screws (5 lb): $20-$35. Professional subfloor installation: $2.00-$4.00 per square foot.
DIY vs Professional
Subfloor installation is a manageable DIY project. The work is straightforward — measure, cut, glue, and fasten. A circular saw handles all cutting. The most physically demanding aspect is carrying 4x8 sheets into position. Use a chalk line for accurate joist marking on panels. Professional installation ensures faster completion and consistent fastener patterns that prevent squeaks.
Common Mistakes to Avoid
Skipping construction adhesive is the number one cause of squeaky floors — glue is essential. Not staggering end joints creates a weak line across the floor. Leaving panels exposed to rain (especially standard OSB) causes edge swell that creates a wavy finished floor. Over-spacing panels causes edge deflection and hollow spots. Not re-fastening squeaky areas before covering them with finished flooring locks in the problem permanently. Using standard (non-T&G) panels without blocking between joists.