Window Seat Ideas: Built-In Bench Plans, Storage & Design Guide
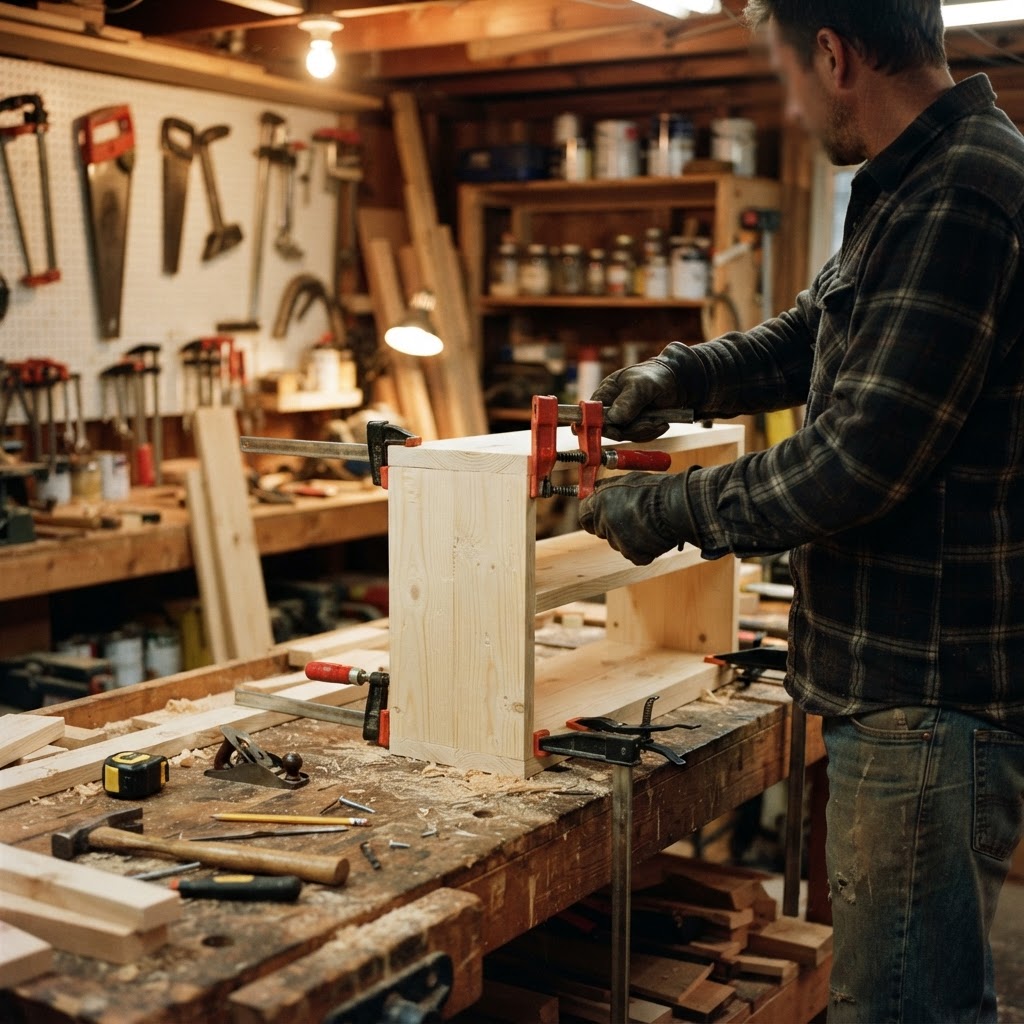
The Timeless Appeal of a Window Seat
A window seat transforms an ordinary window into a destination: a cozy reading nook, a sunny spot for morning coffee, a practical storage solution, or a charming architectural feature that adds character and value to your home. Whether it's a grand bay window overlooking a garden or a simple bench under a bedroom window, a built-in window seat creates a sense of warmth and invitation that freestanding furniture can't match.
Window seats are also remarkably practical. The space beneath the seat is ideal for storage, from books and blankets to toys and seasonal items. In small homes, they provide extra seating without consuming floor space. And from a resale perspective, built-in window seats are consistently cited as a desirable feature by home buyers.
This guide covers everything you need to plan and build a window seat: types, dimensions, wood selection, storage options, design styles, step-by-step construction, cushion selection, and cost estimates.
Types of Window Seats
Built-In Bench
The most common window seat is a simple built-in bench that fits wall-to-wall beneath a window. It's a rectangular box with a flat top, a finished front panel, and storage inside accessed by a hinged lid or drawers. This type works under any window and is the easiest to build as a DIY project.
Bay Window Seat
Bay windows create a natural alcove that's ideal for a window seat. The seat fills the entire bay, following the angled walls. Bay window seats offer panoramic views and feel like a separate, intimate space within the room. They're more complex to build due to the angled walls but create the most dramatic results.
Banquette
A banquette-style window seat functions as dining seating. Typically built along a kitchen or breakfast nook window, it's often L-shaped or U-shaped with a table positioned in front. Banquettes maximize kitchen seating without taking up floor space and pair beautifully with a pedestal or trestle table.
Window Nook with Bookshelves
Flanking a window seat with built-in bookshelves creates a dedicated reading nook that feels like a personal library. The bookshelves frame the window, the seat provides a comfortable reading spot, and the overall effect is both functional and architecturally striking. This is a more ambitious project but one of the most rewarding.
Dormer Window Seat
Dormer windows in attic rooms and upper floors create cozy alcoves that are perfectly sized for a window seat. The sloped ceiling on either side creates an intimate, nest-like feeling. Dormer window seats make excellent use of otherwise awkward space and are popular in bedrooms and home offices.
Best Wood Species for Window Seats
Pine
Pine is the most popular choice for painted window seats. It's affordable, widely available, easy to work with, and takes paint beautifully. Eastern white pine is especially smooth and knot-free in higher grades. For a painted finish (the most common for window seats), pine is hard to beat. Its softness means it can dent, but this is mitigated by the cushion that sits on top.
Cost: $2-4 per board foot. Best for painted finishes.
Poplar
Poplar is a hardwood priced like a softwood, making it an excellent choice for painted built-ins. It's harder than pine (less prone to denting), has a smooth grain that paints flawlessly, and machines well. Poplar is the professional carpenter's go-to for painted trim, wainscoting, and built-in furniture.
Cost: $3-5 per board foot. Superior paint-grade hardwood.
Oak
Oak is the classic choice for stained window seats and built-ins. Red oak and white oak both offer beautiful grain, excellent durability, and a timeless appearance. White oak has a tighter grain and higher rot resistance, while red oak is more affordable and widely available. Oak window seats are ideal for traditional, craftsman, and transitional homes.
Cost: $4-8 per board foot. Best for stained finishes.
Maple
Hard maple offers a smooth, fine grain and exceptional hardness, making it durable enough for high-traffic window seats in family rooms and playrooms. Its light, uniform color works well with both stain and clear finishes. Maple is more expensive than oak but provides a cleaner, more contemporary look.
Cost: $5-9 per board foot. Premium choice for modern interiors.
MDF (Medium-Density Fiberboard)
MDF is the most affordable option for painted window seats. It has a perfectly smooth surface with no grain pattern, producing flawless painted finishes. MDF is heavier than solid wood and must be sealed against moisture (it swells when wet), but for interior painted applications, it delivers professional results at a fraction of solid wood cost.
Cost: $0.50-1.50 per square foot (3/4-inch sheets). Budget-friendly for paint-grade projects.
Standard Window Seat Dimensions
| Dimension | Standard | Range | Notes |
|---|---|---|---|
| Seat Height | 18 inches | 16-20 inches | Must be below the window sill; matches standard chair height |
| Seat Depth | 18 inches | 16-20 inches | 24-30 inches for lounging/reading nooks |
| Width | Custom | 24-96+ inches | Typically spans the full window width or wall-to-wall |
| Cushion Thickness | 3-4 inches | 2-5 inches | Adds to total seat height; factor into planning |
| Back Support Height | N/A (wall) | 0-18 inches | Wall serves as back; add pillows for comfort |
| Toe Kick | 3 inches | 3-4 inches | Recessed base for foot comfort; optional |
Storage Options
Hinged Lid
The simplest storage approach is a top that opens on hinges, revealing a single large compartment inside the bench. Use piano hinges or concealed lid-stay hinges that hold the lid open safely. This provides the most storage volume and is ideal for large items like blankets, pillows, and seasonal decorations. The drawback is that you must remove the cushion and lift the lid to access contents.
Drawers Underneath
Front-facing drawers provide easy access without disturbing the cushion. Two or three drawers are typical, depending on the seat width. Use quality ball bearing or undermount slides rated for the expected load. Drawers are more complex to build than a hinged lid but far more convenient for everyday storage of books, toys, and craft supplies.
Open Cubbies
Open cubbies or compartments on the front face of the bench provide visible storage for decorative baskets, books, or display items. They're the easiest to build (no doors, drawers, or hardware) and add visual interest to the bench design. Use storage baskets to keep contents organized and concealed.
Bookshelf Sides
Building bookshelves into the sides of a window seat creates a reading nook that stores books right where you'll be reading them. The shelves can face outward into the room or inward toward the seat. This design works best when the window seat projects out from the wall, creating depth for the shelves.
Design Styles for Window Seats
Traditional with Panel Detail
Traditional window seats feature wainscoting panels, raised or recessed panel fronts, decorative molding, and classic proportions. The front of the bench mirrors the room's existing trim style. Crown molding or a simple cap molding finishes the top edge. White or cream painted finishes are the most popular for traditional designs.
Modern Minimalist
Modern window seats use clean lines, flat panels, and minimal ornamentation. The front face is a simple flat panel with no molding, often in a contrasting material or color. Hardware is hidden or flush-mounted. Materials include smooth MDF, lacquered wood, or even upholstered fronts. The emphasis is on simple geometry and material quality.
Farmhouse Beadboard
Farmhouse-style window seats feature beadboard panel fronts, simple plank construction, and a casual, cottage-inspired feel. Distressed or whitewashed paint finishes add authenticity. Pair with grain-sack or ticking stripe cushion fabric for a complete farmhouse look. The front panel is beadboard or V-groove planking installed vertically.
Coastal
Coastal window seats emphasize light, airy materials and colors. White or pale blue painted finishes, rope-style hardware, and natural fiber cushion fabrics (cotton, linen, jute) define the style. Louvered front panels reference shutters and allow ventilation to the storage compartment. This style works especially well with ocean or lake views.
How to Build a Window Seat: Step by Step
Tools Needed
- Circular saw or miter saw
- Drill/driver
- Level (4-foot)
- Tape measure and pencil
- Stud finder
- Jigsaw (for vent cutouts if needed)
- Brad nailer or finish nail gun (optional but helpful)
- Sandpaper (120 and 220 grit)
- Wood filler, primer, and paint or stain
Step 1: Plan and Measure
Measure the window opening, wall-to-wall distance, window sill height, and any obstructions (outlets, vents, baseboards). Your seat must be lower than the window sill. Sketch your design with dimensions, noting the location of wall studs (mark them with painter's tape). Decide on your storage type (lid, drawers, or open) and front panel style.
Step 2: Build the Frame
Construct a rectangular frame using 2x4 lumber. The frame consists of a front face frame, two side frames, and a top perimeter frame. Anchor the rear of the frame directly to wall studs using 3-inch structural screws. The side frames attach to the wall studs at each end. If the seat spans more than 36 inches, add one or two internal vertical supports to prevent the top from sagging.
- Cut 2x4 studs to seat height minus the thickness of the top panel (3/4 inch for plywood or MDF)
- Build front and side face frames with vertical studs every 16-24 inches
- Install a 2x4 ledger board across the back wall at the same height for rear support
- Level everything carefully; the top must be perfectly flat
Step 3: Install the Deck (Seat Platform)
Cut 3/4-inch plywood to fit the top of the frame. This is the seat platform that supports the cushion and any weight placed on the seat. For a hinged-lid design, cut the plywood so it can be lifted; attach with a piano hinge at the back. For a fixed top (with drawer storage below), screw the plywood down to the frame from above. The screw heads will be hidden by the cushion.
If the seat is longer than 48 inches, use two pieces of plywood joined over a center support. The deck should support at least 300 pounds for safety, which 3/4-inch plywood over a properly framed base easily achieves.
Step 4: Install Front Panels
The front panel is the visible face of the window seat and defines its style. Options include:
- Flat panel: A single piece of 1/2-inch or 3/4-inch MDF or plywood, primed and painted
- Wainscoting panel: Traditional raised or flat panel frames built from rails, stiles, and panel stock
- Beadboard: Beadboard paneling (1/4-inch is sufficient) installed vertically behind a simple face frame
- Drawer fronts: If using drawers, build and install the drawer boxes first, then attach the decorative drawer fronts
Attach panels with brad nails and construction adhesive for a clean, no-visible-fastener finish. Add a 3-inch toe kick at the bottom for foot comfort (recessed 3 inches from the front face).
Step 5: Add Trim and Finish
Install base molding, cap molding, and any decorative trim to match the room's existing millwork. Fill all nail holes, screw holes, and seams with wood filler. Sand smooth with 120 grit, then 220 grit. Prime all surfaces with a quality primer (two coats on MDF), then apply two coats of your finish paint or stain.
For a built-in look that appears original to the house, match the paint color and sheen to existing trim, use the same molding profiles, and run the room's baseboard into the sides of the seat. These details make the difference between a window seat that looks added-on and one that looks like it's always been there.
Cushion and Fabric Selection
Foam
The cushion core should be high-density upholstery foam, rated at 2.0 to 2.5 pounds per cubic foot density. Standard cushion foam (1.5 lb density) compresses too quickly and feels flat within a year. Order foam cut to your exact dimensions from an upholstery supply store or online retailer. Wrap the foam in a layer of dacron polyester batting for a softer feel and to round the edges.
Fabric Considerations
- Durability: Choose upholstery-grade fabric rated at 15,000+ double rubs (Wyzenbeek test). This ensures the fabric withstands daily sitting without pilling or wearing through
- Sunlight resistance: Window seats get direct sunlight, which fades most fabrics. Choose solution-dyed fabrics (like Sunbrella) or fade-resistant indoor fabrics for sun-exposed seats
- Cleanability: Performance fabrics with stain-resistant treatments are ideal, especially for family rooms and kitchens. Look for fabrics labeled easy-clean or performance
- Style: Solid colors are the safest choice and easiest to coordinate with changing decor. Patterns add character but are harder to replace if tastes change
Indoor vs. Sunlight-Resistant Fabrics
| Feature | Standard Upholstery Fabric | Sunlight-Resistant Fabric (Sunbrella) |
|---|---|---|
| UV Fade Resistance | Moderate (will fade in direct sun) | Excellent (solution-dyed, won't fade) |
| Water Resistance | Low to moderate | High (naturally water-repellent) |
| Stain Resistance | Varies by treatment | Excellent (bleach-cleanable) |
| Softness | Generally softer | Slightly firmer initial feel; softens with use |
| Cost (per yard) | $15-60 | $25-80 |
| Best For | North-facing or shaded windows | South/west-facing windows with direct sun |
Electrical Considerations
Existing Outlets
Check whether there are any electrical outlets on the wall where the window seat will be built. Outlets cannot be covered or buried behind the seat; they must remain accessible per building code. Options include relocating the outlet above the seat height, extending it to the front face of the bench, or routing it to the side panel. An electrician can handle this for $100-200.
Heating Vents Below Windows
Many homes have heating registers or radiators beneath windows. If your window has a floor register, you must provide ventilation through the window seat to allow heated air into the room. Options include:
- Grille in the seat top: Install a decorative grille flush with the seat surface at the front edge, over the vent location
- Grille in the front panel: Cut an opening in the kick space or front panel and install a linear bar grille
- Louvered front panel: Use a louvered panel design that allows continuous airflow
Never seal a heating vent behind a window seat. This reduces heating efficiency, can cause the HVAC system to overwork, and may create condensation problems on the window.
Cost Estimates
| Approach | Materials Cost | Labor Cost | Total | Includes |
|---|---|---|---|---|
| DIY Basic Bench | $200-400 | $0 | $200-400 | Framing, plywood deck, MDF front panel, paint, basic trim |
| DIY with Storage | $350-600 | $0 | $350-600 | Above plus drawers or hinged lid, hardware, panel detail |
| Professional Basic | $300-500 | $500-1,000 | $800-1,500 | Custom-fit bench, panel front, trim, paint |
| Professional with Storage | $400-700 | $800-1,800 | $1,200-2,500 | Custom bench, drawers, panel detail, trim, paint |
| Custom Cushion | $100-400 | Included | $100-400 | High-density foam, professional upholstery, fabric |
Bay window seats and designs with flanking bookshelves are at the higher end of these ranges due to the additional complexity and material. Adding electrical work (outlet relocation) adds $100-250.
Window Seat Inspiration: Where to Start
The best window seat for your home depends on the window itself, the room's function, and your design style. A bedroom window seat with a hinged lid stores extra bedding and creates a quiet reading spot. A kitchen banquette maximizes seating in a tight floor plan. A living room bay window seat with flanking bookshelves becomes the room's focal point.
If you're new to built-in projects, start with the basic bench design under a single window. The framing and paneling techniques are straightforward, the materials are forgiving, and the results are immediately rewarding. Once you've completed one, you'll have the skills and confidence to tackle more elaborate designs, like an entryway bench or a full bay window nook with storage and bookshelves.
Frequently Asked Questions
Lumberama Team
Building Materials Experts
Contributor to Lumberama’s reference library. Read our editorial standards and source methodology.
Explore related resources
Where readers of this article usually go next.
Related Articles

Chicken Coop Guide: How to Build, Cost & Plans
Start your backyard flock with this comprehensive coop building guide.

Pressure Washing Guide: Cost, Tips & When to Wash
Restore your home's exterior with this power washing guide.

Cabinet Guide: Types, Cost & How to Choose Kitchen Cabinets
Find the right cabinets for your kitchen remodel.