Article
Woodworking & Lumber
Trim & Baseboard Guide: Types, Cost & Installation
Lumberama Editorial Team, Trim & Finish Carpentry Specialists Nov 28, 2026 7 min read
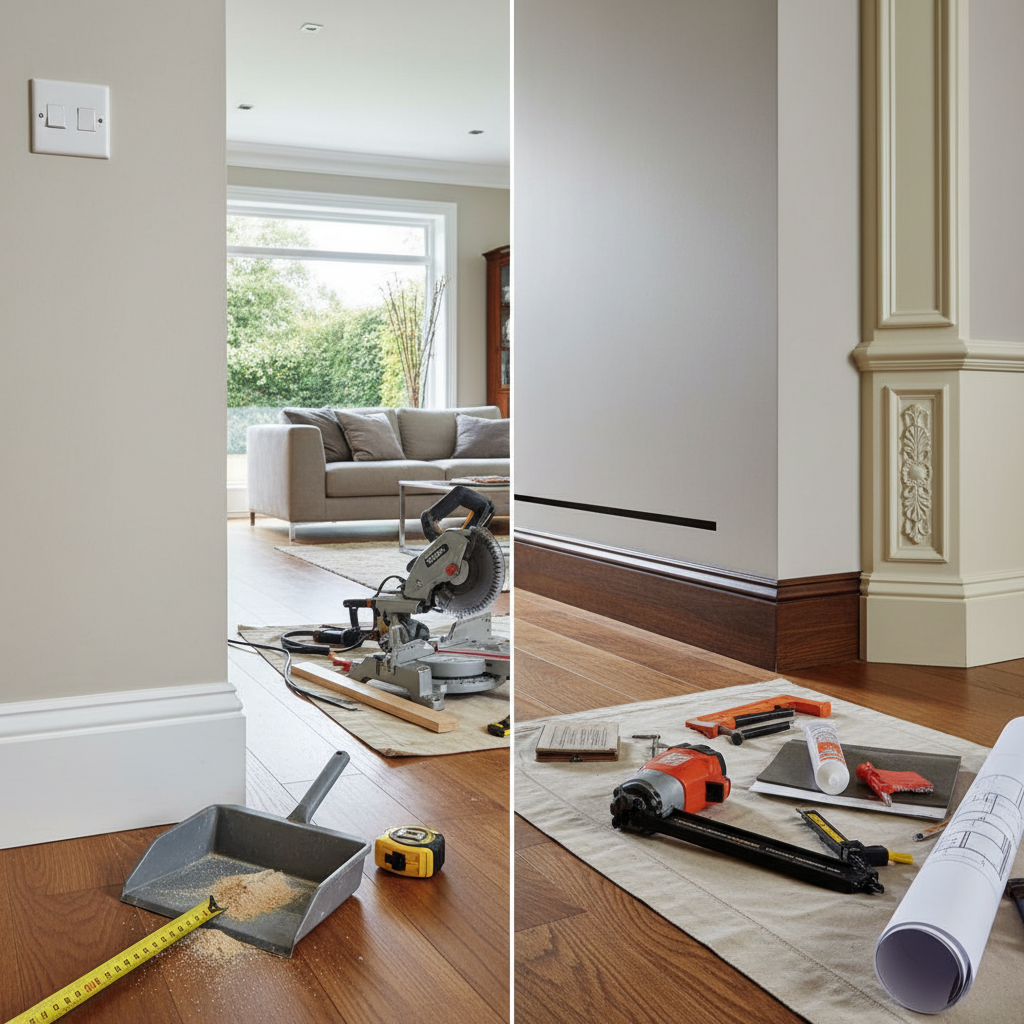
Trim Types
Baseboard: Runs along the bottom of walls where they meet the floor. Standard heights: 3-3.5 inches (builder grade), 5.25 inches (most popular upgrade), 7.25 inches (dramatic/formal). Materials: MDF ($0.50-$2/ft), pine ($1-$4/ft), poplar ($1.50-$4/ft), oak ($3-$8/ft).
Door casing: Frames around doorways. Most common styles: colonial (curved profile), craftsman (flat, simple), ranch (rounded). Width: 2.25-3.5 inches. Cost: $1-$6 per linear foot.
Window casing: Frames around windows. Typically matches door casing style. Some homes add a window stool (sill) and apron below. Cost: $1-$6 per linear foot.
Shoe molding / quarter round: Small trim that covers the gap between baseboard and floor. Quarter round: 3/4 inch, quarter-circle profile. Shoe molding: thinner and taller, more elegant. Cost: $0.25-$1 per linear foot.
Chair rail: Horizontal trim at chair height (30-36 inches). Protects walls from furniture. Cost: $1-$5 per linear foot.
Cost
Baseboard per linear foot: MDF: $0.50-$2 (material). Pine: $1-$4. Hardwood: $3-$8. Installed (professional): $4-$10 per linear foot.
Per room (12x12, ~44 linear feet): DIY (MDF): $30-$100 (materials). DIY (wood): $50-$200. Professional: $200-$500.
Whole house baseboard: Average home (~500 linear feet): DIY: $250-$1,000. Professional: $2,000-$5,000.
Door casing per door: Materials: $20-$60. Professional installed: $75-$200.
Window casing per window: Materials: $20-$50. Professional installed: $75-$200.
Complete trim package (whole house): Builder grade: $2,000-$5,000. Upgraded: $5,000-$10,000. Premium: $10,000-$20,000+.
Installation
Tools needed: Miter saw (essential). Nail gun (brad nailer or finish nailer). Measuring tape and pencil. Caulk and caulk gun. Wood filler. Level.
Baseboard installation: 1. Measure each wall. 2. Cut pieces (outside corners: mitered at 45°. Inside corners: one piece square, one coped or mitered). 3. Nail to wall studs (every 16 inches). 4. Fill nail holes with wood filler. 5. Caulk top edge and corners. 6. Prime and paint.
Tips: Cope inside corners for the best fit (or miter and caulk for ease). Back-cut miters slightly for tight joints. Leave 1/8 inch gap at floor if installing before flooring. Use a stud finder. Caulk the top edge for a seamless look.
DIY difficulty: Baseboard: intermediate (the miter cuts take practice). Door/window casing: intermediate. Shoe molding: beginner.
Frequently Asked Questions
Materials per linear foot: MDF: $0.50-$2. Pine: $1-$4. Hardwood: $3-$8. Professional installed: $4-$10 per linear foot. Per room (12x12): DIY: $30-$200. Professional: $200-$500. Whole house (~500 linear feet): DIY: $250-$1,000. Professional: $2,000-$5,000. Best value: MDF baseboard (paints beautifully, smooth finish, least expensive). Most popular: 5.25-inch MDF baseboard ($1-$2/ft material).
Standard/builder grade: 3-3.5 inches. Most popular upgrade: 5.25 inches (significant visual improvement over builder grade). Tall/dramatic: 7.25 inches (formal rooms, high ceilings). Guidelines: 8 ft ceilings: 3.5-5.25 inches. 9 ft ceilings: 5.25-7.25 inches. 10+ ft ceilings: 7.25 inches or taller. Rule of thumb: taller baseboards make a bigger visual impact and give a more custom look. The upgrade from 3.5 to 5.25 inches is one of the most cost-effective trim upgrades you can make. Cost difference is minimal but the visual impact is significant.
MDF: pros: smooth (no knots or grain). Paints perfectly. Least expensive. Pre-primed options available. Consistent quality. Cons: can't be stained. Chips if hit hard. Swells if wet (not for bathrooms without precautions). Heavier than pine. Wood (pine): pros: can be stained or painted. Natural material. Lighter weight. More impact-resistant. Cons: knots (unless clear grade). More expensive. Can warp. Needs more prep. Wood (hardwood): pros: most durable. Beautiful grain for staining. Premium look. Cons: most expensive. Harder to cut and nail. Recommendation: MDF for painted baseboard (90%+ of installations). Pine for stained baseboard. Hardwood for high-end stained applications.
Purpose: covers the gap between baseboard and floor (gaps are common, especially with floating floors). Quarter round: 3/4 inch, quarter-circle shape. Simple, obvious. $0.25-$0.75/ft. Shoe molding: thinner and taller profile. More elegant, less noticeable. $0.30-$1/ft. When you need it: after installing new flooring (gaps are almost always present). If your baseboard doesn't sit flush with the floor. When you don't need it: if your baseboard was installed after the flooring (already sits on the floor). If there are no gaps. Personal preference: some people prefer the clean look without shoe molding. Others like the finished detail it adds.
Lumberama Editorial Team
Trim & Finish Carpentry Specialists
Contributor to Lumberama’s reference library. Read our editorial standards and source methodology.
Explore related resources
Where readers of this article usually go next.
Related Articles

Woodworking & Lumber
Wainscoting Guide: Types, Cost & Installation Ideas
Add classic charm and protection to your walls.
Lumberama Editorial Team Nov 28, 2026 7 min

Woodworking & Lumber
Wallpaper Guide: Types, Cost & Installation Tips
Add pattern and personality to your walls.
Lumberama Editorial Team Nov 27, 2026 7 min

Woodworking & Lumber
Crown Molding Guide: Types, Cost & Installation
Add elegance to any room with crown molding.
Lumberama Editorial Team Nov 27, 2026 7 min