How to Build Outdoor Stairs with Stringers: Deck and Porch Step Guide
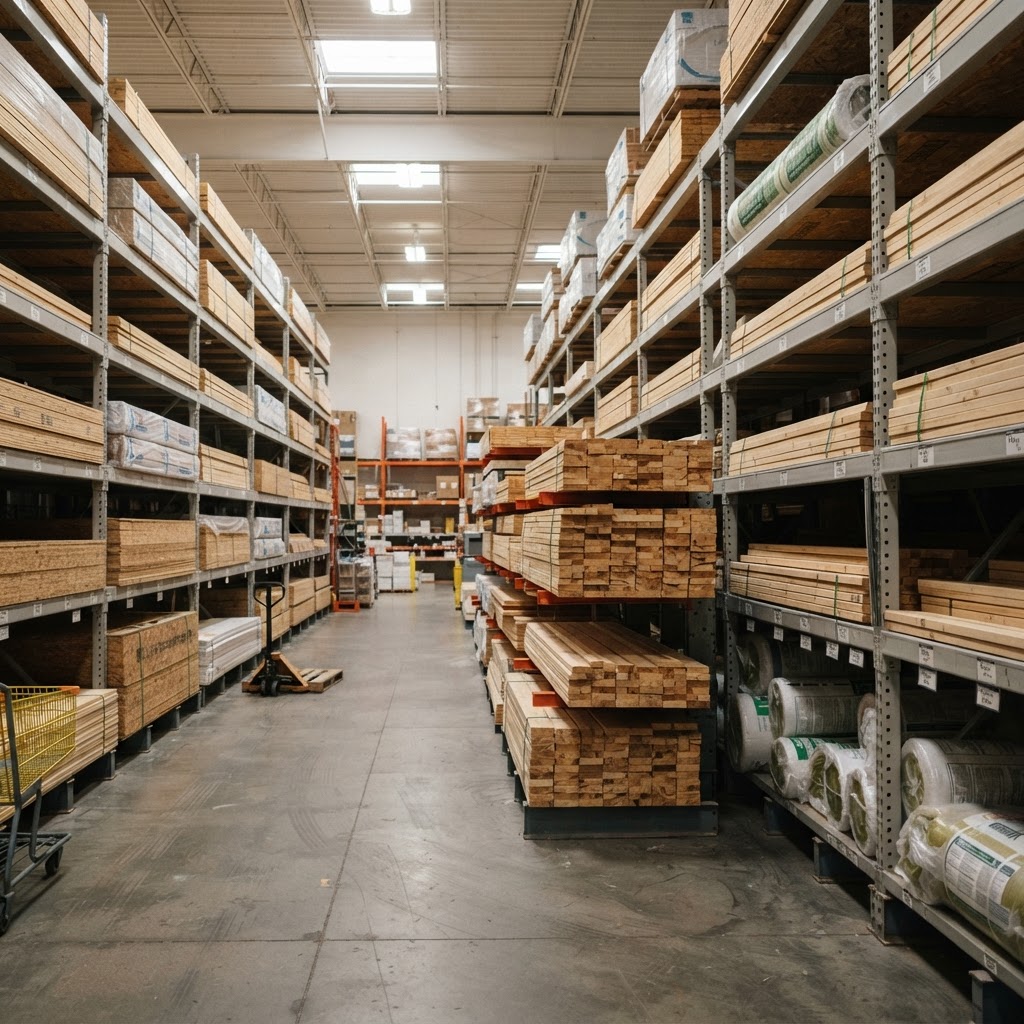
How to Build Outdoor Stairs with Stringers
Stairs are the most technically demanding part of deck or porch construction, but they follow consistent rules that make them very learnable. The key is understanding rise and run — and doing the math before you cut anything.
The Fundamental Rules of Stair Design
Building codes have evolved around human biomechanics:
- Unit rise: 4" minimum, 7.75" maximum (7" is the sweet spot)
- Unit run (tread depth): 10" minimum (11" is comfortable)
- Total rise + run formula: Rise + Run should equal 17–18 inches for comfortable stairs
- Consistency: All risers must be within 3/8" of each other — inconsistency causes trips and falls
Step 1: Calculate Your Rise and Run
Measure Total Rise
Measure the vertical distance from where your stairs will start at ground level to the deck or porch surface. Do this carefully — measure at the actual stair location, not a foot away.
Example: 49-inch total rise
Calculate Number of Risers
Divide total rise by ideal riser height (7"):
49" ÷ 7" = 7 risers
If it doesn't divide evenly: 49" ÷ 7 risers = 7" per riser exactly.
If you had 52": 52 ÷ 7 = 7.43, so try 8 risers: 52 ÷ 8 = 6.5" per riser — perfectly acceptable.
Calculate Number of Treads
Number of treads = Number of risers - 1
7 risers = 6 treads
Calculate Total Run (Horizontal Distance)
6 treads × 11" run = 66" = 5.5 feet of horizontal distance
You need 5.5 feet of horizontal space in front of your deck for this stair.
Material List for 3-Step Stringer Stairs (36" wide)
- 2 pieces 2x12x8 pressure-treated (stringers)
- 6 pieces 5/4x6x6 pressure-treated decking (treads — 2 per step, 36" length)
- Stringer hardware (stringer connector brackets)
- 3" structural screws
- Post base anchors if landing on concrete
Step 2: Lay Out the Stringer
You'll need a framing square, a pencil, and your rise/run numbers.
Setup
On your 2x12, place the framing square with:
- The rise measurement on the vertical (tongue) side
- The run measurement on the horizontal (blade) side
For 7" rise / 11" run: Position the 7" mark on the tongue and the 11" mark on the blade, both touching the top edge of the board. Draw lines along both legs of the square.
Stringer Gauge Block (Pro Tip)
Purchase or make stringer gauges — small brass clips that attach to the framing square at your rise and run measurements. This prevents measuring errors and speeds up layout dramatically.
Work from Top to Bottom
Mark the first cut at the top (where the stringer meets the deck frame), then step down your rise/run pattern until you've marked all steps plus the bottom cut.
Critical adjustment: After laying out all steps, you must reduce your first riser height by the thickness of your tread material (typically 1.5" for 5/4 decking or 1" for hardwood treads). If you don't subtract tread thickness from the bottom riser, your first step will be too tall.
Step 3: Cut the Stringers
Use a circular saw to make the cuts, but do not cut past the corner where riser and tread meet. Cutting into the corner weakens the stringer at the most stressed point. Finish each corner cut with a handsaw.
Mark the first cut stringer as your template. Hold it against the second piece and trace before cutting — this ensures both stringers are identical.
Lumber selection: Choose 2x12 boards with tight, straight grain and no knots in the cut-out areas. Knots in the notch region create structural weakness. Look for #1 or Select grade lumber for stringers.
Step 4: Install the Stringers
Top Attachment
Attach stringers to the deck rim joist using stringer connector hardware (Simpson Strong-Tie makes excellent products). These provide much better lateral stability than toe-nailing alone. Angle brackets or hanger-style connectors both work.
Stringer spacing: Maximum 16" between stringer centers for 5/4 tread stock. For wider stairs, add a center stringer.
Bottom Attachment
If landing on soil: Dig a small concrete pad or use precast concrete pads at the base of each stringer. Never rest wooden stringers directly on soil — they'll rot within a few years.
If landing on concrete: Use metal post bases anchored to the concrete pad.
Step 5: Install Treads
For each step, use two 5/4x6 boards side by side. This gives you 11.5" of tread depth — slightly over the minimum 10" but very comfortable.
Attach each tread with two 3" screws per end per board. Predrill near ends to prevent splitting. Leave 1/8" between tread boards for drainage.
Nosing: Treads should extend 1–1.5" beyond the riser face (the nosing). This is both code-required (3/4" min overhang) and more comfortable to walk on.
Handrail Requirements
Building codes require handrails on stairs with 4 or more risers. The rail must:
- Be graspable (1.25"–2" in diameter for round rails)
- Height between 34"–38" measured vertically from tread nosing
- Have returns at top and bottom (the rail turns back to the wall or post)
- Withstand 200 lb load in any direction at any point
Install 4x4 posts at top, bottom, and every 6 feet along the run. Bolt them through the stringer (not just screwed) for code-compliant strength.
Frequently Asked Questions
Mike Henderson
Master Carpenter
Contributor to Lumberama’s reference library. Read our editorial standards and source methodology.
Continue researching decking
Where readers of this article usually go next.
Related Articles

Deck Lighting Guide: Ideas, Types & How to Install
Transform your deck with the right lighting using this comprehensive guide.

Deck Lighting Guide: Types, Cost, Installation & Ideas
Illuminate your deck with the right lighting for safety, ambiance, and style.
Deck Railing Guide: Materials, Styles & Code
Choose the perfect deck railing with this comprehensive railing guide.