How to Build a Shed: Plans, Materials List & Step-by-Step Guide
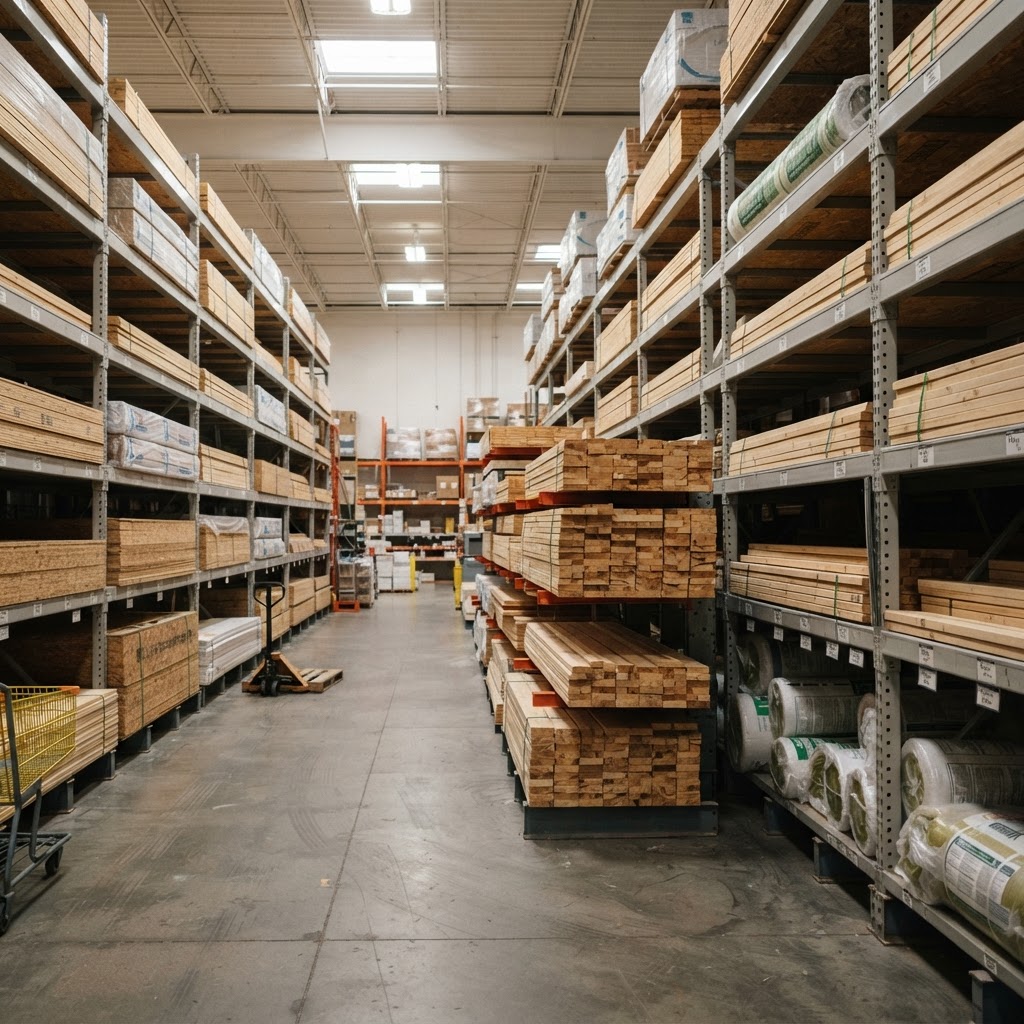
How to Build a Shed: Plans, Materials & Step-by-Step Instructions
A backyard shed is one of the most rewarding DIY building projects you can tackle. Whether you need extra storage for tools and equipment, a workshop for weekend projects, or a she-shed retreat, building your own shed saves thousands compared to buying a pre-built structure — and gives you exactly the size and layout you want.
This guide walks you through everything from choosing a shed type to driving the last nail, with complete materials lists and cost breakdowns.
Shed Types: Which One Should You Build?
Before you start buying lumber, decide which shed style fits your needs, skill level, and budget.
Lean-To Shed
- Cost: $500–$1,500
- Skill Level: Beginner
- Best for: Garden tools, lawn equipment, narrow spaces
A lean-to shed has a single-slope roof that leans against an existing structure (your house, garage, or fence). It's the simplest shed to build — essentially three walls and a sloped roof. Lean-to sheds work well in narrow side yards and are the fastest to construct, often completable in a single weekend.
Gable Shed
- Cost: $1,500–$4,000
- Skill Level: Intermediate
- Best for: General storage, workshops, all-purpose use
The gable shed is the classic A-frame design with two sloping roof planes meeting at a ridge. It's the most popular shed style because the symmetrical roof sheds water efficiently and the vertical walls maximize interior space. A 10x12 gable shed provides roughly 120 square feet of floor space — enough for a riding mower, workbench, and wall-mounted tool storage.
Gambrel (Barn-Style) Shed
- Cost: $2,000–$5,000
- Skill Level: Advanced
- Best for: Maximum storage, loft space, workshop conversions
The gambrel roof has two slopes on each side — a steep lower section and a shallow upper section — creating a barn-like silhouette. This design maximizes vertical interior space and is ideal for adding a loft for overhead storage. Gambrel sheds are the most complex to frame but provide the most usable volume per square foot of footprint.
Complete Materials List: 10x12 Gable Shed
Here's what you'll need for a standard 10x12 gable shed with 8-foot walls and asphalt shingle roof:
Foundation & Floor Framing
- 6 concrete deck blocks or 9 solid concrete blocks (4x8x16)
- 2 pressure-treated 2x8x12 rim joists
- 9 pressure-treated 2x8x10 floor joists (16" OC)
- 4 sheets 3/4" tongue-and-groove plywood subfloor
- Joist hangers: 18 pieces
Wall Framing
- 42 2x4 studs at 92-5/8" (pre-cut)
- 14 2x4x12 for top/bottom plates
- 6 2x4x10 for top/bottom plates
- 4 2x4x12 for headers
Roof Framing
- 14 2x6x8 rafters
- 1 2x6x12 ridge board
- 6 sheets 7/16" OSB sheathing
- 30 lin ft drip edge
- 1 roll 15 lb roofing felt
- 3 bundles asphalt shingles
Siding & Trim
- 14 sheets T1-11 siding (4x8) or equivalent
- 80 lin ft 1x4 trim boards
- 1 pre-hung exterior door (36")
- 2 shed windows (24x24" or similar)
Hardware & Fasteners
- 10 lbs 3" construction screws
- 5 lbs 16d framing nails
- 5 lbs 8d common nails
- 2 lbs 1-1/4" roofing nails
- 2 lbs 6d siding nails
- Hurricane ties, Simpson A35 angles
- Door hinges and latch hardware
Step-by-Step Construction
Step 1: Site Preparation & Foundation
Choose a level spot with good drainage, at least 3 feet from property lines (check your local code — setback requirements vary). Clear vegetation and grade the area so water drains away from the shed.
Foundation Options Comparison:
| Foundation Type | Cost | Difficulty | Best For | Longevity |
|---|---|---|---|---|
| Concrete deck blocks | $50–$100 | Easy | Sheds up to 120 sq ft | 20+ years |
| Gravel pad | $100–$300 | Easy | Any size, excellent drainage | 15+ years |
| Concrete slab | $500–$1,500 | Moderate | Large sheds, workshops | 30+ years |
| Skid (timber) foundation | $75–$200 | Easy | Movable sheds | 15–20 years |
| Concrete piers | $200–$500 | Moderate | Sloped sites | 30+ years |
For most backyard sheds, concrete deck blocks or a compacted gravel pad are the best balance of cost, ease, and performance.
Step 2: Floor Framing
Build the floor frame on a flat surface (your driveway works well), then move it to the foundation.
1. Cut rim joists and floor joists to length
2. Install joist hangers on the rim joists, spaced 16 inches on center
3. Set floor joists into hangers and secure with joist hanger nails
4. Check the frame for square by measuring diagonals — they should be equal
5. Install 3/4" plywood subfloor with construction adhesive and 2" screws, staggering the seams
6. Place the completed floor frame on your foundation and level it using shims
Use our framing calculator to verify your joist spacing and quantities.
Step 3: Wall Framing
Frame each wall flat on the shed floor, then raise them into position.
1. Cut top and bottom plates to wall length
2. Mark stud locations at 16 inches on center on both plates
3. Frame the back wall first (no openings = simplest), then the front wall with door and window openings
4. Frame the two side walls
5. Raise each wall, plumb it with a level, and brace it temporarily with diagonal 2x4s
6. Nail the walls together at the corners and add a doubled top plate, overlapping at corners for strength
Step 4: Roof Framing
1. Install the ridge board at the peak, supported by temporary posts
2. Cut rafter pairs using a speed square to mark the plumb cut, bird's mouth, and tail cut
3. Install rafters at 16 inches on center, toenailing into the top plate and face-nailing into the ridge
4. Add collar ties to every other rafter pair for added rigidity
5. Install OSB roof sheathing starting from the bottom edge, staggering the seams
6. Install drip edge along the eaves and rakes
Use our roofing calculator to determine the exact number of shingles and felt you'll need for your roof pitch and dimensions.
Step 5: Roofing
1. Roll out 15 lb roofing felt, overlapping each course by 4 inches, and staple it down
2. Snap chalk lines for shingle courses
3. Install a starter strip along the eaves
4. Lay shingle courses from bottom to top, offsetting each row by half a tab
5. Install ridge cap shingles at the peak
Step 6: Siding, Doors & Windows
1. Install T1-11 siding panels vertically, leaving a 1/8" gap at the bottom for drainage
2. Nail with 6d galvanized siding nails every 8 inches along the edges and 12 inches in the field
3. Caulk all seams and joints
4. Install the pre-hung door, shimming for plumb and level
5. Set windows, flash with self-adhering membrane at the sill and jambs
6. Add 1x4 trim around doors, windows, and corners
Step 7: Interior Finishing
1. Add shelving and workbench if desired
2. Install pegboard or wall-mounted tool organizers
3. Consider adding a small window for ventilation
4. Apply exterior paint or stain to all exposed wood within 48 hours of installation
Permit Considerations
Building permits for sheds vary widely by jurisdiction. Here are the general rules:
- Under 100 sq ft: Many jurisdictions allow sheds under 100 square feet without a permit, but you still need to meet setback requirements
- 100–200 sq ft: Most areas require a permit in this range
- Over 200 sq ft: Nearly all jurisdictions require a building permit
- Electrical: If you're adding wiring, you'll almost certainly need a separate electrical permit
- HOA: Homeowners associations often have their own rules about shed size, placement, color, and materials — check your CC&Rs before building
Always check with your local building department before starting. A quick phone call can save you from costly tear-downs or fines.
Cost Breakdown: 10x12 Gable Shed
| Category | DIY Cost | Contractor Cost |
|---|---|---|
| Foundation | $100–$300 | $300–$800 |
| Lumber & framing | $800–$1,200 | $800–$1,200 |
| Roofing | $200–$400 | $400–$800 |
| Siding & trim | $300–$600 | $300–$600 |
| Doors & windows | $200–$500 | $200–$500 |
| Hardware & fasteners | $100–$200 | $100–$200 |
| Labor | $0 | $1,500–$3,000 |
Tips for Success
- Buy 10% extra lumber to account for waste, warped boards, and cutting mistakes
- Check every board for straightness before you buy — sight down the edge and reject any with significant bow, twist, or crown
- Pre-stain or prime cut ends to prevent moisture absorption, especially on floor framing
- Use pressure-treated lumber for any wood within 6 inches of the ground
- Build on a dry weekend — wet lumber is heavier, slippery, and harder to work with
- Recruit a helper for wall raising — even a small wall is awkward to lift and plumb alone
Frequently Asked Questions
Lumberama Editorial Team
Building & Woodworking Experts
Contributor to Lumberama’s reference library. Read our editorial standards and source methodology.
Explore related resources
Where readers of this article usually go next.
Related Articles
Landscape Lighting Guide: Types, Cost & Design Tips
Transform your outdoor space with lighting.
Fire Pit Guide: Types, Cost & Safety Tips
Build or buy the perfect fire pit for your backyard.
Walkway & Path Guide: Materials, Cost & Design
Build a beautiful and functional walkway.