How to Build a Pergola: Design, Materials & Step-by-Step Construction
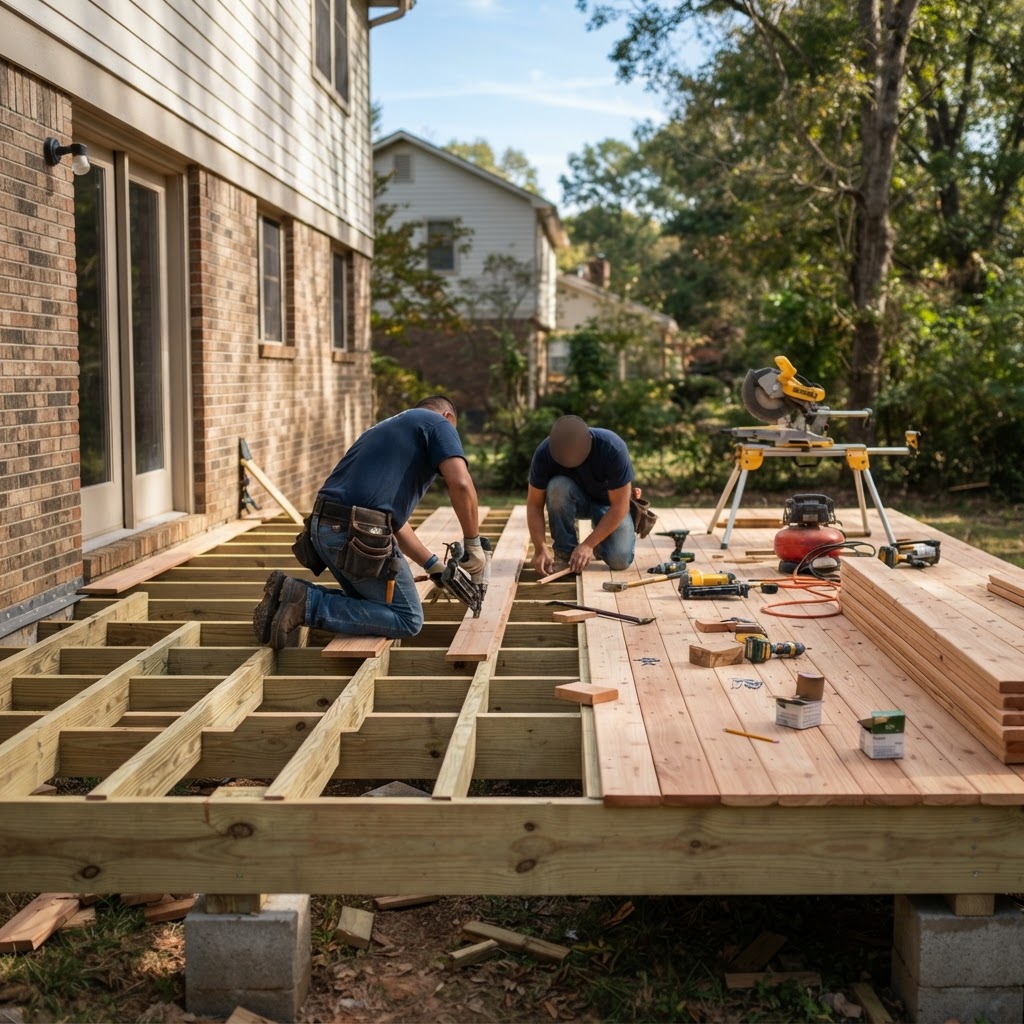
Pergola Anatomy
Posts: The vertical supports. Typically 6x6 lumber (5.5" x 5.5" actual) for structural integrity and visual proportion. 4x4 posts work for small pergolas (under 8' span) but look undersized on larger structures. Standard post height: 8-10 feet above ground level.
Beams: The horizontal members that span between posts, resting on top of them. Typically 2x8, 2x10, or doubled 2x8 lumber. The beams carry the weight of the rafters and any loads (snow, plants, hanging items). Beam ends are often shaped with decorative cuts (curves, chamfers, notches) for visual appeal.
Rafters: The members that span across the beams, perpendicular to them. Typically 2x6 or 2x8 lumber. Spaced 12-24 inches apart. Rafters create the overhead pattern that defines the pergola's character. Rafter ends are also commonly given decorative profiles.
Purlins (optional): Smaller members (2x2 or 1x4) that run across the top of the rafters, perpendicular to them. They create a finer grid pattern that provides more shade. Not structural — purely for shade and aesthetics.
Design Considerations
Size: A freestanding pergola for a dining area is typically 10x12 or 12x14 feet. For a small seating area, 8x10 feet works. Measure your outdoor furniture and add 2-3 feet on each side for comfortable movement.
Shade: Standard pergola rafters provide roughly 25-50% shade depending on spacing and time of day. For more shade, add purlins, a shade cloth, or plant climbing vines (wisteria, grape, jasmine) that will fill in over a few seasons.
Attached vs freestanding: An attached pergola connects to the house with a ledger board (like a deck ledger). A freestanding pergola has posts on all four sides. Attached pergolas require proper ledger installation to prevent water damage to the house. Freestanding pergolas are simpler and don't risk the house structure.
Materials
Pressure-treated lumber: The most affordable option. Ground-contact rated (UC4A) for posts; above-ground (UC3A) for beams, rafters, and purlins. Can be stained or painted after drying. Total materials cost for a 10x12 pergola: $500-$1,000.
Cedar: The premium natural wood choice. Beautiful, naturally rot-resistant, lightweight. More expensive than pressure-treated ($1,000-$2,000 for a 10x12) but weathers to an attractive silver-gray and doesn't require chemical treatment. Western red cedar is the standard.
Redwood: Premium West Coast choice. Rich color, excellent durability. More expensive than cedar. Limited availability east of the Rockies.
Footings
Below frost line: Post footings must extend below the local frost line to prevent heaving. Frost depth varies: 12" in the South, 36-48" in the Midwest and Northeast, 60"+ in extreme northern climates. Check your local building code.
Concrete footings: Dig holes to the required depth plus 6" for gravel drainage. Set a post anchor in wet concrete at the top of the footing. After the concrete cures, attach the post to the anchor. This keeps the wood post above the concrete and ground, preventing rot at the base.
Post anchor hardware: Simpson Strong-Tie ABU or similar post bases bolt to the concrete and hold the 6x6 post above the footing. The post never touches the ground or concrete. This is the code-compliant and longest-lasting method.
Construction Steps
Step 1: Layout and mark post locations. Use stakes and string to lay out the pergola footprint. Measure diagonals to verify square (diagonals should be equal). Mark post hole locations.
Step 2: Dig footings and pour concrete. Dig post holes to the required depth. Add 6" of gravel at the bottom for drainage. Pour concrete and set post anchors while the concrete is wet. Level the anchors. Let the concrete cure for 48 hours minimum.
Step 3: Install posts. Set 6x6 posts in the anchors. Brace plumb (vertical) in both directions. Bolt to the post anchors.
Step 4: Cut posts to height. Mark all posts at the same height using a laser level or water level (this is more accurate than measuring up from the ground, which may not be level). Cut the posts to height.
Step 5: Install beams. Set beams on top of posts. For doubled beams, sandwich the post between two beam boards and bolt through. For single beams resting on top, use beam-to-post connectors or notch the post to create a seat for the beam.
Step 6: Install rafters. Set rafters across the beams at the planned spacing. Attach with hurricane ties or toe-nailed with structural screws. Decorative rafter tails should overhang the beams by 12-18 inches.
Step 7: Install purlins (optional). Attach purlins across the rafters with screws.
Step 8: Finish. Apply stain, sealer, or paint as desired. Let pressure-treated wood dry 2-4 weeks before finishing.
Frequently Asked Questions
Lumberama Editorial Team
Outdoor Structure & Landscape Construction Specialists
Contributor to Lumberama’s reference library. Read our editorial standards and source methodology.
Continue researching decking
Where readers of this article usually go next.
Related Articles

Pressure Washing Guide: Cost, Tips & What to Clean
Restore your home's exterior with pressure washing.
Arbor & Trellis Guide: Types, Cost & DIY Ideas
Add vertical beauty to your garden.
Screen Porch Guide: Types, Cost & Design Ideas
Enjoy the outdoors without bugs.