Article
Woodworking & Lumber
Floating Shelves: Complete Guide to Styles, Materials & Installation
Lumberama Editorial Team, Building & Woodworking Experts Jun 10, 2026 5 min read
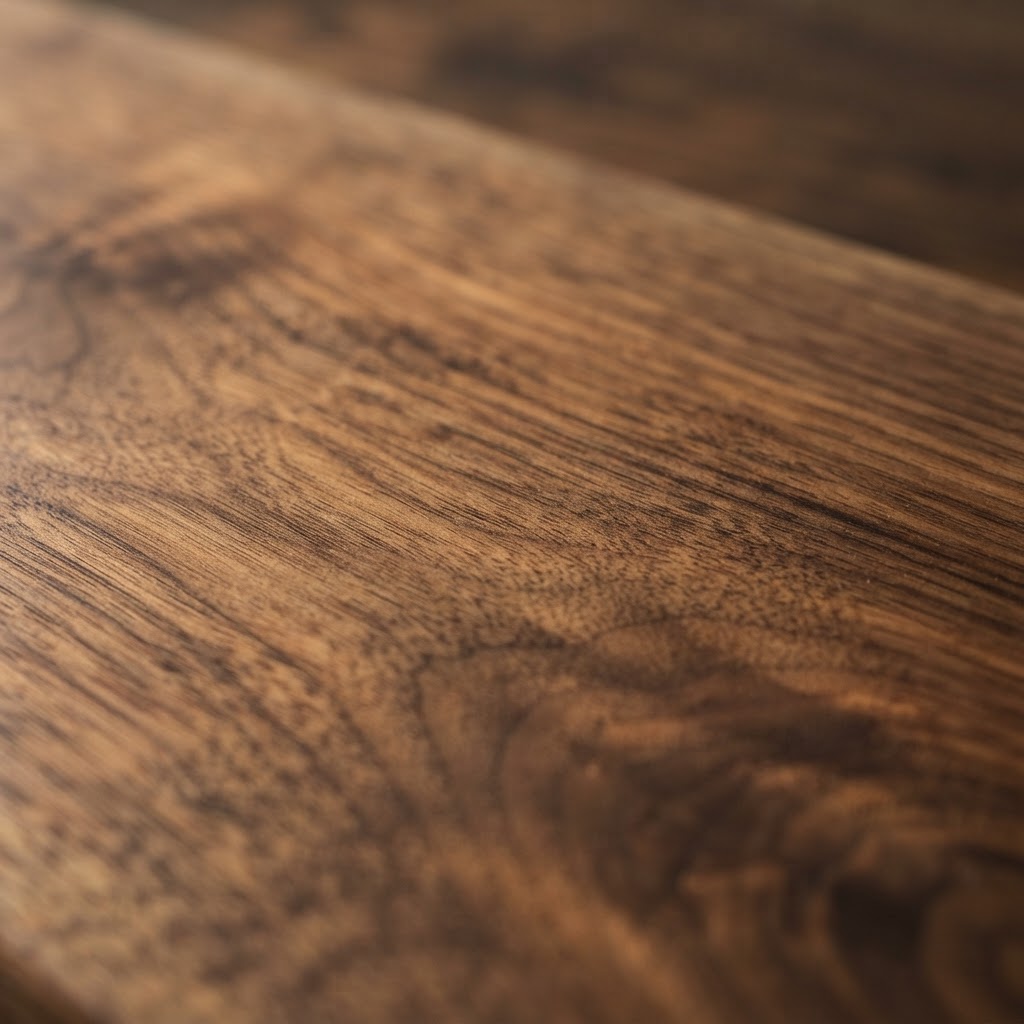
What Are Floating Shelves? Floating shelves are wall-mounted storage solutions designed to look as if they are suspended in mid-air. Unlike traditional shelving that relies on visible L-brackets or rails, floating shelves use internal supports—typically a metal bar or T-bracket system—that remain concealed within the board itself. This creates a minimalist aesthetic, making them ideal for modern, industrial, or Scandinavian-style interiors. Beyond their appearance, they offer a practical way to utilize vertical space in tight areas like kitchens or home offices without the visual clutter of bulky furniture. ## Best Wood Species for Floating Shelves Choosing the right material depends on your project goals: aesthetic preferences, budget, and load-bearing requirements. - White Oak: Widely favored for its distinct, straight grain and extreme durability. With a Janka hardness rating of 1,360 lbf, it is highly resistant to denting. Expect to pay $40-$80 per shelf. - Black Walnut: Prized for its deep, rich color that requires little staining. While slightly softer than Oak at 1,010 lbf, it offers a premium look. Prices generally range from $60-$120 per shelf. - Hard Maple: An excellent choice for high-traffic areas. Its 1,450 lbf Janka rating makes it nearly immune to damage. Its light, uniform color takes stains and clear coats very well. - Cherry: Known for its warm, reddish-brown tones that deepen in character as it oxidizes over time. - Pine: The standard for budget-conscious projects. Costing $15-$30 per shelf, it is a soft wood, making it easier to work with but more prone to scratches. For projects where you intend to paint, MDF or high-quality engineered wood ($15-$50) provides a smooth, knot-free surface. However, be cautious: avoid MDF in high-humidity areas like bathrooms, as it tends to swell when exposed to moisture. ## How to Install Floating Shelves Successful installation hinges on finding structural support. A shelf is only as strong as the connection between your bracket and the wall stud. ### Tools Needed To complete the job, gather the following: - Stud finder (essential for safety) - 48-inch bubble level - Power drill with appropriate bits (wood bits for the shelf, masonry/wood for the wall) - Heavy-duty floating shelf bracket kit - 3-inch long wood screws (for wall mounting) - Measuring tape and pencil ### Step-by-Step Installation 1. Identify Studs: Use a high-quality stud finder to locate the center of the wall studs. Mark these clearly; most wall studs are 16 inches apart on center. 2. Mark Your Level Line: Use your level and pencil to mark the exact height of the shelf. For display shelves, 48-54 inches from the floor is standard. In kitchens, ensure at least 18 inches of clearance above the countertop to keep the workspace functional. 3. Secure the Bracket: Align your bracket with the stud marks. Use a level to ensure the bracket is perfectly horizontal. Drive your 3-inch screws through the mounting holes and deep into the center of the studs. 4. Slide and Secure: Once the bracket is locked tight, slide your shelf onto the rods. If the fit is tight, you may need a rubber mallet to gently tap it flush against the wall. Finally, secure the shelf to the bracket using the provided set screws (usually located on the bottom or side). ## Weight Capacity Guide The weight a shelf can handle depends entirely on the hardware and the wall structure. | Mounting Method | Weight Capacity | |---|---| | Two studs, standard bracket | 30-50 lbs | | Two studs, heavy-duty bracket | 50-75 lbs | | Three studs, heavy-duty | 75-100+ lbs | | Drywall anchors only | 15-25 lbs | Pro Tip: Never rely on drywall anchors for bookshelves or heavy decorative items. Over time, the leverage exerted by the weight will cause the anchor to "creep" and eventually rip out of the drywall. Always drill into studs. ## Floating Shelves by Room ### Kitchen Floating Shelves In modern design, floating shelves have become the go-to alternative to upper cabinets. They create an open, airy feeling and force you to keep your kitchen essentials organized. Use moisture-resistant hardwoods, and seal the wood with multiple coats of polyurethane to prevent grease and water damage. Aim for 10-12 inches of depth for standard dish storage. ### Bathroom Floating Shelves Moisture is the primary concern here. Opt for naturally water-resistant woods like Teak or Cedar. If using other species, ensure they are sealed on all sides, including the back face, to prevent warping. ### Living Room & Floating Bookshelves Floating bookshelves can support impressive weight, but you must calculate the load of your books. A linear foot of hardcover books can weigh 20-30 pounds. Ensure your shelf depth is at least 10 inches and mounted on at least three studs for long runs. ## Common Mistakes to Avoid 1. Ignoring Wall Materials: If you are mounting onto plaster or masonry rather than standard drywall/studs, you need specialized toggle bolts or masonry anchors. 2. Neglecting the Level: A shelf that is "close enough" to level will be immediately noticeable the moment you put a picture frame on it. Always double-check your horizontal plane. 3. Overloading: Always respect the manufacturer's weight limit. If you plan to store heavy ceramics, upgrade to heavy-duty industrial brackets. 4. Improper Depth: A shelf that is too deep for a walkway will become a hazard, while one that is too shallow will be useless for storage. For most rooms, 8-10 inches is the "sweet spot." 5. Skipping the Stud Finder: Never assume where a stud is located. A few minutes with a stud finder prevents significant wall repair later.
Frequently Asked Questions
30-75 lbs when mounted into two wall studs with quality brackets. Heavy-duty brackets on three studs support 100+ lbs.
White oak and hard maple for durability and grain. Black walnut for premium dark look. Pine or poplar for budget painted builds.
At least 1.5 inches to conceal mounting hardware. 2 inches for spans over 36 inches to prevent sagging.
Possible with heavy-duty drywall anchors but max 15-25 lbs capacity. Always prefer stud mounting for heavy items.
12-18 inches apart for books and decor, 15-20 inches for kitchen dishes, at least 18 inches above countertops.
Lumberama Editorial Team
Building & Woodworking Experts
Contributor to Lumberama’s reference library. Read our editorial standards and source methodology.
Explore related resources
Where readers of this article usually go next.
Related Articles
Woodworking & Lumber
Plumbing Guide: Common Issues, Cost & When to Call a Plumber
Fix common plumbing problems and know when to call a pro.
Lumberama Editorial Team Nov 11, 2026 9 min
Woodworking & Lumber
Backyard Playground Guide: Types, Cost & Safety
Build the perfect play area for your kids with this guide.
Lumberama Editorial Team Nov 11, 2026 9 min
Woodworking & Lumber
Trampoline Guide: Types, Cost & Safety
Choose the right trampoline for your family with this comprehensive guide.
Lumberama Editorial Team Nov 11, 2026 8 min