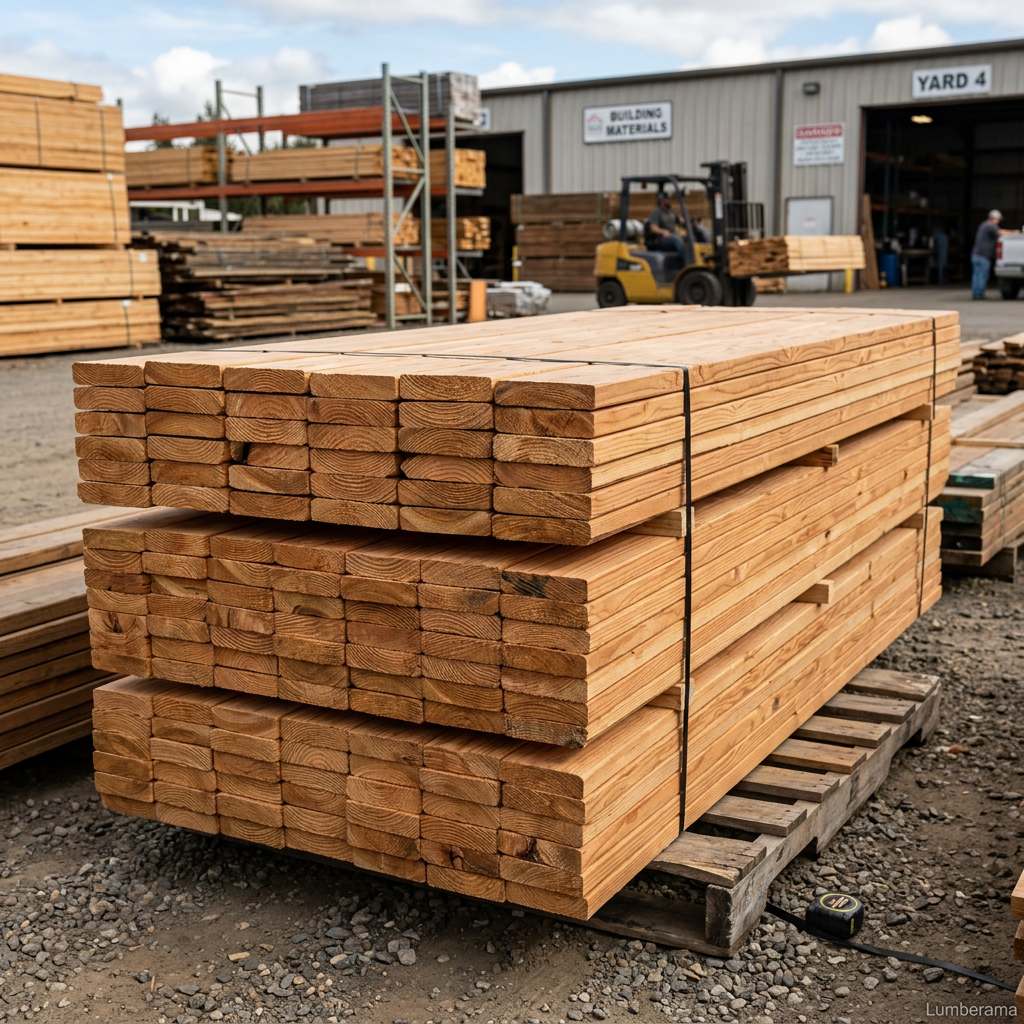
How to Build a Deck
Complete step-by-step guide to planning, building, and finishing a beautiful, safe deck for your home
Before You Begin
Building a deck is a rewarding DIY project that can significantly increase your home's value and outdoor living space. This comprehensive guide covers essential steps for building a code-compliant deck.
⚠️ Always check local building codes and obtain necessary permits before starting. Deck construction requirements vary significantly by location and municipality.
Required Skills:
Species-Specific Installation Guides
Decking materials are not interchangeable. Dense tropical hardwoods, moderate hardwoods, domestic softwoods, and pressure-treated lumber all respond differently to moisture, fasteners, and finishes. Harder woods typically require pre-drilling and stainless fasteners, while softer woods demand careful fastener control to prevent crushing or pull-through. Some species are naturally oily and resist finishes, while others rely on regular sealing for long-term protection. Because of these differences, installation techniques that work for one species may cause problems with another. Selecting the correct species-specific guide ensures your deck is installed using methods that match the material's natural properties—improving durability, appearance, and long-term performance.
Why species-specific guides? Each wood type has unique density, oil content, expansion characteristics, and fastening requirements. Our guided installation system customizes instructions based on your project details for optimal results.
Proper planning is crucial for a successful deck project. Take time to design your deck, check regulations, and prepare detailed plans.
Step-by-Step Tasks
- ✓Determine deck size and location based on your yard and intended use
- ✓Check local building codes and HOA requirements
- ✓Obtain necessary building permits from your municipality
- ✓Create detailed plans with dimensions, materials list, and cost estimates
- ✓Consider sun exposure, privacy, and access to your home
- ✓Plan for proper drainage and water runoff
Pro Tips
- •Most localities require permits for decks over 30" high
- •Building codes typically require railings for decks 30" or higher
- •Consider future maintenance when selecting materials
Properly preparing your site ensures a level, stable foundation and makes the construction process smoother.
Step-by-Step Tasks
- ✓Mark deck location using stakes and string lines
- ✓Remove grass, plants, and debris from the area
- ✓Set up batter boards beyond the corners for reference lines
- ✓Establish exact post locations using the 3-4-5 triangle method for square corners
- ✓Mark all footing locations with spray paint or stakes
- ✓Ensure area has proper drainage away from foundation
Pro Tips
- •Keep string lines tight for accurate measurements
- •Double-check all measurements before digging
- •Consider installing landscape fabric to prevent weed growth
A solid foundation is critical for deck longevity and safety. Footings must extend below the frost line in your region.
Step-by-Step Tasks
- ✓Dig post holes at least 12" diameter and below frost line (typically 42-48" deep)
- ✓Pour 6" of gravel in each hole for drainage
- ✓Mix and pour concrete footings, inserting post anchors
- ✓Ensure post anchors are level and properly aligned
- ✓Allow concrete to cure for 48-72 hours
- ✓Cut posts to proper height using a water level or laser level
- ✓Install and brace posts vertically using temporary bracing
Pro Tips
- •Frost line depth varies by region - check local codes
- •Use concrete pier blocks or Sonotube forms for cleaner footings
- •Rent a power auger for easier post hole digging
The frame provides structural support for your deck. Use proper joist spacing and hangers for safety.
Step-by-Step Tasks
- ✓Install ledger board to house using lag bolts every 16" (use flashing for water protection)
- ✓Attach rim joists to the outer posts, ensuring they are level
- ✓Mark joist locations on ledger and rim joist (typically 16" on center)
- ✓Install joist hangers at each location using proper joist hanger nails
- ✓Cut and install floor joists, ensuring they are level and properly secured
- ✓Add blocking between joists at mid-span for additional support
- ✓Install cross-bracing if required by code
Pro Tips
- •Use galvanized or stainless steel hardware in all locations
- •Ensure ledger has proper flashing to prevent water damage to house
- •Crown joists up to compensate for natural sagging
Installing deck boards properly ensures good drainage, minimizes warping, and creates an attractive finished surface.
Step-by-Step Tasks
- ✓Select the straightest, best-looking boards for visible areas
- ✓Start decking installation from house outward
- ✓Maintain consistent 1/8" to 3/16" spacing between boards for drainage
- ✓Pre-drill holes near board ends to prevent splitting
- ✓Use two deck screws per joist crossing (or hidden fasteners)
- ✓Stagger board end joints by at least two joists
- ✓Let boards overhang the edge, then snap a chalk line and trim for clean edge
- ✓Check spacing regularly and adjust as needed
Pro Tips
- •Consider using a spacer tool for consistent gaps
- •Hidden fastener systems create a cleaner look but cost more
- •Composite decking requires different fastening methods - follow manufacturer instructions
Railings provide safety and must meet specific code requirements. Stairs should be built to code dimensions.
Step-by-Step Tasks
- ✓Install railing posts at corners and every 6 feet maximum
- ✓Attach posts securely using through-bolts or approved brackets
- ✓Install top rail at 36-42" height (check local code)
- ✓Add bottom rail 3-4" above deck surface
- ✓Install balusters with maximum 4" spacing between them
- ✓For stairs: calculate rise and run (7-7.5" rise, 10-11" run typical)
- ✓Cut stringers and attach securely to deck frame and landing pad
- ✓Install stair treads with slight overhang
- ✓Add stair railings following same code requirements
Pro Tips
- •Baluster spacing is critical for safety - test with a 4" sphere
- •Many codes require graspable handrails (1.25-2" diameter)
- •Pre-fabricated railing systems can save time and ensure code compliance
Proper finishing protects your investment and enhances the deck's appearance and longevity.
Step-by-Step Tasks
- ✓Sand or file any rough edges or splinters
- ✓Inspect all fasteners and tighten as needed
- ✓Clean deck thoroughly, removing all sawdust and debris
- ✓Allow new wood to dry/weather for 3-6 months before staining
- ✓Apply deck cleaner and brightener before staining
- ✓Choose appropriate stain/sealer for your wood type
- ✓Apply stain or sealer following manufacturer directions
- ✓Maintain deck with annual cleaning and resealing every 2-3 years
Pro Tips
- •Wait for dry weather to apply finishes
- •Some woods like cedar and redwood can be left natural
- •Composite decking typically doesn't require sealing
- •Regular cleaning extends deck life significantly
- •Pressure-treated lumber for framing (4x4 posts, 2x10 joists, 2x8 rim joists)
- •Decking boards (pressure-treated, cedar, composite, or exotic hardwood)
- •Concrete for footings (60-80 lb bags)
- •Post anchors and joist hangers (galvanized)
- •Deck screws (exterior-grade, 2.5" and 3")
- •Lag bolts and washers for ledger (1/2" x 4")
- •Flashing tape for ledger board protection
- •Gravel for footing drainage
- •Circular saw or miter saw
- •Power drill/driver with bits
- •4-foot level and torpedo level
- •Post hole digger or power auger (rental)
- •25-foot measuring tape and speed square
- •Chalk line for marking
- •Wheelbarrow for mixing concrete
- •Safety equipment (glasses, gloves, hearing protection)
Important Reminders
Safety First
- Always wear safety glasses and hearing protection
- Use proper lifting techniques for heavy materials
- Never work alone when lifting or setting posts
Quality Tips
- Use pressure-treated lumber rated for ground contact for all posts
- Slope deck away from house (1/8" per foot) for proper drainage
- Apply stain or sealer within 3-6 months of completion