How to Install a Tongue-and-Groove Ceiling (2026)
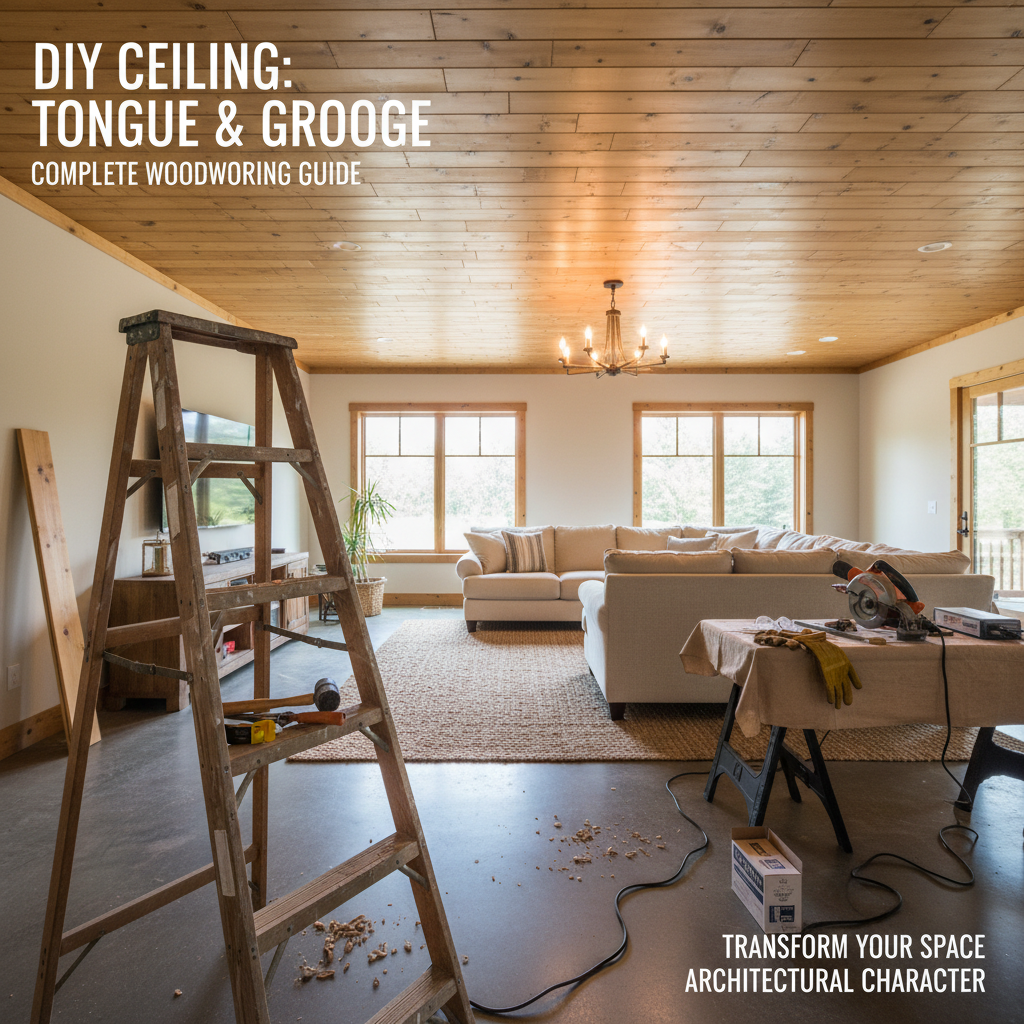
A tongue-and-groove wood ceiling transforms any room with warmth and architectural character. Whether you're going for a rustic cabin feel or a sleek modern look, T&G boards add dimension and visual interest overhead. This project is intermediate in difficulty, mainly because of the overhead work involved, but the installation technique itself is straightforward.
Key Takeaways
- A tongue-and-groove wood ceiling transforms any room with warmth and architectural character.
- Whether you're going for a rustic cabin feel or a sleek modern look, T&G boards add dimension and visual interest overhead.
- This project is intermediate in difficulty, mainly because of the overhead work involved, but the installation technique itself is straightforward.
- Pre-finish the boards before installation — it's much easier on the ground than overhead.
- Use a laser level for your first chalk line to guarantee a straight start.
Tools Needed
Materials List
Recommended Species
Recommended Sizes
Pro Tips
Frequently Asked Questions
Related Guides
How to Build Floating Shelves: Complete DIY Guide
Build clean, modern floating shelves with our beginner guide. Covers hidden bracket methods, wall an
Read guideHow to Build a Sliding Barn Door: Complete DIY Guide
Build a rustic sliding barn door with our step-by-step guide. Covers door construction, track hardwa
Read guideHow to Build a Workshop Workbench: Complete DIY Guide
Build a rock-solid workshop workbench with our detailed guide. Features heavy-duty construction, bui
Read guideHow to Install Hardwood Flooring: Complete DIY Guide
Install hardwood flooring like a pro with our comprehensive guide. Covers subfloor prep, acclimation
Read guide