beginner
2-4 hours per shelf
$20 - $75 per shelf
How to Build Floating Shelves (2026)
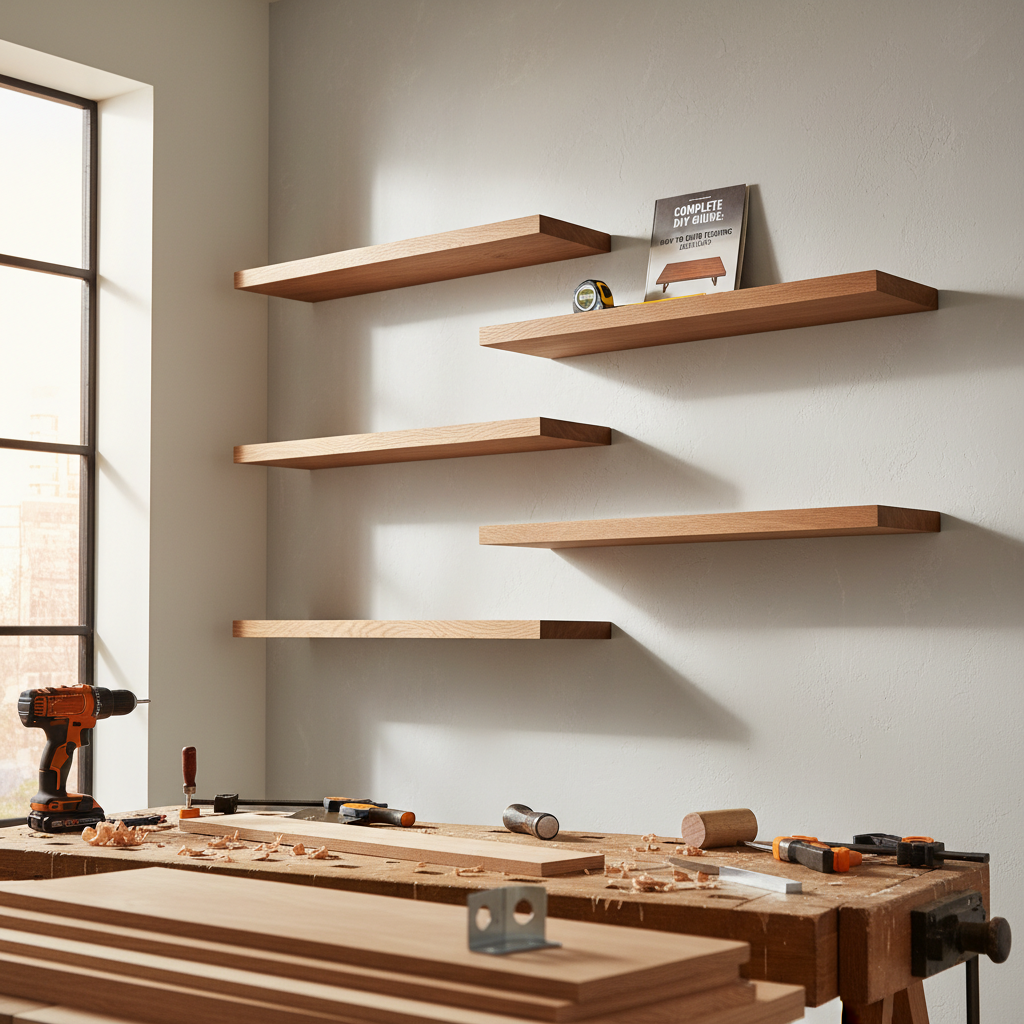
Floating shelves create a sleek, modern look by hiding all the mounting hardware inside the shelf itself. They're perfect for displaying decor, books, and plants without the visual clutter of brackets. This beginner-friendly project can be completed in an afternoon and adds instant style to any room.
Key Takeaways
- Floating shelves create a sleek, modern look by hiding all the mounting hardware inside the shelf itself.
- They're perfect for displaying decor, books, and plants without the visual clutter of brackets.
- This beginner-friendly project can be completed in an afternoon and adds instant style to any room.
- Always mount into wall studs for maximum weight capacity — drywall anchors alone won't hold heavy books.
- Use a level and mark stud locations before drilling.
Tools Needed
Drill/driver, circular saw or miter saw, level, stud finder, tape measure, clamps, random orbital sander, safety glasses
Materials List
3/4-inch hardwood boards or plywood, 1/2-inch steel rod or floating shelf bracket kit, wood glue, wood screws, wall anchors (if not hitting studs), sandpaper (120-220 grit), wood stain or paint, polyurethane
Recommended Species
White Oak, Walnut, Maple, Pine, Birch Plywood
Recommended Sizes
3/4-inch x 8-inch or 10-inch boards, 24 to 48 inches long, 1/2-inch steel rods
Pro Tips
Always mount into wall studs for maximum weight capacity — drywall anchors alone won't hold heavy books. Use a level and mark stud locations before drilling. For plywood shelves, apply iron-on edge banding for a clean finished look. Limit shelf length to 36 inches between supports to prevent sagging.
Frequently Asked Questions
Properly mounted into studs, floating shelves can hold 25-50 pounds depending on bracket type and shelf material. Drywall-only mounting should be limited to under 15 pounds.
8-10 inches deep for books and decor, 6 inches for small items and picture displays, 12 inches for a kitchen or pantry shelf.
Use an electronic stud finder, or knock on the wall and listen for a solid sound (versus hollow). Studs are typically spaced 16 inches apart.
Related Guides
Indoor
How to Build a Sliding Barn Door: Complete DIY Guide
Build a rustic sliding barn door with our step-by-step guide. Covers door construction, track hardwa
Read guideIndoor
How to Build a Workshop Workbench: Complete DIY Guide
Build a rock-solid workshop workbench with our detailed guide. Features heavy-duty construction, bui
Read guideIndoor
How to Install Hardwood Flooring: Complete DIY Guide
Install hardwood flooring like a pro with our comprehensive guide. Covers subfloor prep, acclimation
Read guideIndoor
How to Install a Tongue-and-Groove Ceiling: Complete DIY Guide
Install a stunning tongue-and-groove ceiling with our guide. Covers layout planning, blind nailing,
Read guide