beginner
3-5 hours per bed
$50 - $200 per bed
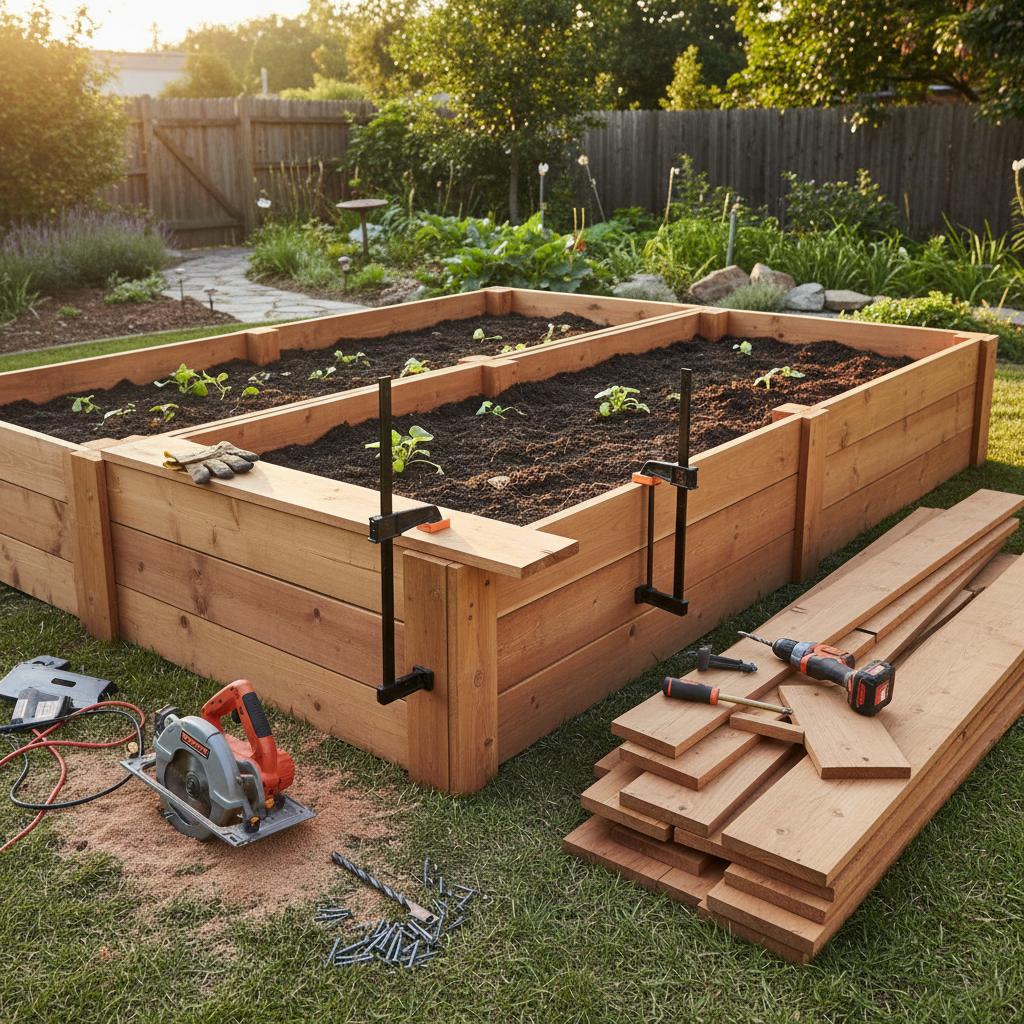
How to Build Raised Garden Beds (2026)
Raised garden beds give you control over soil quality, improve drainage, reduce weeds, and make gardening easier on your back. They're one of the simplest woodworking projects and perfect for beginners. Using naturally rot-resistant lumber like cedar ensures your beds last for years without leaching chemicals into the soil.
Key Takeaways
- Raised garden beds give you control over soil quality, improve drainage, reduce weeds, and make gardening easier on your back.
- They're one of the simplest woodworking projects and perfect for beginners.
- Using naturally rot-resistant lumber like cedar ensures your beds last for years without leaching chemicals into the soil.
- Stack two or three boards high for deeper root vegetables like carrots and potatoes.
- Line the inside with landscape fabric but never use plastic — roots need drainage.
Tools Needed
Drill/driver, circular saw, tape measure, speed square, level, shovel, safety glasses, clamps
Materials List
2x6 or 2x12 cedar boards, 4x4 cedar corner posts, 3-inch exterior screws, landscape fabric, garden soil, compost
Recommended Species
Western Red Cedar, Redwood, White Oak (do NOT use pressure-treated lumber for edible gardens)
Recommended Sizes
2x6x8 or 2x12x8 side boards, 4x4x12 corner posts (cut to height)
Pro Tips
Stack two or three boards high for deeper root vegetables like carrots and potatoes. Line the inside with landscape fabric but never use plastic — roots need drainage. Use untreated cedar for food gardens to avoid chemical leaching. Add a 2x6 cap rail around the top for a comfortable seat while you garden.
Frequently Asked Questions
Modern pressure-treated wood uses ACQ (alkaline copper quaternary) which is considered safer than older CCA treatments, but many gardeners prefer untreated cedar or redwood for food gardens.
At least 6 inches for shallow-rooted plants, 12 inches for most vegetables, and 18-24 inches for deep root crops.
Cedar raised beds typically last 10-15 years depending on climate and soil moisture.
Related Guides
Outdoor
How to Build Deck Stairs: Complete DIY Guide
Build safe, code-compliant deck stairs with our step-by-step guide. Covers stringer layout, rise and
Read guideOutdoor
How to Build a Chicken Coop: Complete DIY Guide
Build a secure chicken coop with our detailed guide. Covers sizing per bird, ventilation, nesting bo
Read guideOutdoor
How to Build a Children's Sandbox: Complete DIY Guide
Build a safe, fun sandbox for kids with our easy guide. Covers cedar construction, bench-lid design,
Read guideOutdoor
How to Build a Compost Bin: Complete DIY Guide
Build a durable three-bin compost system with our beginner guide. Covers cedar construction, airflow
Read guide