How to Build Adirondack Chairs (2026)
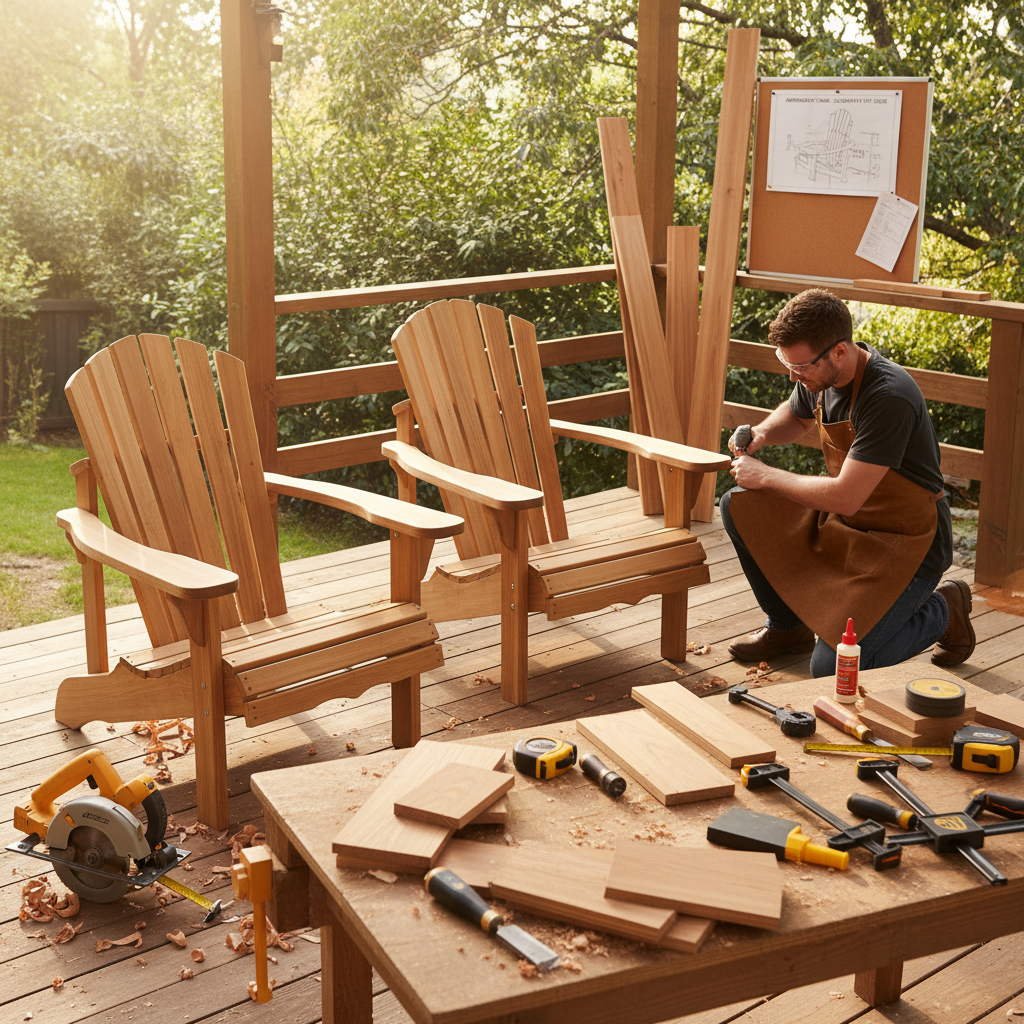
The Adirondack chair is an iconic piece of outdoor furniture known for its reclined comfort and wide armrests. Building your own lets you customize the size and wood species while creating a chair that will last decades. This intermediate project involves some compound angle cuts and curved profiles, making it a great step up from basic woodworking.
Key Takeaways
- The Adirondack chair is an iconic piece of outdoor furniture known for its reclined comfort and wide armrests.
- Building your own lets you customize the size and wood species while creating a chair that will last decades.
- This intermediate project involves some compound angle cuts and curved profiles, making it a great step up from basic woodworking.
- Make a full-size template from hardboard for the curved back legs — this ensures both sides match perfectly.
- Route a 1/4-inch roundover on all edges to prevent splinters and create a finished look.
Tools Needed
Materials List
Recommended Species
Recommended Sizes
Pro Tips
Frequently Asked Questions
Related Guides
How to Build a Dining Table: Complete DIY Guide
Build a beautiful solid-wood dining table with our guide. Covers tabletop glue-ups, breadboard ends,
Read guideHow to Build a Fire Pit Bench: Complete DIY Guide
Build a curved or straight fire pit bench with our easy guide. Covers heat-safe distances, weather-r
Read guideHow to Build a Murphy Bed: Complete DIY Guide
Build a space-saving Murphy bed with our advanced guide. Covers piston mechanisms, cabinet construct
Read guideHow to Build a Picnic Table: Complete DIY Guide
Build a classic picnic table with attached benches using our beginner guide. Includes cut lists, ang
Read guide