intermediate
2-3 weekends (20-30 hours)
$300 - $1,200
How to Build a Dining Table (2026)
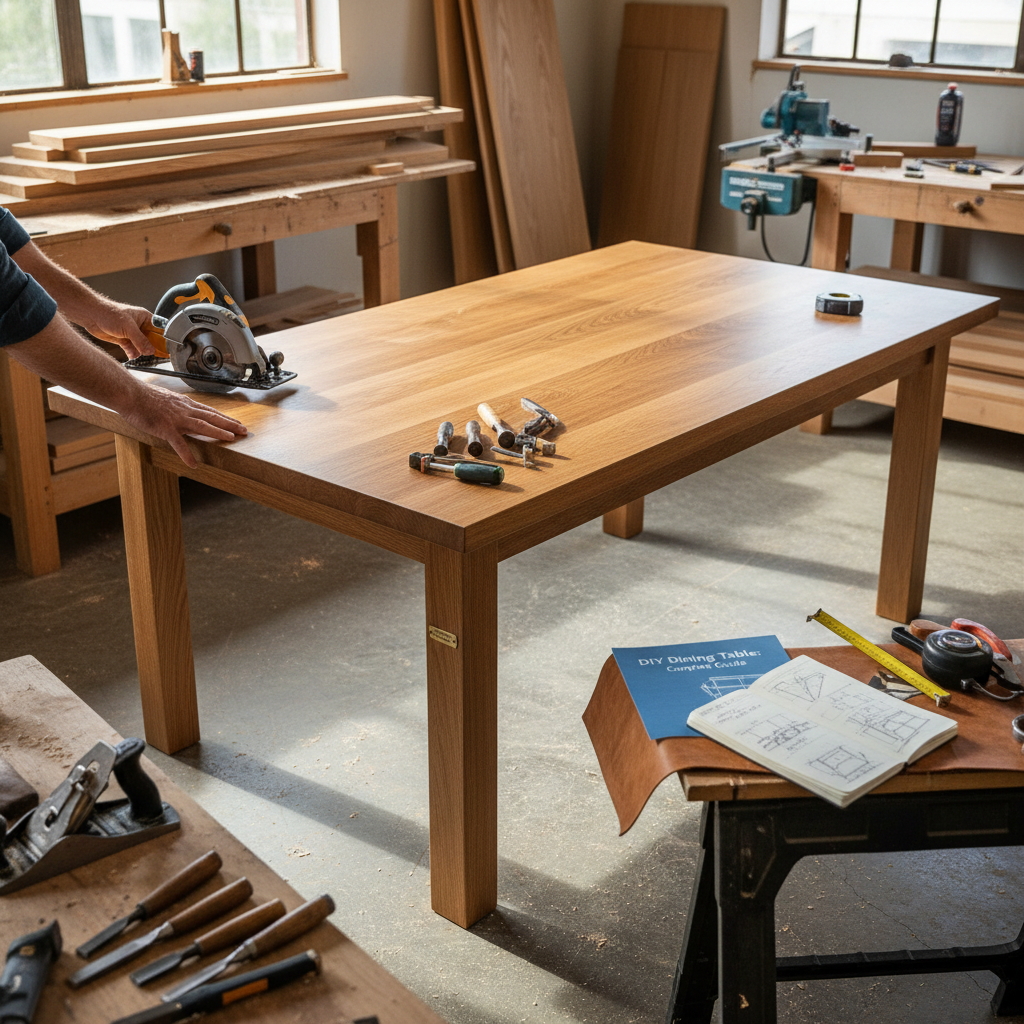
A handmade dining table is the centerpiece of your home and one of the most satisfying projects you can build. Using quality hardwood and proper joinery techniques, you can create a table that will be passed down for generations. This guide covers building a farmhouse-style dining table with a solid glued-up top and a sturdy trestle or apron base.
Key Takeaways
- A handmade dining table is the centerpiece of your home and one of the most satisfying projects you can build.
- Using quality hardwood and proper joinery techniques, you can create a table that will be passed down for generations.
- This guide covers building a farmhouse-style dining table with a solid glued-up top and a sturdy trestle or apron base.
- Always allow for seasonal wood movement by using tabletop fasteners instead of gluing the top to the base.
- Alternate growth ring direction on adjacent boards to minimize cupping.
Tools Needed
Table saw or circular saw with straight-edge guide, jointer or hand plane, drill/driver, pipe or parallel clamps (6+), random orbital sander, tape measure, speed square, biscuit joiner or pocket-hole jig, safety glasses
Materials List
8/4 (2-inch thick) hardwood boards for the tabletop, 4x4 hardwood or softwood for legs, 1x4 or 2x4 apron boards, wood glue, tabletop fasteners (figure-8 or Z-clips), biscuits or pocket screws, sandpaper (80-120-180-220 grit), wood finish (oil, polyurethane, or lacquer)
Recommended Species
White Oak, Walnut, Cherry, Hard Maple, Ash
Recommended Sizes
8/4 (2-inch) rough hardwood boards, 4x4 leg stock, 1x4 apron stock, finished top 36x72 inches
Pro Tips
Always allow for seasonal wood movement by using tabletop fasteners instead of gluing the top to the base. Alternate growth ring direction on adjacent boards to minimize cupping. Let the glued-up top sit for a few days before final flattening. Apply finish to both the top and bottom of the tabletop to equalize moisture absorption.
Frequently Asked Questions
A minimum of 1 inch for hardwood, but 1.5-1.75 inches (after milling) is ideal for a substantial farmhouse feel.
Polyurethane provides the most durable, water-resistant finish. Hardwax oils (like Rubio Monocoat) offer a natural look and easy spot repairs.
Use properly dried lumber (6-8% moisture content), alternate growth ring orientation during glue-up, finish both sides equally, and use tabletop fasteners that allow movement.
Related Guides
Furniture
How to Build Adirondack Chairs: Complete DIY Guide
Build classic Adirondack chairs with our detailed guide. Covers curved back slats, compound angle cu
Read guideFurniture
How to Build a Fire Pit Bench: Complete DIY Guide
Build a curved or straight fire pit bench with our easy guide. Covers heat-safe distances, weather-r
Read guideFurniture
How to Build a Murphy Bed: Complete DIY Guide
Build a space-saving Murphy bed with our advanced guide. Covers piston mechanisms, cabinet construct
Read guideFurniture
How to Build a Picnic Table: Complete DIY Guide
Build a classic picnic table with attached benches using our beginner guide. Includes cut lists, ang
Read guide