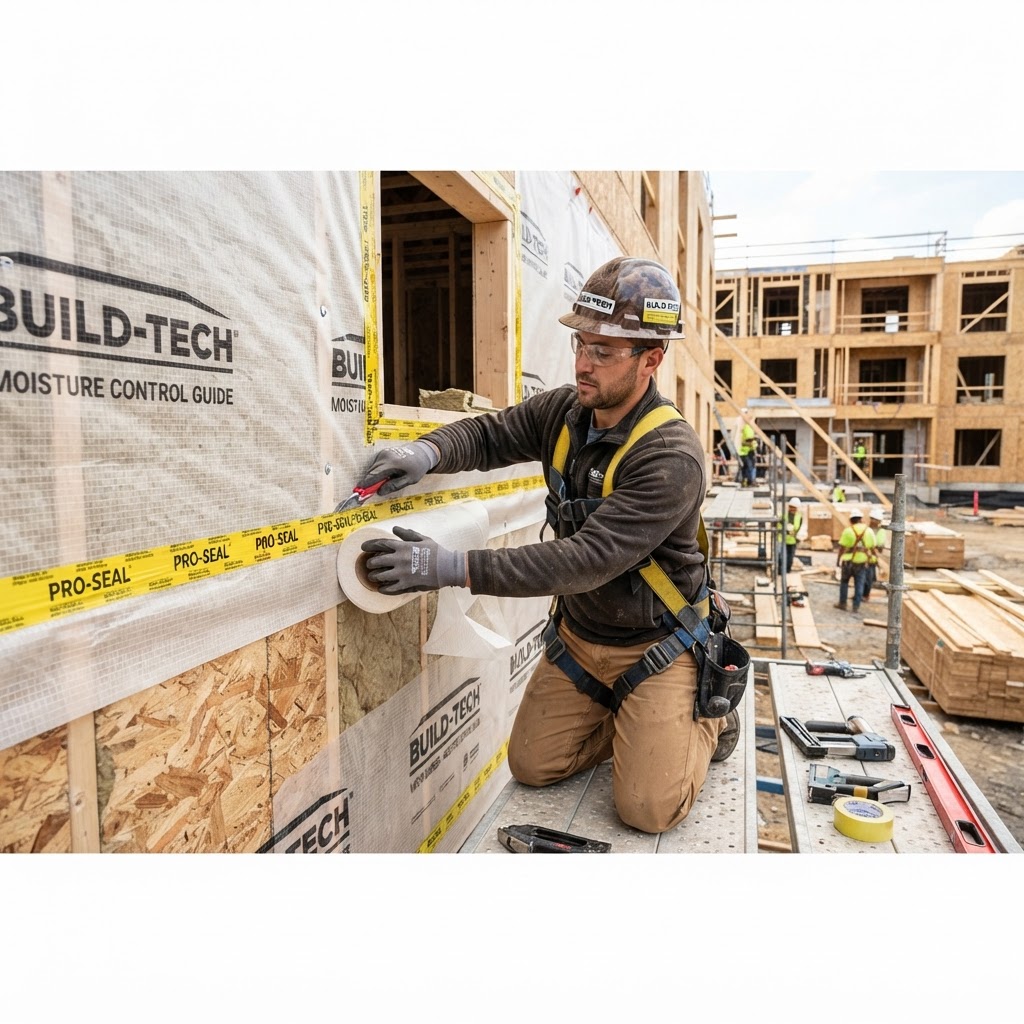
Vapor Barrier and Moisture Control Guide for Residential Construction (2026)
Moisture management is one of the most critical and misunderstood aspects of building science. Too much moisture in wall cavities, crawlspaces, and attics causes mold, rot, and structural failure. But blocking moisture in the wrong location can be equally damaging. This guide explains vapor drive, barrier placement, and the moisture control strategies that keep homes dry and healthy.
Key Takeaways
- Moisture management is one of the most critical and misunderstood aspects of building science.
- Too much moisture in wall cavities, crawlspaces, and attics causes mold, rot, and structural failure.
- But blocking moisture in the wrong location can be equally damaging.
- Vapor retarder placement depends on climate — in cold climates (Zones 5-7), install on the warm-in-winter (interior) side.
- In hot-humid climates (Zone 1-2), install on the warm-in-summer (exterior) side or omit entirely.
Types Overview
Polyethylene sheeting (6 mil) is the traditional vapor barrier for crawlspace ground cover and under concrete slabs. Kraft-faced insulation serves as a Class III vapor retarder on wall cavity insulation in cold climates. Smart vapor retarders (like MemBrain) adjust permeability based on humidity — tight in winter, open in summer. Closed-cell spray foam at 1.5+ inches acts as a vapor retarder in wall and roof assemblies. Vapor-retarding primer paint qualifies as a Class III vapor retarder for interior walls. Self-adhered waterproofing membranes provide vapor barrier and waterproofing for below-grade walls.
Selection Criteria
Vapor retarder placement depends on climate — in cold climates (Zones 5-7), install on the warm-in-winter (interior) side. In hot-humid climates (Zone 1-2), install on the warm-in-summer (exterior) side or omit entirely. Mixed climates (Zones 3-4) can use smart vapor retarders or vapor-retarding paint. Crawlspaces always need ground cover regardless of climate. Below-slab vapor barriers are required under all concrete slabs. Never install vapor barriers on both sides of a wall assembly — moisture must be able to dry in at least one direction.
Installation Guide
Crawlspace ground cover: overlap sheets by 6-12 inches, tape seams, and extend 6 inches up foundation walls. Under-slab barrier: install 10-15 mil vapor barrier over gravel base with 6-inch overlaps, taped seams. Wall vapor retarder (cold climate): install kraft-faced insulation with the paper facing the warm interior side, staple flanges to stud faces. Smart vapor retarder: install as a continuous membrane over insulated stud wall, sealed at all edges and penetrations. Seal all vapor retarder penetrations (electrical boxes, pipes) with appropriate tape or sealant.
Code Requirements
IRC R702.7 requires Class I or II vapor retarder on the interior side of walls in Zones 5, 6, 7, and Marine 4. Class III vapor retarder (latex paint) is acceptable in Zones 5 and Marine 4 if specific cavity insulation conditions are met. Zones 1-4 may not require wall vapor retarders. IRC R408.2 requires ground cover in crawlspaces — minimum 6 mil polyethylene. IRC R506.2.3 requires vapor retarder under concrete slabs. Never double-trap moisture with vapor barriers on both sides of an assembly.
Cost Breakdown
6 mil polyethylene sheeting (20x100 ft): $40-$70. 10 mil reinforced vapor barrier: $80-$120 per roll. Smart vapor retarder (MemBrain, per roll): $80-$130. Vapor barrier tape: $10-$20 per roll. Kraft-faced insulation (included in batt price): no additional cost over unfaced. Vapor-retarding primer: $25-$40 per gallon. Professional crawlspace encapsulation: $3,000-$10,000. Under-slab vapor barrier installation: $0.50-$1.00 per square foot.
DIY vs Professional
Crawlspace ground cover installation is a straightforward DIY project — physically unpleasant but technically simple. Under-slab vapor barrier is typically installed by the concrete contractor. Wall vapor retarder installation (kraft-faced insulation) is part of standard DIY insulation work. Full crawlspace encapsulation with dehumidification is typically a professional specialty. The most important DIY knowledge is understanding where to place (and not place) vapor barriers for your climate zone.
Common Mistakes to Avoid
Installing vapor barrier on the wrong side of the wall causes trapped condensation — this is the most dangerous moisture mistake in construction. Double vapor barriers (both sides of the wall) prevent drying in either direction and guarantee moisture problems. Not sealing crawlspace ground cover seams and edges allows significant ground moisture into the space. Skipping under-slab vapor barrier leads to moisture wicking through concrete and damaging flooring. Using vapor barrier in a wall assembly where it is not needed traps construction moisture or seasonal moisture.