How to Build a Wood Fence: Materials, Post Setting & Privacy Fence Construction
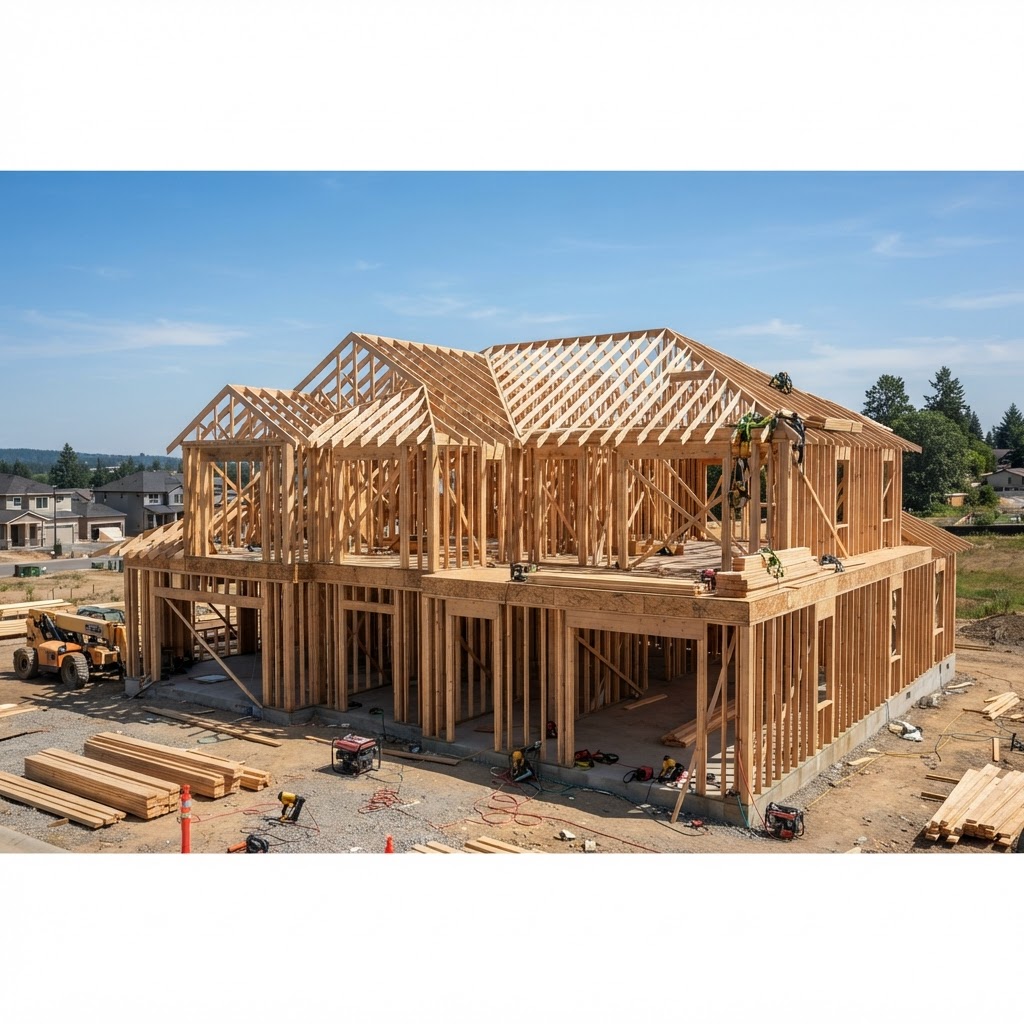
Fence Materials
Posts: 4x4 pressure-treated posts are standard for fences up to 6 feet tall. 6x6 posts for gates, corners, end posts, and heavy fences. Posts must be pressure-treated for ground contact — look for the "UC4A" or "Ground Contact" stamp (0.40 pcf retention for southern pine, or 0.15 pcf for Doug fir). Cedar posts resist rot naturally but cost more and aren't as strong as treated pine. Never use untreated lumber for fence posts — they'll rot at the ground line within 3-5 years.
Rails: 2x4 pressure-treated lumber is the standard rail material. Three rails for a 6-foot fence (top, middle, bottom). Two rails for fences 4 feet and under. Some builders use 2x3 rails to save cost, but 2x4 is stronger and provides more nailing surface for pickets. Rails can be face-mounted to the posts (screwed to the face of the post) or set into routed dadoes (stronger but more labor).
Pickets: 1x6 (5/8" x 5-1/2" actual) is the most common picket size for privacy fences. Dog-ear (angled top corners) is the standard picket profile. Other styles: flat-top, gothic point, French gothic, scalloped. Western red cedar pickets resist rot and look beautiful but cost 2-3x more than pressure-treated pine. Pressure-treated pine pickets are the budget choice and work well when stained or painted.
Hardware: Hot-dipped galvanized or stainless steel nails, screws, and brackets. Never use plain steel fasteners with pressure-treated lumber — the copper preservatives corrode bare steel rapidly. Ring-shank nails or coated screws (such as GRK or SPAX exterior screws) prevent pickets from popping loose as wood dries and moves.
Post Setting
Depth: Posts should be set 1/3 of their total length in the ground. For a 6-foot fence with posts extending 6 inches above the top rail, use 8-foot posts with 2-1/2 feet in the ground. Minimum post depth: 24 inches (required by most codes). In cold climates, posts must extend below the frost line to prevent frost heave.
Hole diameter: 3x the post width. For a 4x4 post (3-1/2" actual), dig a 10-12" diameter hole. Use a post-hole digger (manual or power auger). Power augers ($50-$75/day rental) save enormous time and effort, especially in hard or rocky soil.
Concrete: Set posts in concrete for maximum stability. Two bags (80 lbs each) of fast-setting concrete per post hole is typical. Method: place 4" of gravel in the bottom for drainage, set the post plumb (check two adjacent faces with a level), pour dry fast-set concrete around the post, add water per package directions, brace the post until set (20-40 minutes for fast-set). Crown the concrete above grade so water drains away from the post.
Gravel-only method: Some builders pack gravel (no concrete) around posts for drainage. The theory: concrete traps moisture against the post and accelerates rot. In practice, concrete-set posts with proper ground-contact treatment last 20+ years. The gravel method works but posts are less rigid and can shift over time.
Layout and Construction
Post spacing: 8 feet on center is the maximum for most fence panels. 6 feet on center is stronger and allows standard 2x4 rails to span without sagging. Many builders use 8-foot spacing with 16-foot rails (each rail spans two bays) for efficient material use.
String line: Run a string line between corner/end posts to align intermediate posts. The string line establishes a straight fence line. Every post must be checked for plumb (vertical in both directions) AND alignment with the string line.
Rail installation: Attach rails to the inside face of posts (the side facing your yard). This puts the "good" side (flat picket face) toward the neighbor/street. Rails can be face-mounted with screws or supported by rail brackets (Simpson Strong-Tie FB24 or similar). Top rail: 6-8 inches from the top of the pickets. Bottom rail: 6-8 inches from the bottom. Middle rail: centered between top and bottom.
Picket installation: Start at a corner or end post. Space pickets using a spacer block — for a privacy fence, butt pickets tightly (no gap) or overlap slightly. Some builders leave 1/4" between pickets to allow for wood expansion. Attach each picket with two fasteners (nails or screws) at each rail. Use a level or string line to keep the tops of the pickets aligned.
Gate Construction
Gates are the weakest point of any fence. They sag over time unless properly braced. Use a Z-brace or diagonal brace from the bottom hinge side to the top latch side. The brace must run "uphill" from the hinge to prevent sag. Heavy-duty strap hinges or T-hinges rated for the gate weight. Use 6x6 posts for gate openings — they resist the leverage forces of a swinging gate better than 4x4 posts.
Frequently Asked Questions
Lumberama Editorial Team
Exterior Construction & Fencing Specialists
Contributor to Lumberama’s reference library. Read our editorial standards and source methodology.
Continue researching fencing
Where readers of this article usually go next.
Related Articles

Pressure Washing Guide: Cost, Tips & What to Clean
Restore your home's exterior with pressure washing.
Arbor & Trellis Guide: Types, Cost & DIY Ideas
Add vertical beauty to your garden.

Screen Porch Guide: Types, Cost & Design Ideas
Enjoy the outdoors without bugs.