How to Build Floating Shelves: Easy DIY Guide with Hidden Brackets
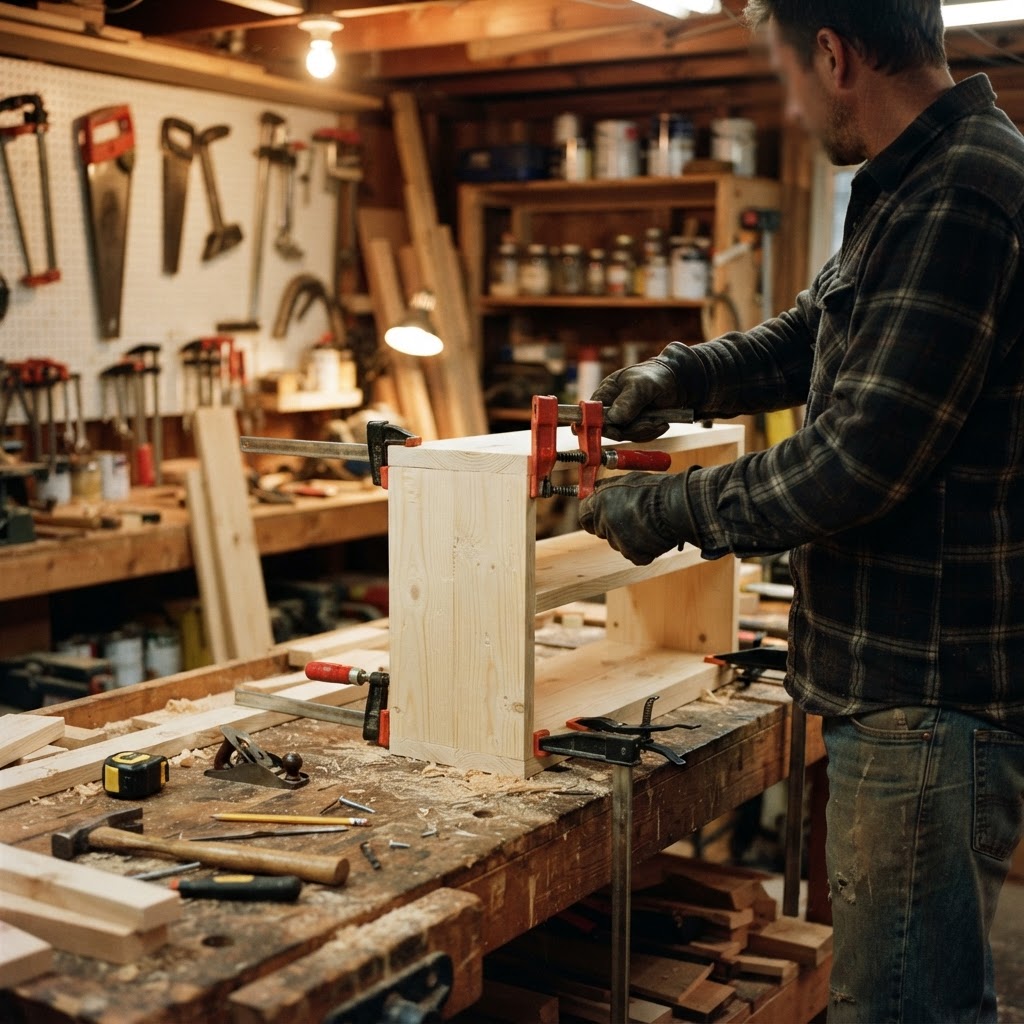
Why Floating Shelves?
Floating shelves create a clean, modern look by concealing all mounting hardware inside the shelf. They work in every room — kitchens for spice storage, bathrooms for toiletries, living rooms for books and decor, offices for reference materials. The key to a successful floating shelf is proper mounting into wall studs and using a shelf design that's thick enough to hide the brackets.
Floating Shelf Design Options
Solid wood slab: A single thick board (1.5-2" minimum) with hidden rod brackets drilled into the back edge. The simplest design. Works best in widths under 10 inches and spans under 32 inches. Best for: rustic or natural wood look.
Hollow box construction: A plywood or MDF box that slides over a wall-mounted bracket frame. Lighter weight, can be longer (up to 48"), and can be thinner (as low as 2"). The most common design for painted shelves. Best for: long spans, painted finishes, kitchens.
Torsion box: An engineered construction with top/bottom skins and an internal grid. Extremely strong and lightweight. Can span 6+ feet. Complex to build but nearly indestructible. Best for: very long shelves, heavy loads (books, record collections).
Wood Selection
For painted shelves: MDF or poplar. MDF gives the smoothest painted finish. Poplar is lightweight hardwood that paints well and resists warping. Both are affordable.
For stained/natural shelves: Walnut, white oak, maple, or cherry for hardwood beauty. Pine or fir for a budget rustic look. Hardwoods look best but weigh more — adjust bracket spacing accordingly.
For reclaimed look: Barn wood, pallet wood (sanded and sealed), or new pine distressed with chains, vinegar/steel wool stain, or wire brush. The imperfections are the point.
Hidden Bracket Types
Steel rod brackets (best for solid wood): Steel rods (typically 1/2" diameter) extend 6-8 inches from a wall plate. Drill matching holes in the back of a solid wood shelf and slide it onto the rods. Very strong when mounted into studs. Each rod supports 30-50 lbs.
Concealed bracket frames (best for box shelves): A metal frame bolts to studs, and the hollow shelf box slides over it. The bracket provides both support and alignment. Available in lengths from 12" to 48". Budget-friendly and easy to install.
French cleat (semi-floating): Two interlocking beveled strips — one on the wall, one on the shelf back. Not truly floating (a small gap is visible) but extremely strong and adjustable. Can support hundreds of pounds. Best for heavy-duty applications like workshop shelving.
Weight Capacity
Weight capacity depends entirely on what's behind the wall. Into studs: each bracket point supports 50-100+ lbs depending on bracket type and lag bolt size. A 36" shelf with two stud-mounted brackets safely holds 60-100 lbs.
Into drywall only (toggle bolts): each anchor point supports 15-30 lbs. A 36" shelf with two toggle-bolt brackets should hold only 20-40 lbs maximum. Fine for light decor, not for books.
Rule of thumb: Always mount into at least two studs. If studs don't align with your desired shelf location, use a wall-length cleat attached to multiple studs, then mount the shelf to the cleat.
Step-by-Step: Solid Wood Shelf with Rod Brackets
Step 1: Select a board at least 1.5" thick, 6-10" deep, and your desired length. Sand to 150 grit minimum. Ease all edges with a 1/8" roundover or hand-sanding.
Step 2: Locate studs with a stud finder and mark their centers. Transfer stud locations to the shelf's back edge at the same spacing.
Step 3: Mount the bracket plate to the wall, drilling lag bolts into stud centers. Use a level — this determines whether the shelf is level.
Step 4: Drill holes in the shelf back edge that match the rod diameter and spacing. Drill 1/16" oversize for easy sliding. Depth should be the rod length minus 1/4".
Step 5: Test fit. Slide the shelf onto the rods. If tight, ream the holes slightly. If loose, wrap rod tips with painter's tape for a friction fit, or use a dab of construction adhesive.
Step 6: Apply finish (stain, polyurethane, paint) before final installation. Slide onto brackets. Optional: secure with a single screw from underneath (hidden) for permanent installations.
Common Mistakes
Mounting into drywall only (use studs or heavy-duty anchors). Making the shelf too thin (needs to be thick enough to hide brackets — minimum 1.5" for rods, 2" for box construction). Not using a level on the bracket plate. Overloading — books are deceptively heavy (a 3-foot shelf of hardcover books weighs 40-60 lbs).
Frequently Asked Questions
Lumberama Editorial Team
Woodworking & Home Improvement Specialists
Contributor to Lumberama’s reference library. Read our editorial standards and source methodology.
Explore related resources
Where readers of this article usually go next.
Related Articles

Pressure Washing Guide: Cost, Tips & What to Clean
Restore your home's exterior with pressure washing.
Arbor & Trellis Guide: Types, Cost & DIY Ideas
Add vertical beauty to your garden.
Screen Porch Guide: Types, Cost & Design Ideas
Enjoy the outdoors without bugs.