How to Build a Pergola: Complete DIY Guide with Plans, Materials List & Step-by-Step Instructions
What Is a Pergola?
A pergola is an open-air outdoor structure consisting of vertical posts supporting an overhead framework of beams and rafters. Unlike a gazebo (fully roofed) or an arbor (arched, usually smaller), a pergola's open-rafter design provides partial shade while maintaining an open, airy feel. Pergolas define outdoor living spaces, support climbing plants, frame views, and add significant property value. A well-built pergola is one of the highest-ROI outdoor improvements you can make.
Design Decisions
Size: most residential pergolas are 10x10, 10x12, 12x12, 12x14, or 12x16 feet. The span between posts (without intermediate support) should not exceed 12 feet for most lumber sizes — longer spans require larger beams or intermediate posts. Freestanding vs attached: attached pergolas connect to the house via a ledger board (similar to a deck ledger), which provides structural support on one side and requires only two posts. Freestanding pergolas have four or more posts and can be placed anywhere in the yard. Height: standard post height is 8-9 feet (measured from ground to the bottom of the beam), resulting in a total structure height of approximately 9-10.5 feet including beams and rafters.
Materials
Lumber options and costs for a standard 12x12 pergola: pressure-treated pine ($400-800 in lumber), cedar ($800-1,500), redwood ($1,200-2,200), or Douglas fir ($600-1,000). Cedar is the most popular choice because it's naturally rot-resistant, beautiful, lightweight, and doesn't require chemical treatment. Posts: 6x6 (minimum for a pergola — 4x4 posts are too flimsy). Beams: double 2x8, 2x10, or 2x12 (sandwiched around each side of the post and bolted through). Rafters: 2x6 or 2x8 spaced 12-16 inches on center. Top slats (purlins): 2x2 or 1x2 spaced 4-8 inches on center, running perpendicular to the rafters for additional shade and visual interest.
Step-by-Step Construction
Step 1 — Layout: mark post locations using string lines and batter boards. Check for square by measuring diagonals (they must be equal). For a 12x12 pergola, outside-to-outside post spacing is 12 feet on two sides.
Step 2 — Set posts: dig post holes 12 inches in diameter and below the frost line (36-48 inches deep in cold climates, 18-24 inches in warm climates). Two methods: set the 6x6 post directly in concrete (Quikrete fast-setting concrete, 2-3 bags per hole), or use a post base bracket (galvanized metal bracket set in concrete, with the wood post bolted to the bracket above ground level). Post base brackets are the better method because they keep wood out of ground contact, preventing rot at the most vulnerable point. Let concrete cure 24-48 hours before attaching beams.
Step 3 — Install beams: sandwich double 2x10 or 2x12 beams around each pair of posts using 1/2-inch carriage bolts (minimum two bolts per connection). The beams should extend 12-18 inches beyond the posts on each end for a decorative overhang. Cut decorative ends on the beam overhang — angled, curved, or ogee profiles add visual interest.
Step 4 — Install rafters: set 2x6 or 2x8 rafters across the beams, perpendicular to them, spaced 12-16 inches on center. Rafters should overhang the beams by 12-18 inches on each side. Notch the rafters where they sit on the beams (a bird's mouth cut) for a clean, professional look, or use galvanized rafter ties for a simpler connection. Cut decorative ends on rafter overhangs to match the beam ends.
Step 5 — Install top slats: run 2x2 or 1x2 slats across the rafters, perpendicular to them, spaced 4-8 inches apart. Closer spacing provides more shade; wider spacing provides a more open feel. Attach with screws from above (pre-drill to prevent splitting). The slats complete the classic pergola look and can be adjusted in spacing to achieve your desired shade level — roughly 50% shade at 4-inch spacing, 25% at 8-inch spacing.
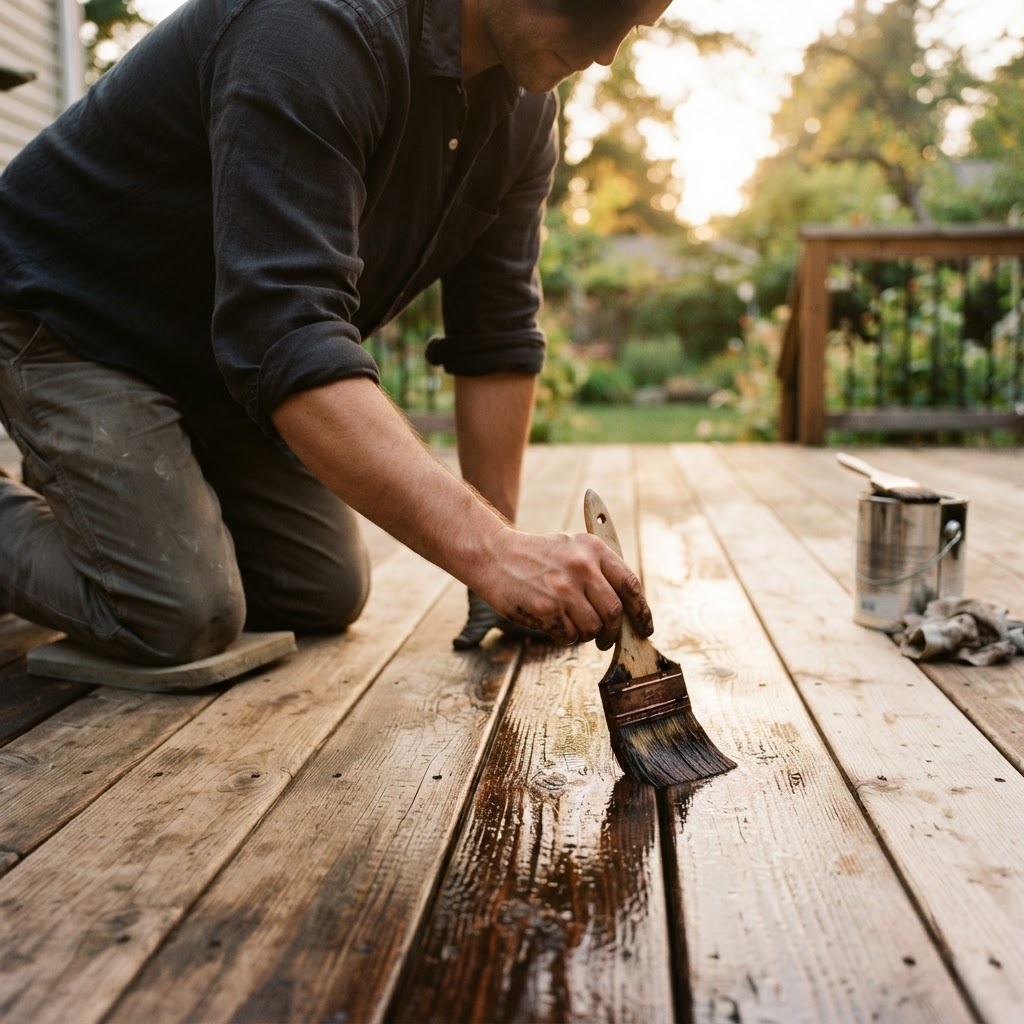
Step 6 — Finish: sand rough spots, apply exterior stain or sealer (for cedar or pressure-treated), and add any accessories (lights, shade fabric, climbing plants). Total build time for an experienced DIYer: 2-3 weekends.
Frequently Asked Questions
Lumberama Editorial Team
Outdoor Structure & Construction Experts
Contributor to Lumberama’s reference library. Read our editorial standards and source methodology.
Explore related resources
Where readers of this article usually go next.
Related Articles
Outdoor Lighting Guide: Types, Cost & Ideas
Transform your landscape and improve safety with outdoor lighting.
Raised Garden Bed Guide: How to Build, Cost & Ideas
Grow more with less effort using raised garden beds.
Landscape Lighting Guide: Types, Cost & Installation Tips
Design your outdoor lighting for security, safety, and curb appeal.