Article
Finishing
Chair Rail Guide: Height, Installation, Cost & Design Ideas
Lumberama Editorial Team, Trim & Moulding Installation Specialists May 16, 2026 8 min read
What It Is
Purpose: Horizontal moulding running around room perimeter. Originally protected walls from chair backs. Now primarily decorative (architectural detail). Divides wall into two sections (above and below). Creates opportunity for two-tone paint, wallpaper, or wainscoting.
Where to use: Dining rooms (most traditional). Hallways and entryways. Living rooms. Bedrooms. Bathrooms (above tile or beadboard). Stairways (follows stair angle).
Height
Standard rule: Chair rail height: 1/3 of wall height from floor. 8-foot ceiling: 32 inches from floor. 9-foot ceiling: 36 inches from floor. 10-foot ceiling: 40 inches from floor.
Practical range: 30-36 inches is the most common range. 32 inches works for most rooms. Match to existing window sill height (looks intentional). In dining rooms: height that aligns with chair back tops.
Stairways: Follow the stair slope at same height from each step. Measure up from each stair tread (same measurement). Creates parallel line to handrail. Requires angled cuts at landings and turns.
Exceptions: Higher rooms (10+ feet): can go higher (38-42 inches). Rooms with wainscoting: chair rail sits on top of wainscoting (typically 36-42 inches). Picture rail (different from chair rail): installed at 60-72 inches.
Moulding Profiles
Traditional: Ogee profile: S-curve with rounded top. Most classic dining room profile. Width: 2-1/2 to 3-1/2 inches.
Craftsman/farmhouse: Simple flat profile with slight bevel. Clean lines, minimal ornamentation. Width: 1-1/2 to 2-1/2 inches. Works with shaker and craftsman style homes.
Colonial: Multi-step profile with multiple curves. More ornate than ogee. Width: 3 to 4 inches. Suits formal rooms.
Modern: Simple rectangular or square profile. Minimal detail. Often paired with flat panel wainscoting. Width: 1-1/2 to 3 inches.
Materials: Solid wood (pine, poplar, oak): $1-$5/linear foot. MDF (most popular): $0.50-$3/linear foot. Primed and ready to paint. PVC/polyurethane: $2-$6/linear foot. Moisture-resistant (good for bathrooms). Plaster (historic homes): custom profiles available.
Installation
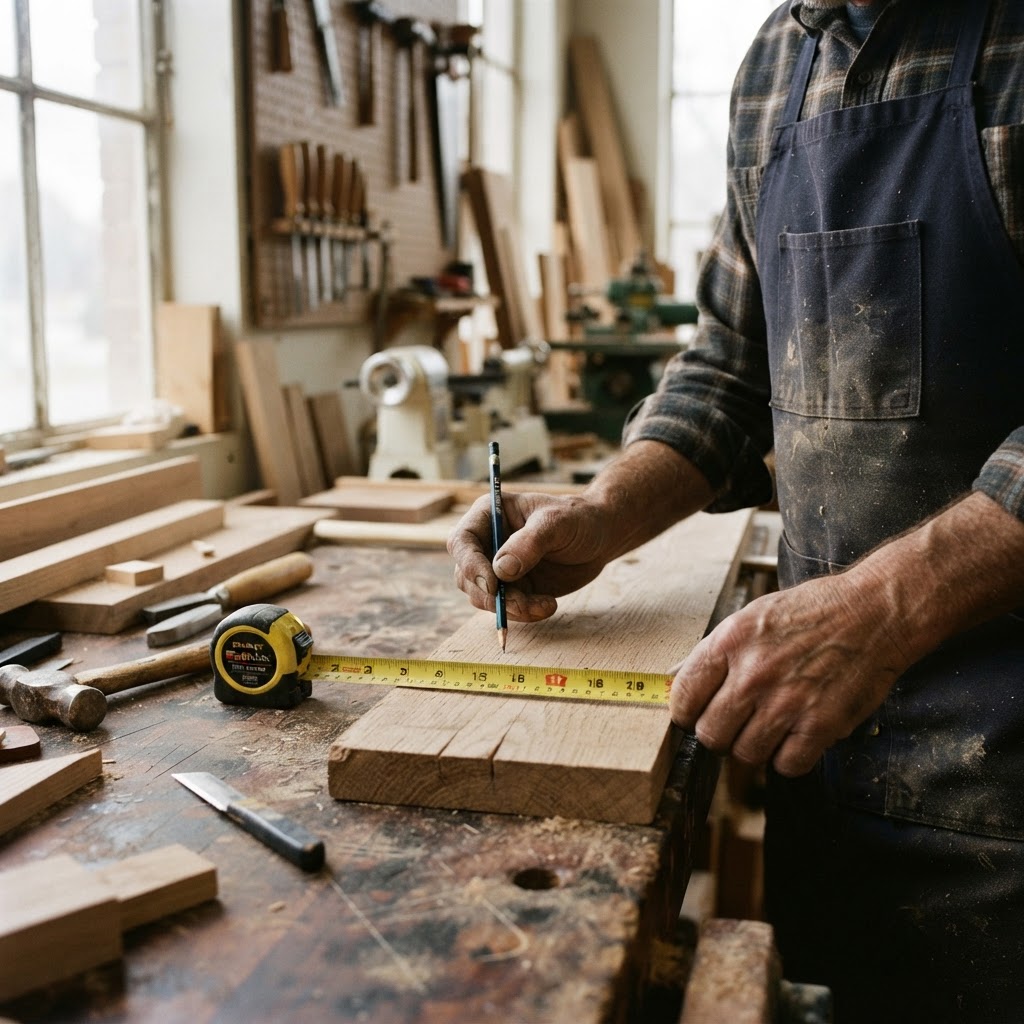
Tools: Miter saw (for cuts). Level (4 foot). Stud finder. Tape measure and pencil. Caulk gun. Nail gun (or hammer and finish nails).
Steps: Mark height line around room (use level). Find and mark stud locations. Cut moulding to length (butt joints at studs, cope or miter at corners). Apply construction adhesive to back. Nail into studs (finish nails, 2-inch). Inside corners: cope joint (one piece coped to fit against other). Outside corners: 45-degree miter joint. Fill nail holes with wood filler. Caulk top and bottom edges. Prime and paint.
Tips: Start on the wall opposite the entry door. Cope inside corners for tight fit (don't miter). Use scarf joints for long walls (45-degree overlap at stud). Pre-paint before installing (touch up after). Leave 1/16-inch expansion gap at ends (fill with caulk).
Cost and Design
Cost: Materials (MDF moulding): $0.50-$3/linear foot. Materials (wood moulding): $1-$5/linear foot. Professional installation: $3-$8/linear foot (labor + materials). Average room (50 linear feet): DIY: $50-$150 materials. Professional: $150-$400 installed.
Two-tone paint: Most popular chair rail design. Different colors above and below rail. Classic: darker below, lighter above. Modern: dramatic contrast (navy below, white above). Rule: rail itself matches the lower color or trim color.
With wainscoting: Chair rail caps wainscoting panels. Beadboard wainscoting: $5-$15/linear foot (with rail). Flat panel (shaker) wainscoting: $8-$20/linear foot. Board and batten: $5-$12/linear foot. Total height with wainscoting: 36-42 inches.
With wallpaper: Wallpaper below chair rail, paint above (or vice versa). Chair rail hides wallpaper edge cleanly. Allows bold pattern in lower third without overwhelming room.
Frequently Asked Questions
The standard rule is 1/3 of the wall height from the floor. For an 8-foot ceiling, install at 32 inches. For a 9-foot ceiling, 36 inches. For a 10-foot ceiling, 40 inches. The practical range for most rooms is 30-36 inches, with 32 inches being the most common. Try to align the chair rail with existing window sill heights for a cohesive look. In dining rooms, matching the height to chair back tops is traditional. On stairways, maintain the same measurement from each stair tread. How much does chair rail moulding cost?
MDF chair rail moulding costs $0.50-$3 per linear foot. Solid wood (pine, poplar) costs $1-$5 per linear foot. PVC or polyurethane costs $2-$6 per linear foot. For an average room with 50 linear feet of wall, DIY materials cost $50-$150. Professional installation costs $3-$8 per linear foot (labor + materials), or $150-$400 for an average room. Adding wainscoting below the chair rail increases cost to $5-$20 per linear foot depending on the wainscoting style. Can I install chair rail myself?
Yes. Chair rail is a beginner-to-intermediate DIY project. You need a miter saw, level, stud finder, nail gun (or finish nails and hammer), and caulk. The basic process is: mark a level line around the room, cut moulding to length, apply construction adhesive, and nail into studs. The hardest part is inside corners — use cope joints (one piece cut to the profile shape of the other) rather than miter joints for the tightest fit. Most homeowners can complete an average room in 3-5 hours. Pre-painting the moulding before installation saves time. What is the difference between chair rail and wainscoting?
Chair rail is a single horizontal moulding strip running around the room, typically at 30-36 inches height. Wainscoting is paneling (beadboard, flat panels, or board and batten) that covers the lower portion of the wall. Chair rail often caps the top of wainscoting, serving as the transition between the paneling and the upper wall. You can install chair rail without wainscoting (for two-tone paint or wallpaper) or wainscoting with a chair rail cap. Together, they create the most complete architectural detail.
Lumberama Editorial Team
Trim & Moulding Installation Specialists
Contributor to Lumberama’s reference library. Read our editorial standards and source methodology.
Plan your board and batten layout
Where readers of this article usually go next.
Related Articles
Finishing
Wallpaper Guide: Types, Cost & How to Hang
Transform your walls with this comprehensive wallpaper guide.
Lumberama Editorial Team Nov 8, 2026 9 min
Finishing
Interior Painting Guide: Cost, Tips & How to Paint
Get professional results with this interior painting guide.
Lumberama Editorial Team Nov 7, 2026 9 min
Finishing
Stucco Guide: Types, Cost, Maintenance & Repair
Everything you need to know about traditional and synthetic stucco for your home.
Lumberama Editorial Team Oct 31, 2026 9 min