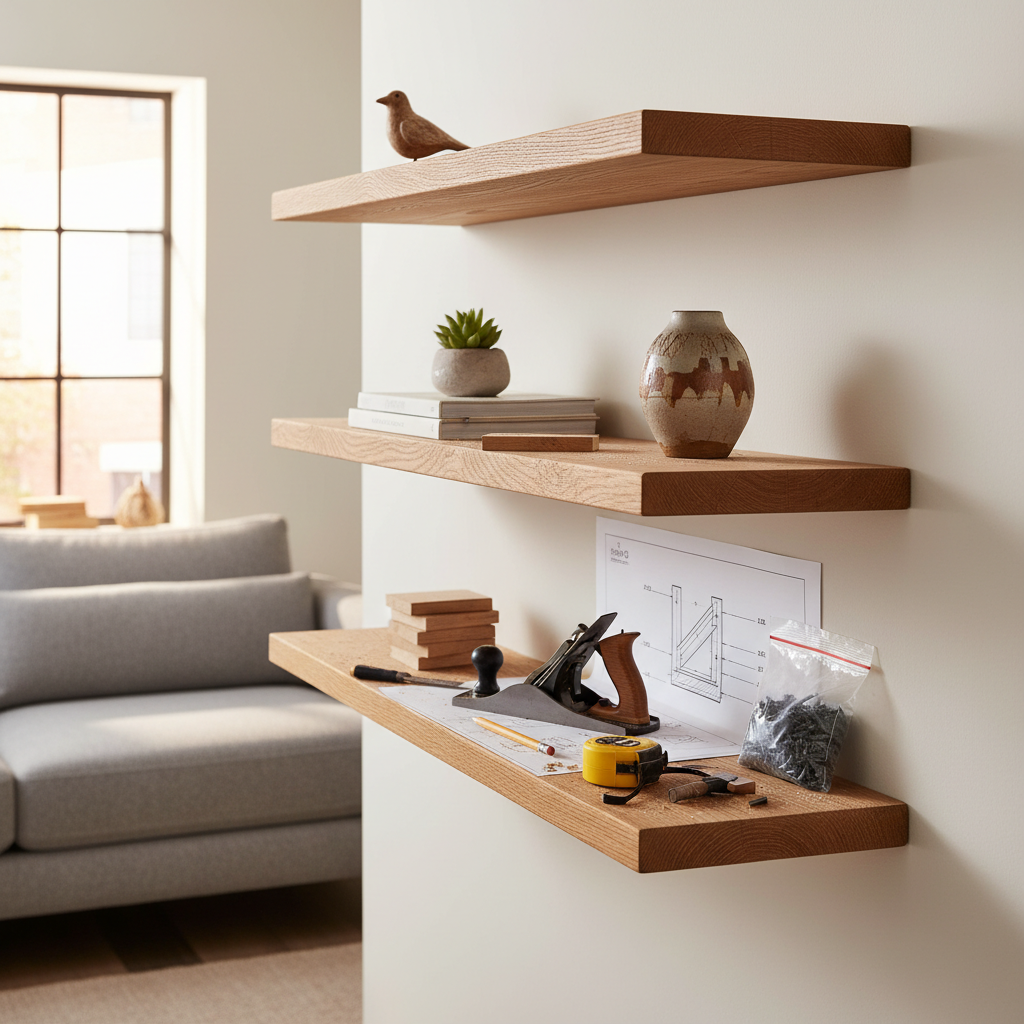
How to Build Floating Shelves: Simple DIY Guide (2026)
Floating shelves add clean, modern storage to any room without the visual bulk of traditional brackets. The secret is a hidden internal frame that anchors to wall studs, creating a sleek look that appears to defy gravity. This beginner-friendly project delivers impressive results in just a few hours.
Key Takeaways
- Floating shelves add clean, modern storage to any room without the visual bulk of traditional brackets.
- The secret is a hidden internal frame that anchors to wall studs, creating a sleek look that appears to defy gravity.
- This beginner-friendly project delivers impressive results in just a few hours.
- Always anchor into wall studs.
- Use a laser level for perfect alignment.
Tools Needed
Materials List
Step-by-Step Instructions
Cut the Shelf Components
Cut the top, bottom, and side pieces from 1x boards. Cut a 2x4 wall cleat to shelf length minus end piece thicknesses.
Mount the Wall Cleat
Locate wall studs. Screw the 2x4 cleat into at least two studs using 3-inch lag screws. Verify level.
Build the Shelf Box
Assemble top, bottom, and sides into a hollow box using glue and brad nails.
Slide Shelf onto Cleat
Slide the shelf box over the wall cleat. Secure with screws driven up through the bottom into the cleat.
Fill, Sand, and Finish
Fill nail holes with wood filler, sand to 220 grit, and paint or stain. Apply polyurethane.
Recommended Species
Recommended Sizes
Pro Tips
Frequently Asked Questions
Related Guides
How to Build a Closet Organizer
Design and build a custom closet organizer for a fraction of retail cost with plywood and dimensiona
Read guideHow to Build a Mudroom Bench
Build a functional mudroom bench with built-in shoe storage and cubbies for perfect entryway organiz
Read guideHow to Install a Wood Ceiling
Transform any room with a stunning wood ceiling. Step-by-step guide to installing tongue and groove
Read guide