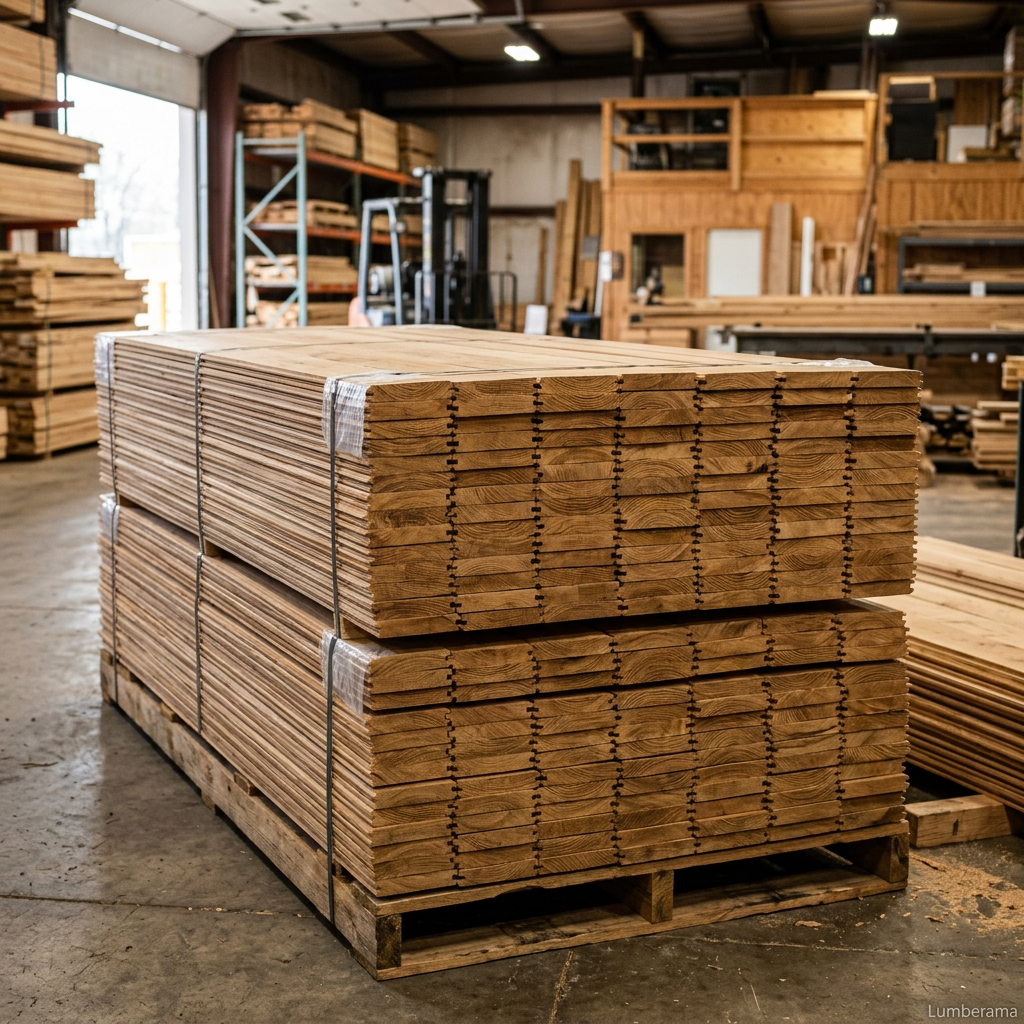
Installing Hardwood Flooring
Learn proper acclimation, subfloor preparation, layout planning, and installation techniques for beautiful, long-lasting floors.
Installing hardwood flooring is a significant investment that requires careful planning and execution. Proper installation ensures your floors will look beautiful and last for generations.
This guide covers solid hardwood installation using the nail-down method, but many principles apply to all installation types. Follow manufacturer instructions for your specific flooring product.
Preparation is Critical
Proper preparation prevents most hardwood flooring failures. Don't skip these essential steps.
Acclimate the Wood
- Store flooring in the room for 3-7 days before installation
- Maintain room temperature between 60-80°F
- Keep relative humidity between 35-55%
- Open bundles and spread boards for better air circulation
- Check moisture content with a meter (should be 6-9% MC)
- Wood moisture should be within 4% of subfloor moisture
Prepare the Subfloor
- Ensure subfloor is clean, dry, and level (within 1/8" per 6 feet)
- Fix squeaks and secure any loose areas with screws
- Sand down high spots or fill low areas with leveling compound
- Install vapor barrier if installing over concrete slab
- Ensure subfloor moisture content is appropriate (12-13% MC for wood)
- Remove all protruding nails and staples
Install Underlayment
- Choose appropriate underlayment (felt paper, foam, or cork)
- Install perpendicular to flooring direction
- Overlap seams by 2-3 inches
- Tape seams if required by manufacturer
- Run underlayment up walls by 2-3 inches (trim after flooring)
- Use vapor barrier underlayment over concrete
Installation Methods
Choose the right installation method based on your flooring type and subfloor.
Nail Down Installation
- Use flooring nailer or manual nailer/stapler
- Nail at 45° angle through the tongue
- Space fasteners 8-10 inches apart
- Requires minimum ¾-inch solid wood or plywood subfloor
- Face-nail first and last rows (covered by trim)
- Most permanent and secure installation method
Glue Down Installation
- Use manufacturer-approved flooring adhesive
- Spread with proper notched trowel size
- Follow adhesive working time (typically 30-60 minutes)
- Roll floor with 100-150 lb roller after installation
- Works well over radiant heat systems
- Reduces hollow sound over concrete
Floating Installation
- Flooring "floats" over underlayment without attachment
- Pieces lock or glue together at seams only
- No fasteners penetrate the subfloor
- Quickest installation method
- Can be installed over various subfloors including concrete
- Easiest to remove or replace individual boards
Installation Steps (Nail Down Method)
Plan the Layout
Proper layout prevents narrow pieces at walls and ensures a professional appearance.
- Run flooring perpendicular to floor joists for best support
- Parallel to longest wall creates best visual flow
- Measure room and calculate layout to avoid narrow strips (under 2" wide)
- Plan starting point to center the floor or hide seams strategically
- Snap chalk lines for reference during installation
Install First Row
The first row must be perfectly straight as it guides all subsequent rows.
- Start at straightest, most visible wall in the room
- Leave ¾-inch expansion gap at all walls (covered by baseboard)
- Face-nail first row near the wall edge (will be covered by trim)
- Pre-drill nail holes to prevent splitting the tongue
- Countersink nails slightly below surface
- Use spacers to maintain consistent expansion gap
Continue Installation
Proper technique and spacing create a durable, professional floor.
- Blind nail through tongue at 45° angle (hidden installation)
- Use flooring nailer for consistent depth and angle
- Stagger end joints by minimum 6 inches (8-12 inches is better)
- Randomize board lengths for a natural, professional appearance
- Tap boards tight with rubber mallet and tapping block
- Maintain ¾-inch expansion gap at all walls and obstacles
- Inspect each board for defects before installing
Last Row & Doorways
Special techniques ensure clean transitions and proper gaps.
- Rip last row to width if needed (maintain ¾-inch gap from wall)
- Face-nail last row like first row (covered by baseboard)
- Use pry bar to close gaps and pull boards tight
- Undercut door jambs and casings with jamb saw
- Slide flooring under door trim for clean look
- Install transition pieces between rooms and different flooring
Pre-Finished vs. Unfinished Flooring
Understanding the differences helps you choose the right flooring for your project and timeline.
Pre-Finished Flooring
Advantages:
- Ready to use immediately after installation
- Factory finish extremely durable (aluminum oxide coating)
- No sanding dust, fumes, or mess in your home
- Consistent color and finish across all boards
- Micro-beveled edges hide slight height variations
Considerations:
- Visible micro-bevels between boards (some prefer seamless)
- Cannot customize stain color
- Harder to repair individual board scratches
- Typically costs 10-20% more than unfinished
Unfinished Flooring
Advantages:
- Completely seamless appearance when sanded flat
- Custom stain colors and finishes available
- Easier to blend repairs and refinishing
- Often less expensive upfront
- Can match existing floors precisely
Considerations:
- Requires professional sanding and finishing
- Room must be vacant for 3-5 days during finishing
- Dust and fumes during finishing process
- Quality depends on finishing skill
- Cannot walk on floor for 24-48 hours after final coat
Common Mistakes to Avoid
Not Acclimating Wood Properly
Consequence: Boards expand or contract after installation, causing gaps or buckling.
Solution: Allow minimum 3-7 days for acclimation. Check moisture content before installing.
Ignoring Subfloor Moisture Issues
Consequence: Moisture damage, cupping, warping, and mold growth under flooring.
Solution: Test subfloor moisture. Install vapor barrier over concrete. Fix leaks before flooring.
Installing Without Expansion Gaps
Consequence: Wood has nowhere to expand, causing buckling and floor failure.
Solution: Maintain ¾" gap at all walls. Use spacers throughout installation.
Nailing Too Aggressively
Consequence: Crushing the tongue, splitting boards, or preventing proper expansion.
Solution: Adjust nailer pressure. Nails should be flush with tongue, not crushing it.
Poor Board Selection and Layout
Consequence: Ugly patterns, short pieces, or end joints too close together.
Solution: Sort boards by length and color. Mix from multiple boxes. Stagger ends 8-12 inches.
Tools & Equipment Needed
Essential Tools
- Flooring nailer or stapler
- Miter saw or chop saw
- Table saw or circular saw
- Pry bar and tapping block
- Moisture meter
- Spacers (¾-inch)
- Chalk line
Safety & Measuring
- Tape measure and framing square
- Safety glasses and hearing protection
- Knee pads
- Dust mask or respirator
Optional/Advanced
- Jamb saw for undercutting door trim
- Air compressor (for pneumatic nailer)
- 100-150 lb floor roller (for glue-down)
- Oscillating multi-tool
Post-Installation Care & Maintenance
Immediate Care (First Week)
- Wait 24 hours before walking on floor
- Wait 1 week before replacing furniture
- Use felt pads under all furniture legs
- Place rugs in high-traffic areas
Long-Term Maintenance
- Sweep or vacuum regularly (use soft brush)
- Clean with hardwood floor cleaner (lightly damp mop)
- Never wet mop or use excessive water
- Refinish every 7-10 years as needed